

How to Spot AI-Generated Crochet & Knitting in 2026
July 21, 2026
Yarn Over in Lace Knitting: The Complete Beginner’s Guide
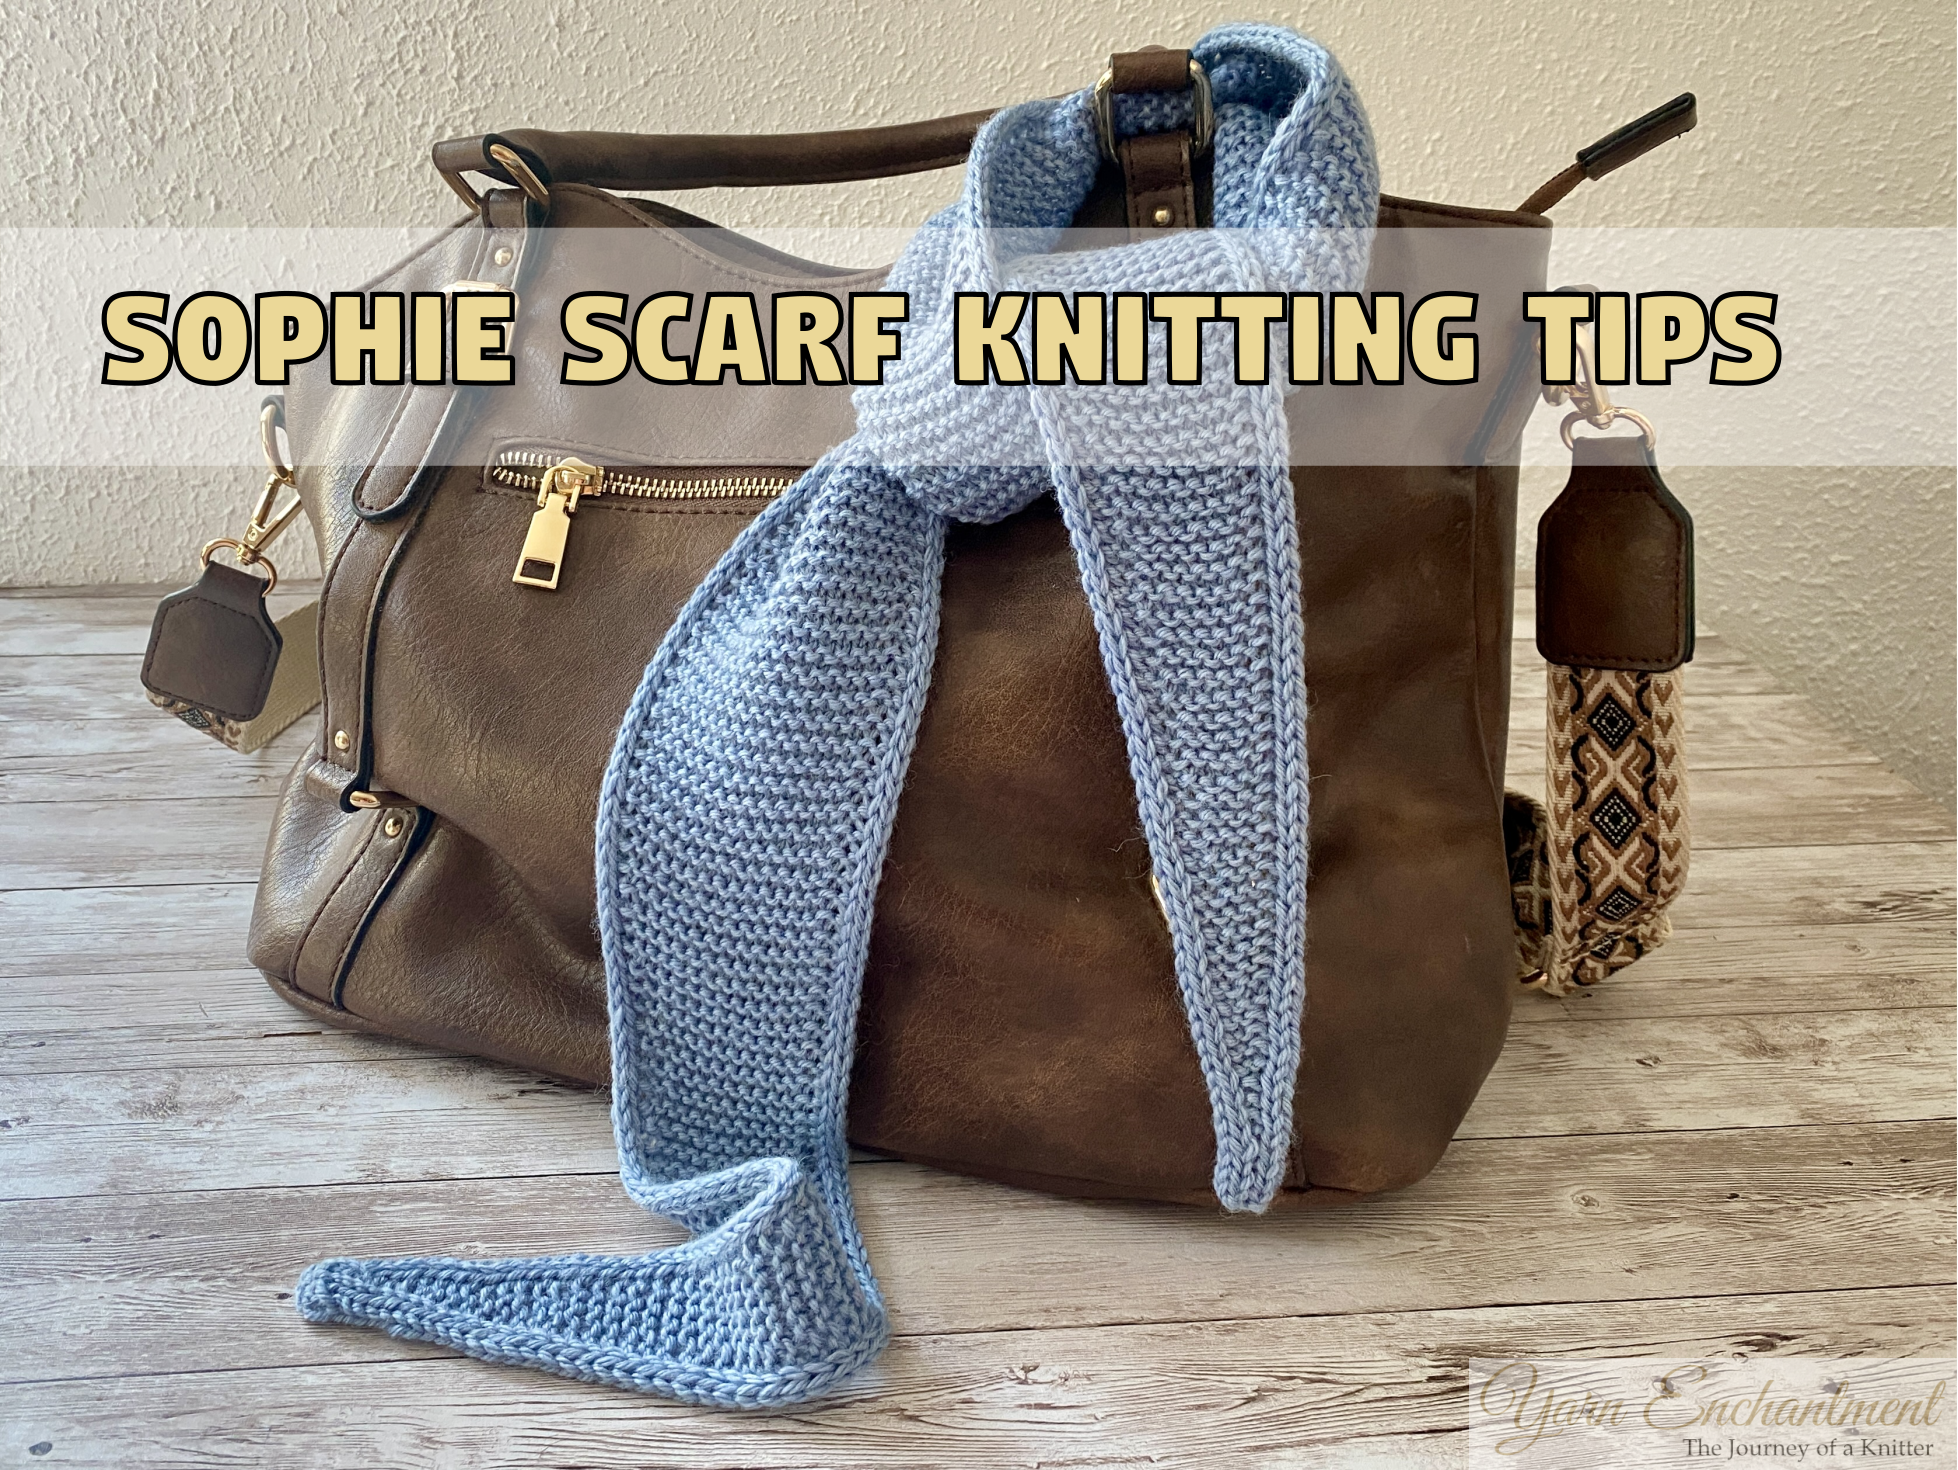
August 1, 2026PetiteKnit Sophie Scarf: Tips & Tricks

Originally published on July 26, 2026
The Sophie Scarf knitting pattern by PetiteKnit is one of the most popular designs in the knitting world, and for good reason. It is small, easy, and super fast to knit. Because it uses a simple garter stitch, you only need to know the basic cast-on, knit stitch, decreases, i-cord edging, increases, and cast-off. For a beginner who wants to make their first garment and learn a new technique, this pattern is a perfect pick.
I honestly only knitted the Sophie Scarf because I wanted to test the kfb increase after the i-cord stitches. I first used that increase in the Sophie Hood, but because of the fuzzy yarn, the increases and decreases were difficult to see there. I also want to knit the Sophie Shawl one day. I love big shawls I can wrap myself into. This scarf gave me a much clearer view of how these techniques work.
I really love how the increases work in this Sophie Scarf knitting pattern. Before blocking, you could see the kfb increase in the garter stitch. I believe this is why PetiteKnit chose to work the increases in the third i-cord stitch, to hide them. But that third stitch of the i-cord got really big, and I did not like the look of it at all.
After blocking, those increases smoothed out so beautifully. You can really see it in the pictures, the fabric softens and the stitches just settle into place. It is one of those moments that reminds me why I never skip blocking, especially with easy knitting patterns like this one. It takes a project from nice to absolutely gorgeous.
If you want the increases to be truly invisible, an invisible increase in garter stitch might work. But for this project, I wanted a neat i-cord edging. If you are curious about that little experiment, I wrote a whole blog post about it. You can find it right here My Favorite Neat I‑Cord Edge Increases for PetiteKnit’s Sophie Scarf, Hood & Shawl.
 | Sophie Scarf Knitting Tips |
Why I Love Knitting the Sophie Scarf
Knitting this pattern was really fun. It only takes a few knit nights. You can easily knit it while watching TV, and it is perfect for hot summer days because it is so small. It does not cover your lap like the Sophie Hood or Sophie Shawl.
I knitted a few rows in the local park one afternoon. My daughter was crawling over the meadow, plucking some flowers. I told her that the bees need the flowers for food, but she promised she would only pluck as many as she needed for my hair. The sun was shining on the Sophie Scarf, and the fabric felt so warm in my hands.
I was thinking that we actually take the summer warmth from the fabric into the cold winter to warm us. I want to gift this scarf to my daughter. She does not like big shawls, so this one is perfect for her. I made a really beautiful memory with this project. And that is also the reason why I love it so much. You can make so many beautiful memories with your projects too.
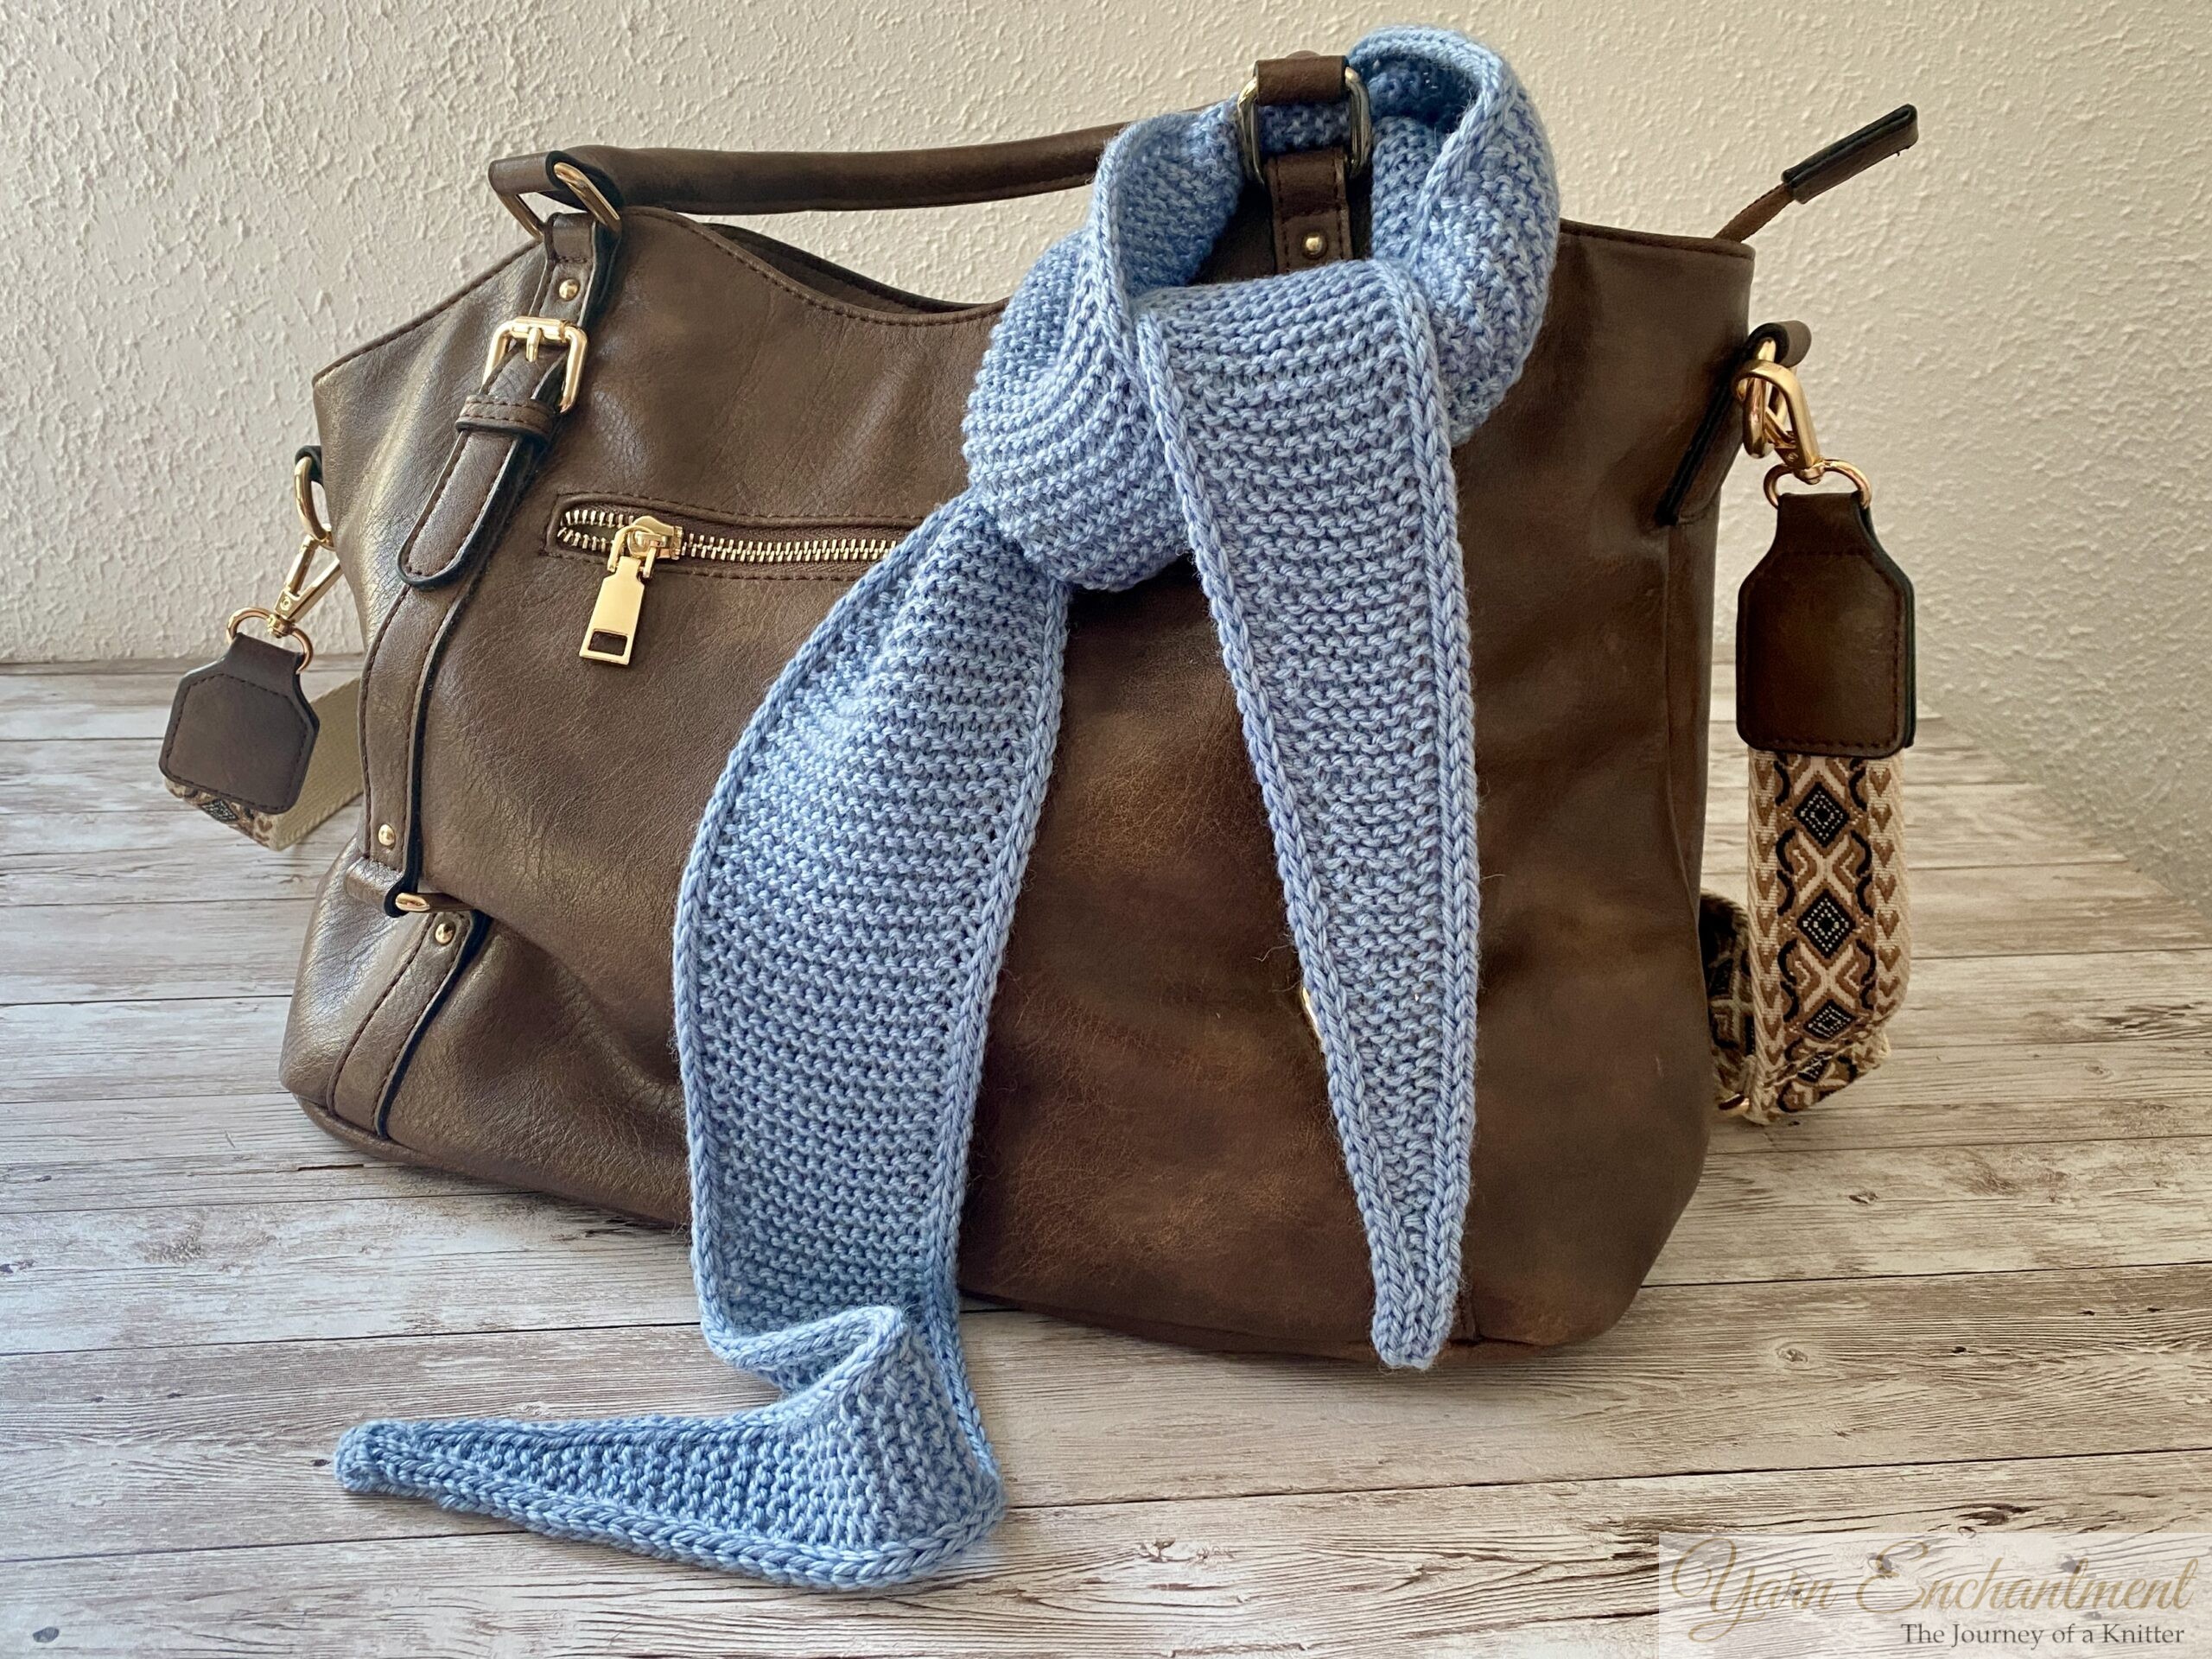
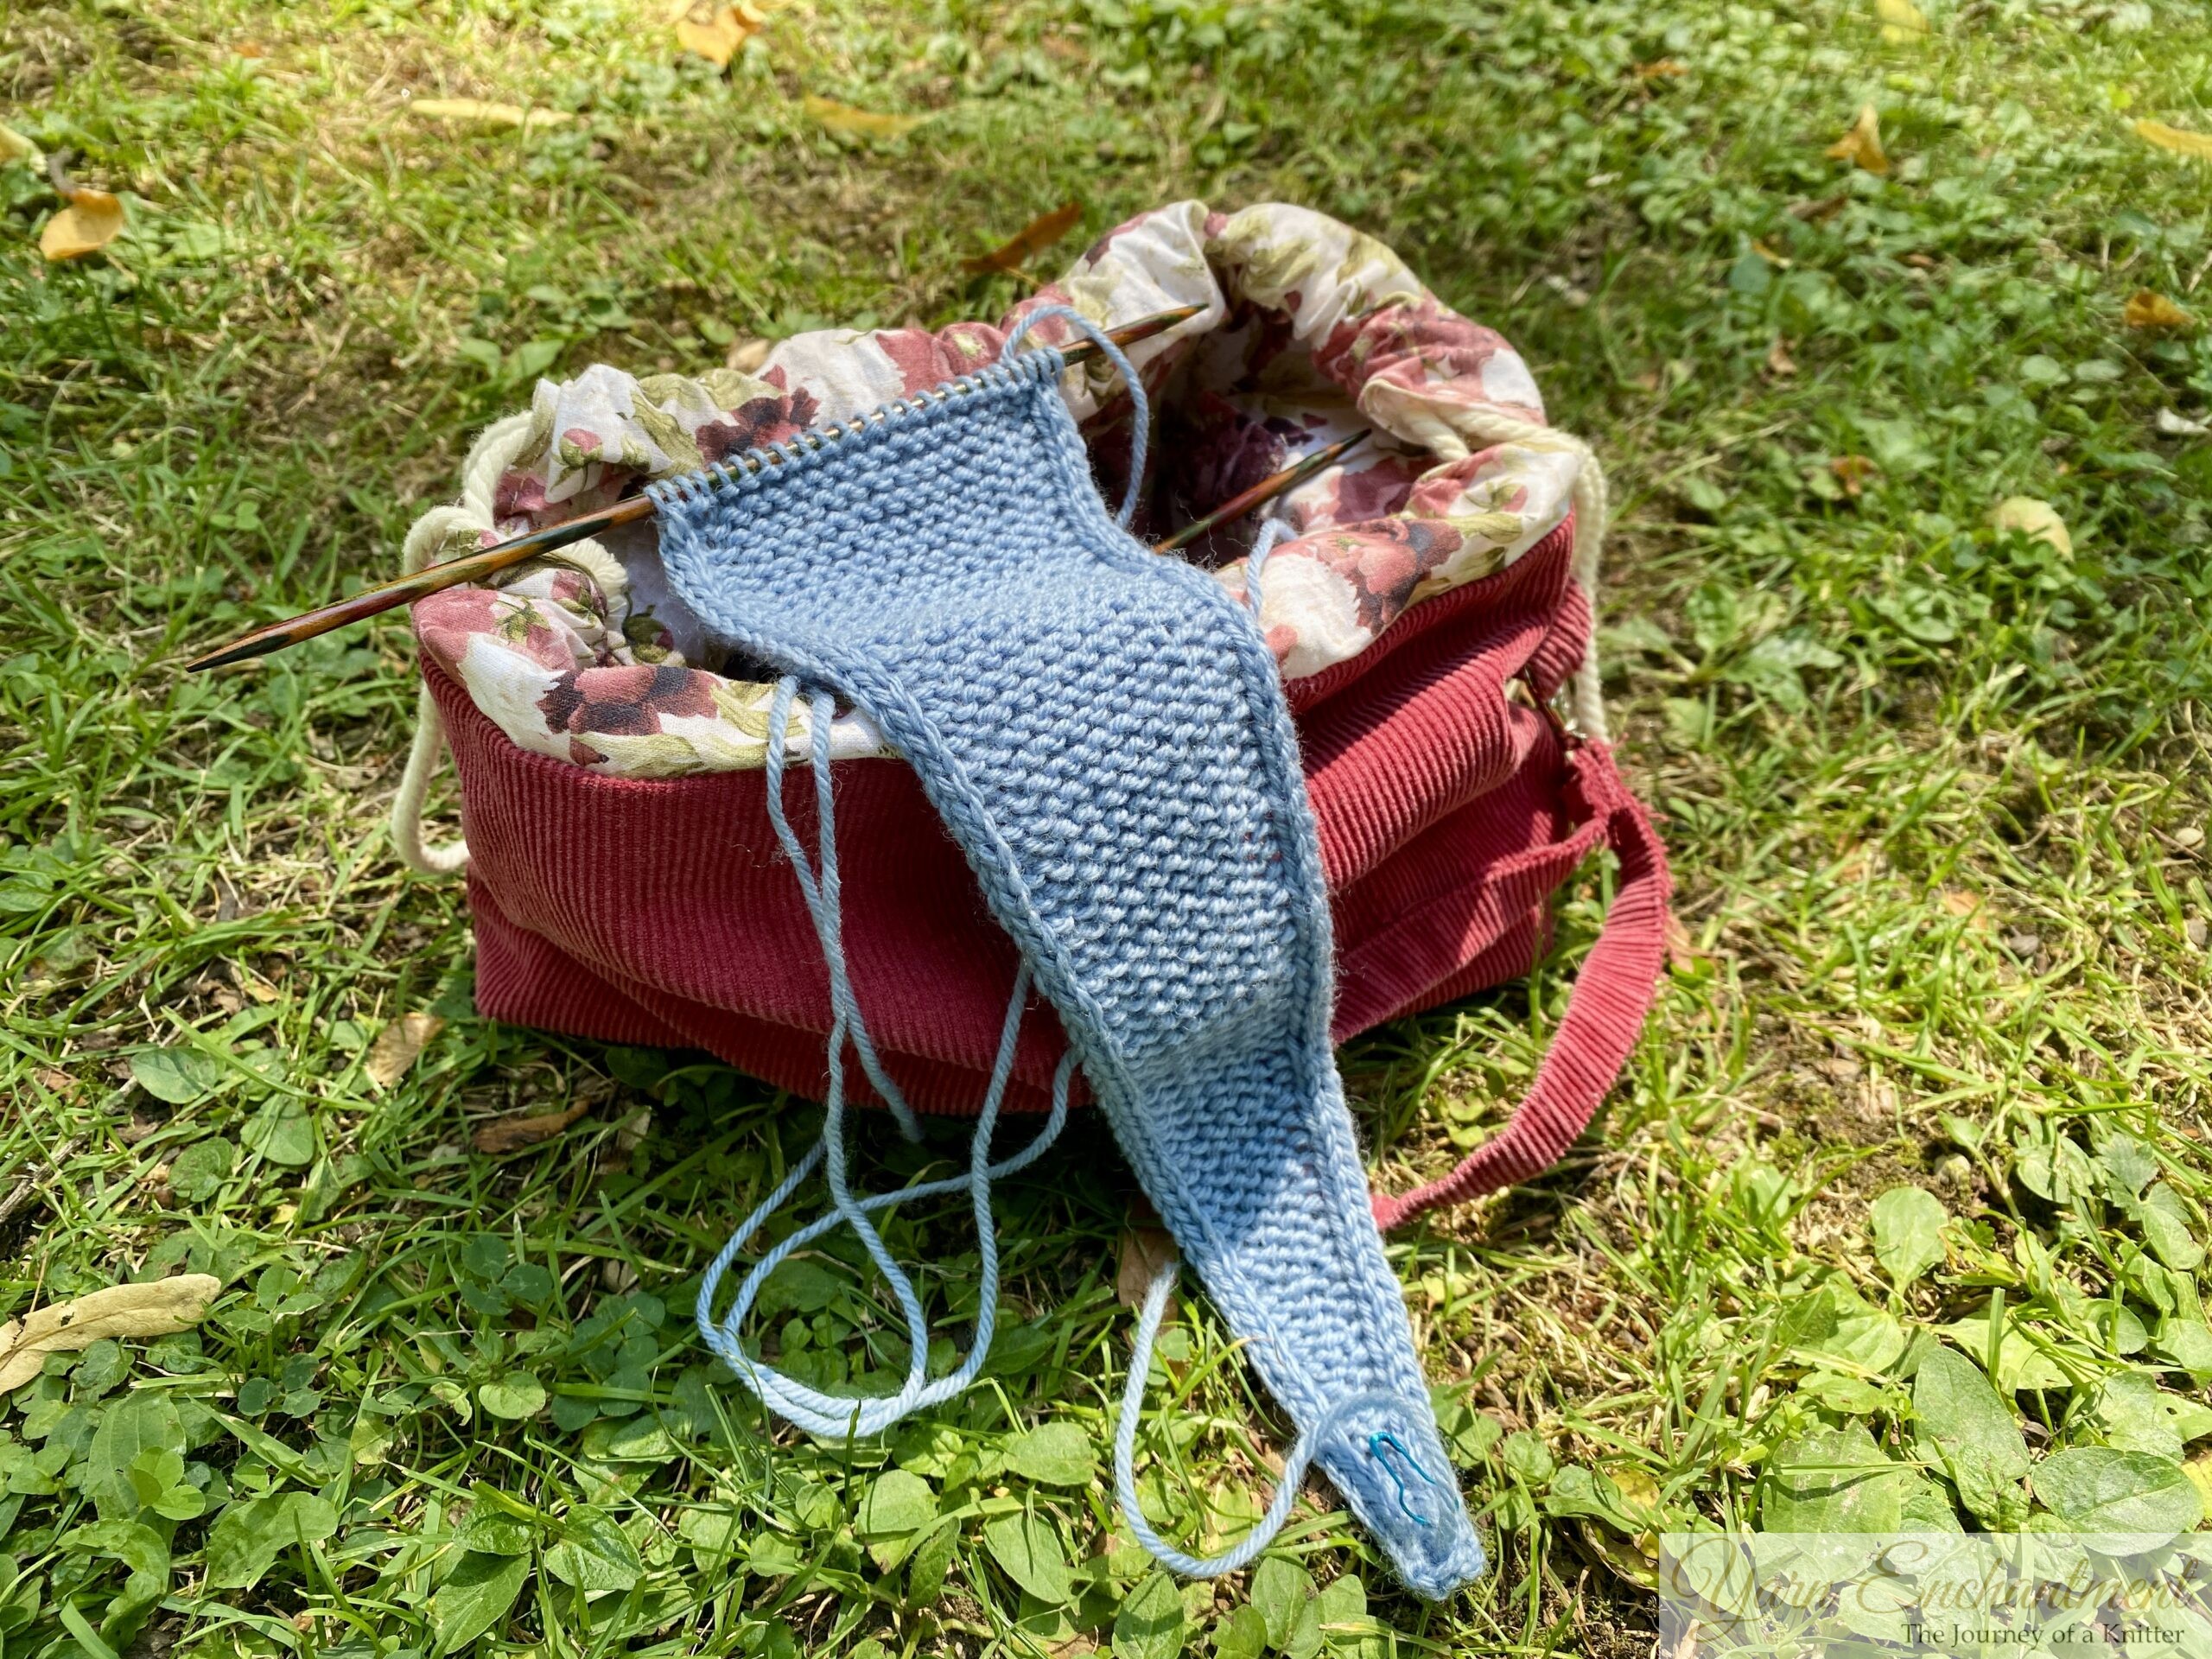 | My Sophie Scarf soaking up the sunshine! But the real star of this photo is my project bag. I made it myself from my daughter's old pinafore dress. She was about 6 months old when she wore it. I upcycled it so I have something special from her always with me. |

A Quick Note About Yarn Choice
Before we dive into the tips, I want to talk about the yarn I used and why your results might look a little different depending on what you choose.
I knitted my Sophie Scarf in a beautiful 100 percent merino wool from Lana Grossa. It is soft and an absolute dream to work with. But here is the thing, merino behaves in a very specific way when you block it. And since blocking is such an important step for every pattern, I think it is worth understanding what your yarn will do.
If you are using a different fiber, say a 100 percent cotton, your results will not be the same. Cotton does not have the same stretch and memory as wool. It will not bloom and soften in the same way. And it certainly will not grow the way merino does. So before you try anything, always make a little swatch. Knit it up, block it, and see how your yarn behaves with those increases. It takes a few extra minutes but it saves so much heartache later. If the increases are looking messy with cotton before blocking, they will look the same after blocking too.
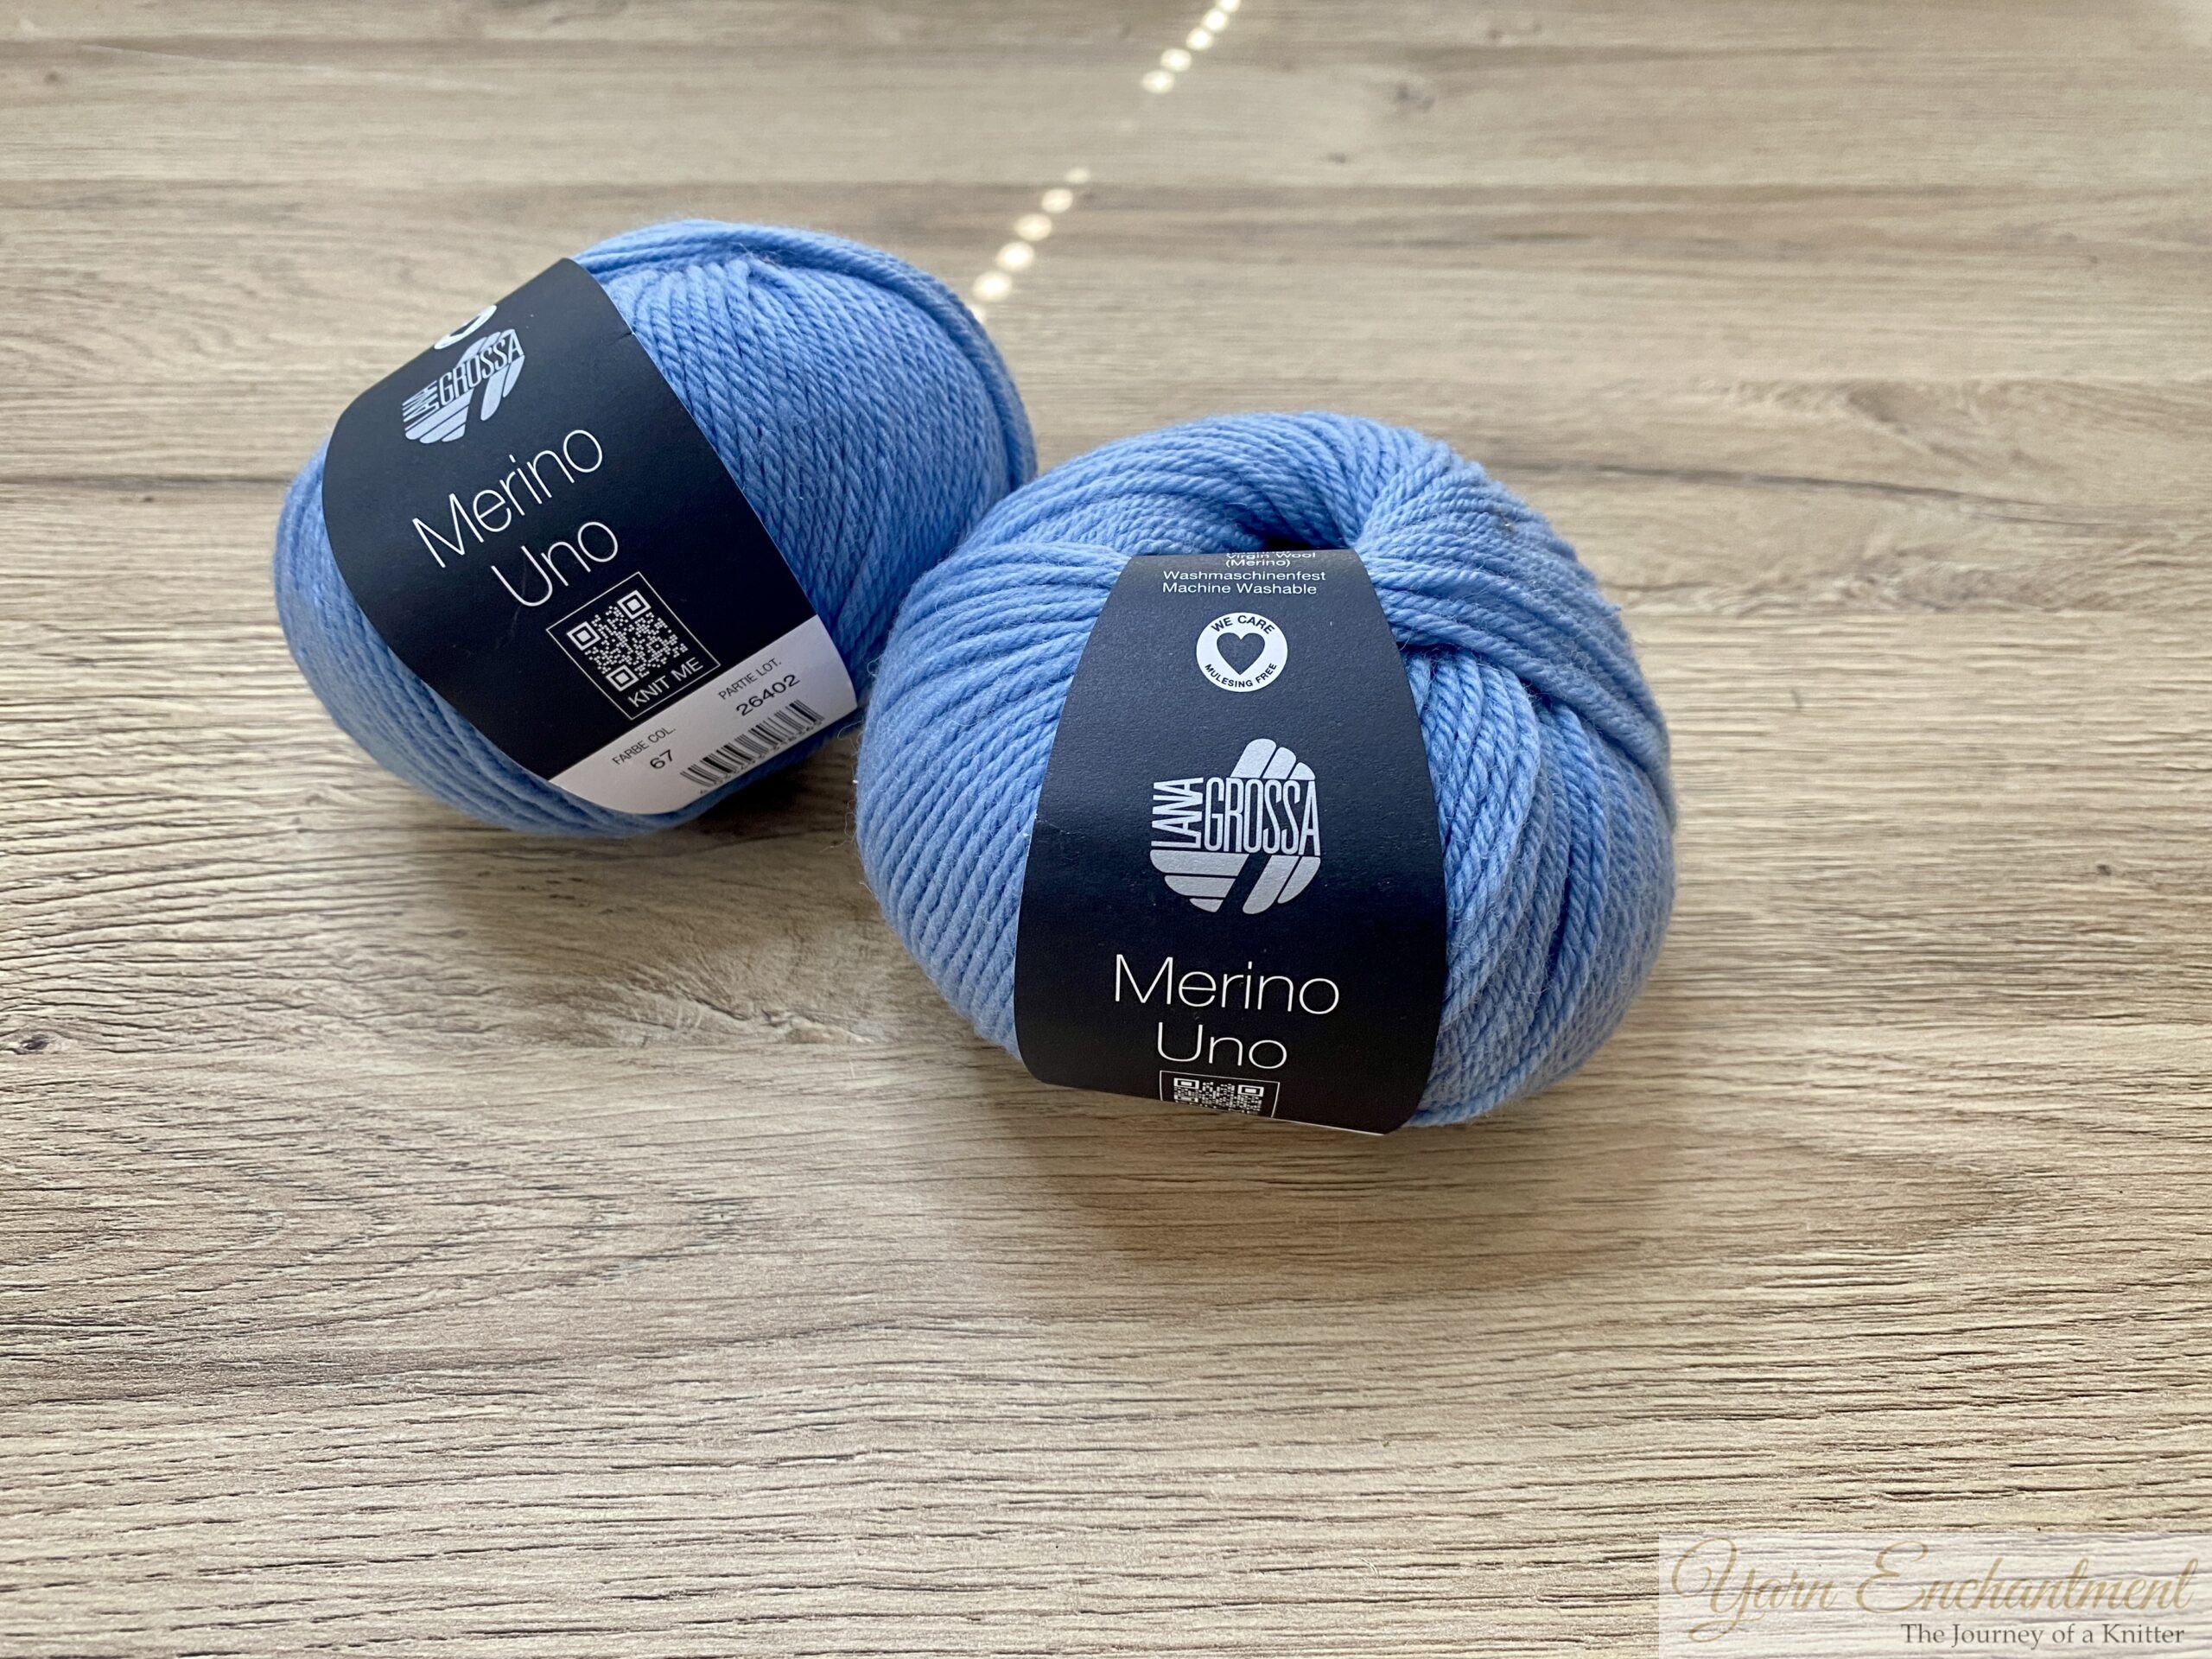 | I used Merino Uno from Lana Grossa for this scarf. I still had four skeins left from my star stitch crochet hat pattern. |

It Grows, and I Mean a Lot
Merino wool has excellent memory but it also has significant stretch when wet. After blocking, expect the fabric to lengthen and widen, sometimes by 10 to 20 percent depending on how much you stretch your garment while blocking.
For my Sophie Scarf, I did things a little differently. I soaked my scarf for about 20 minutes in lukewarm water. Then I laid it flat on my blocking mats without pinning it at all. If it is not lace or colorwork where we need to shape a little bit, I like to give my yarn the opportunity to shape on its own.
If you do choose to stretch it while pinning, just remember that it will stay that way. So if you want a snugger fit around your neck, pin it only slightly larger than the finished measurements. If you want more drape and a looser feel, stretch it out a bit. Just know that whatever you decide, it is permanent. And you can only lengthen a project so far.
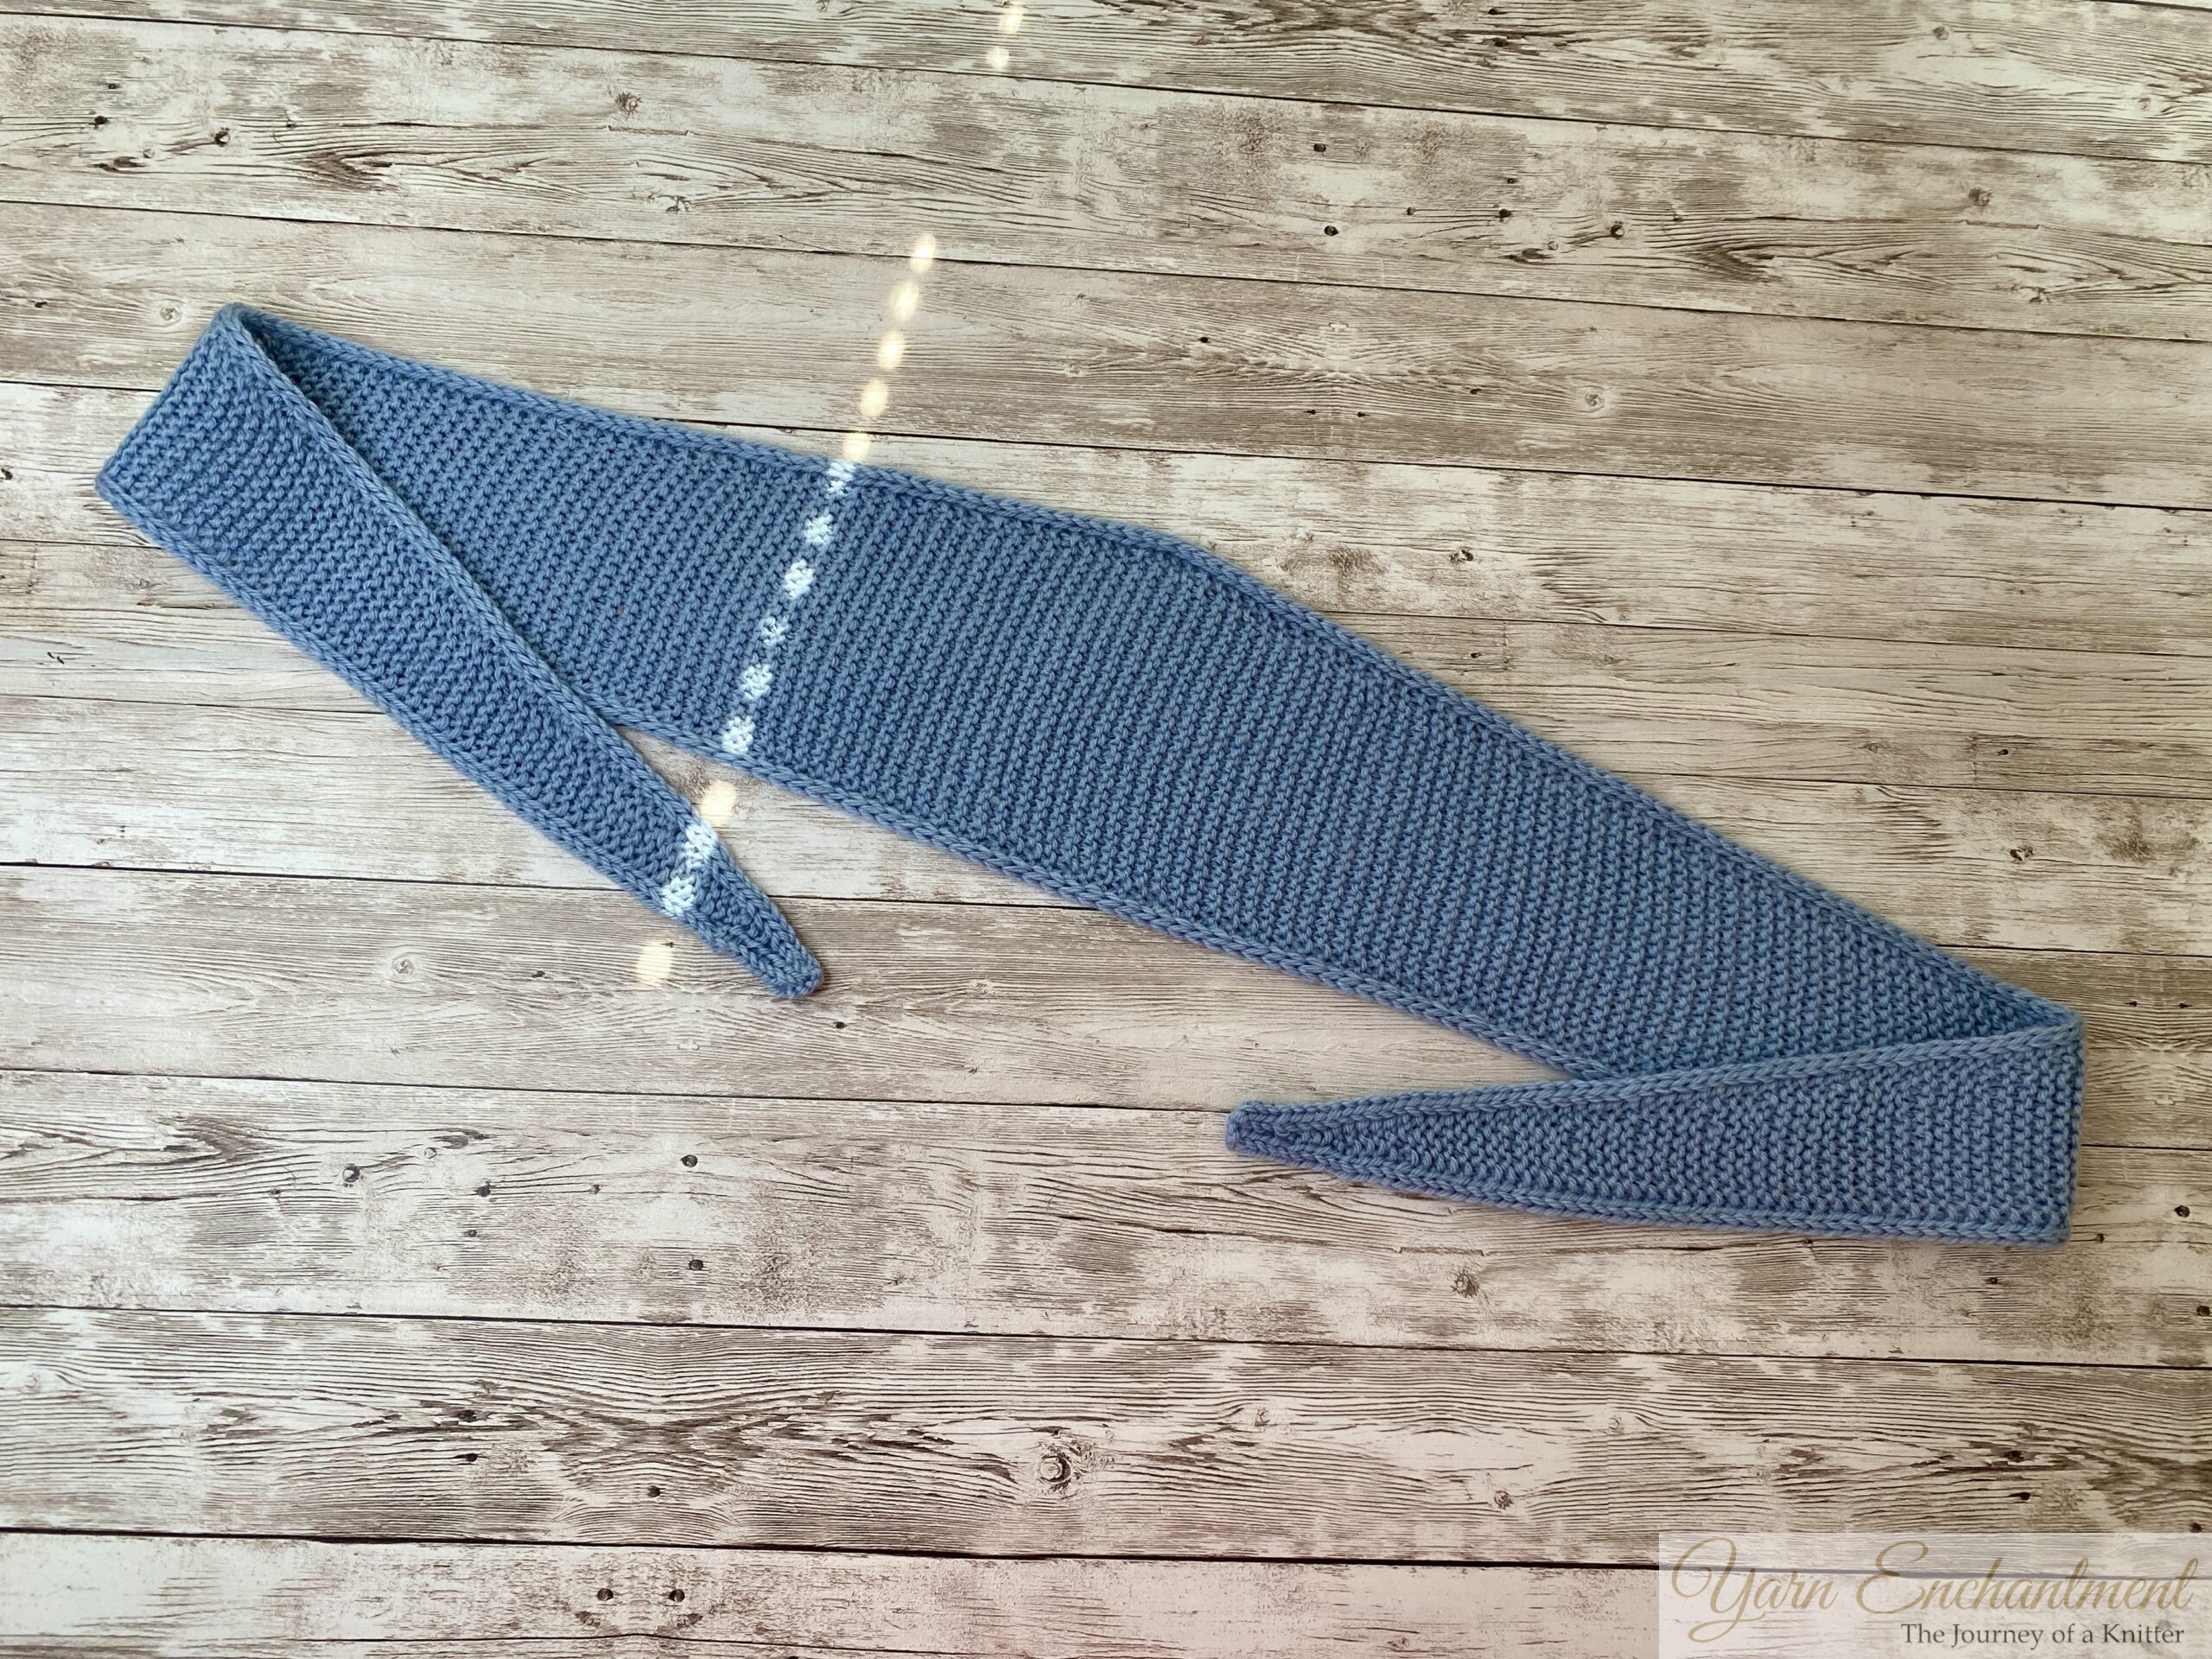 | Sophie Scarf |

The Stitches Bloom and Even Out
Before blocking, my garter stitch looked a bit uneven. I could see every little imperfection. But after blocking, the fibers relaxed and the stitches plumped up beautifully. They filled in the gaps and the fabric became much more uniform. Merino has this natural halo effect that becomes more apparent after blocking too. Sometimes the fabric might feel a little stiff right after you cast off, maybe even a little squeaky. I know that sounds odd but it is true. After wet blocking, the lanolin and twist in the yarn relax, and the fabric becomes dramatically softer, more fluid, and drapes beautifully.
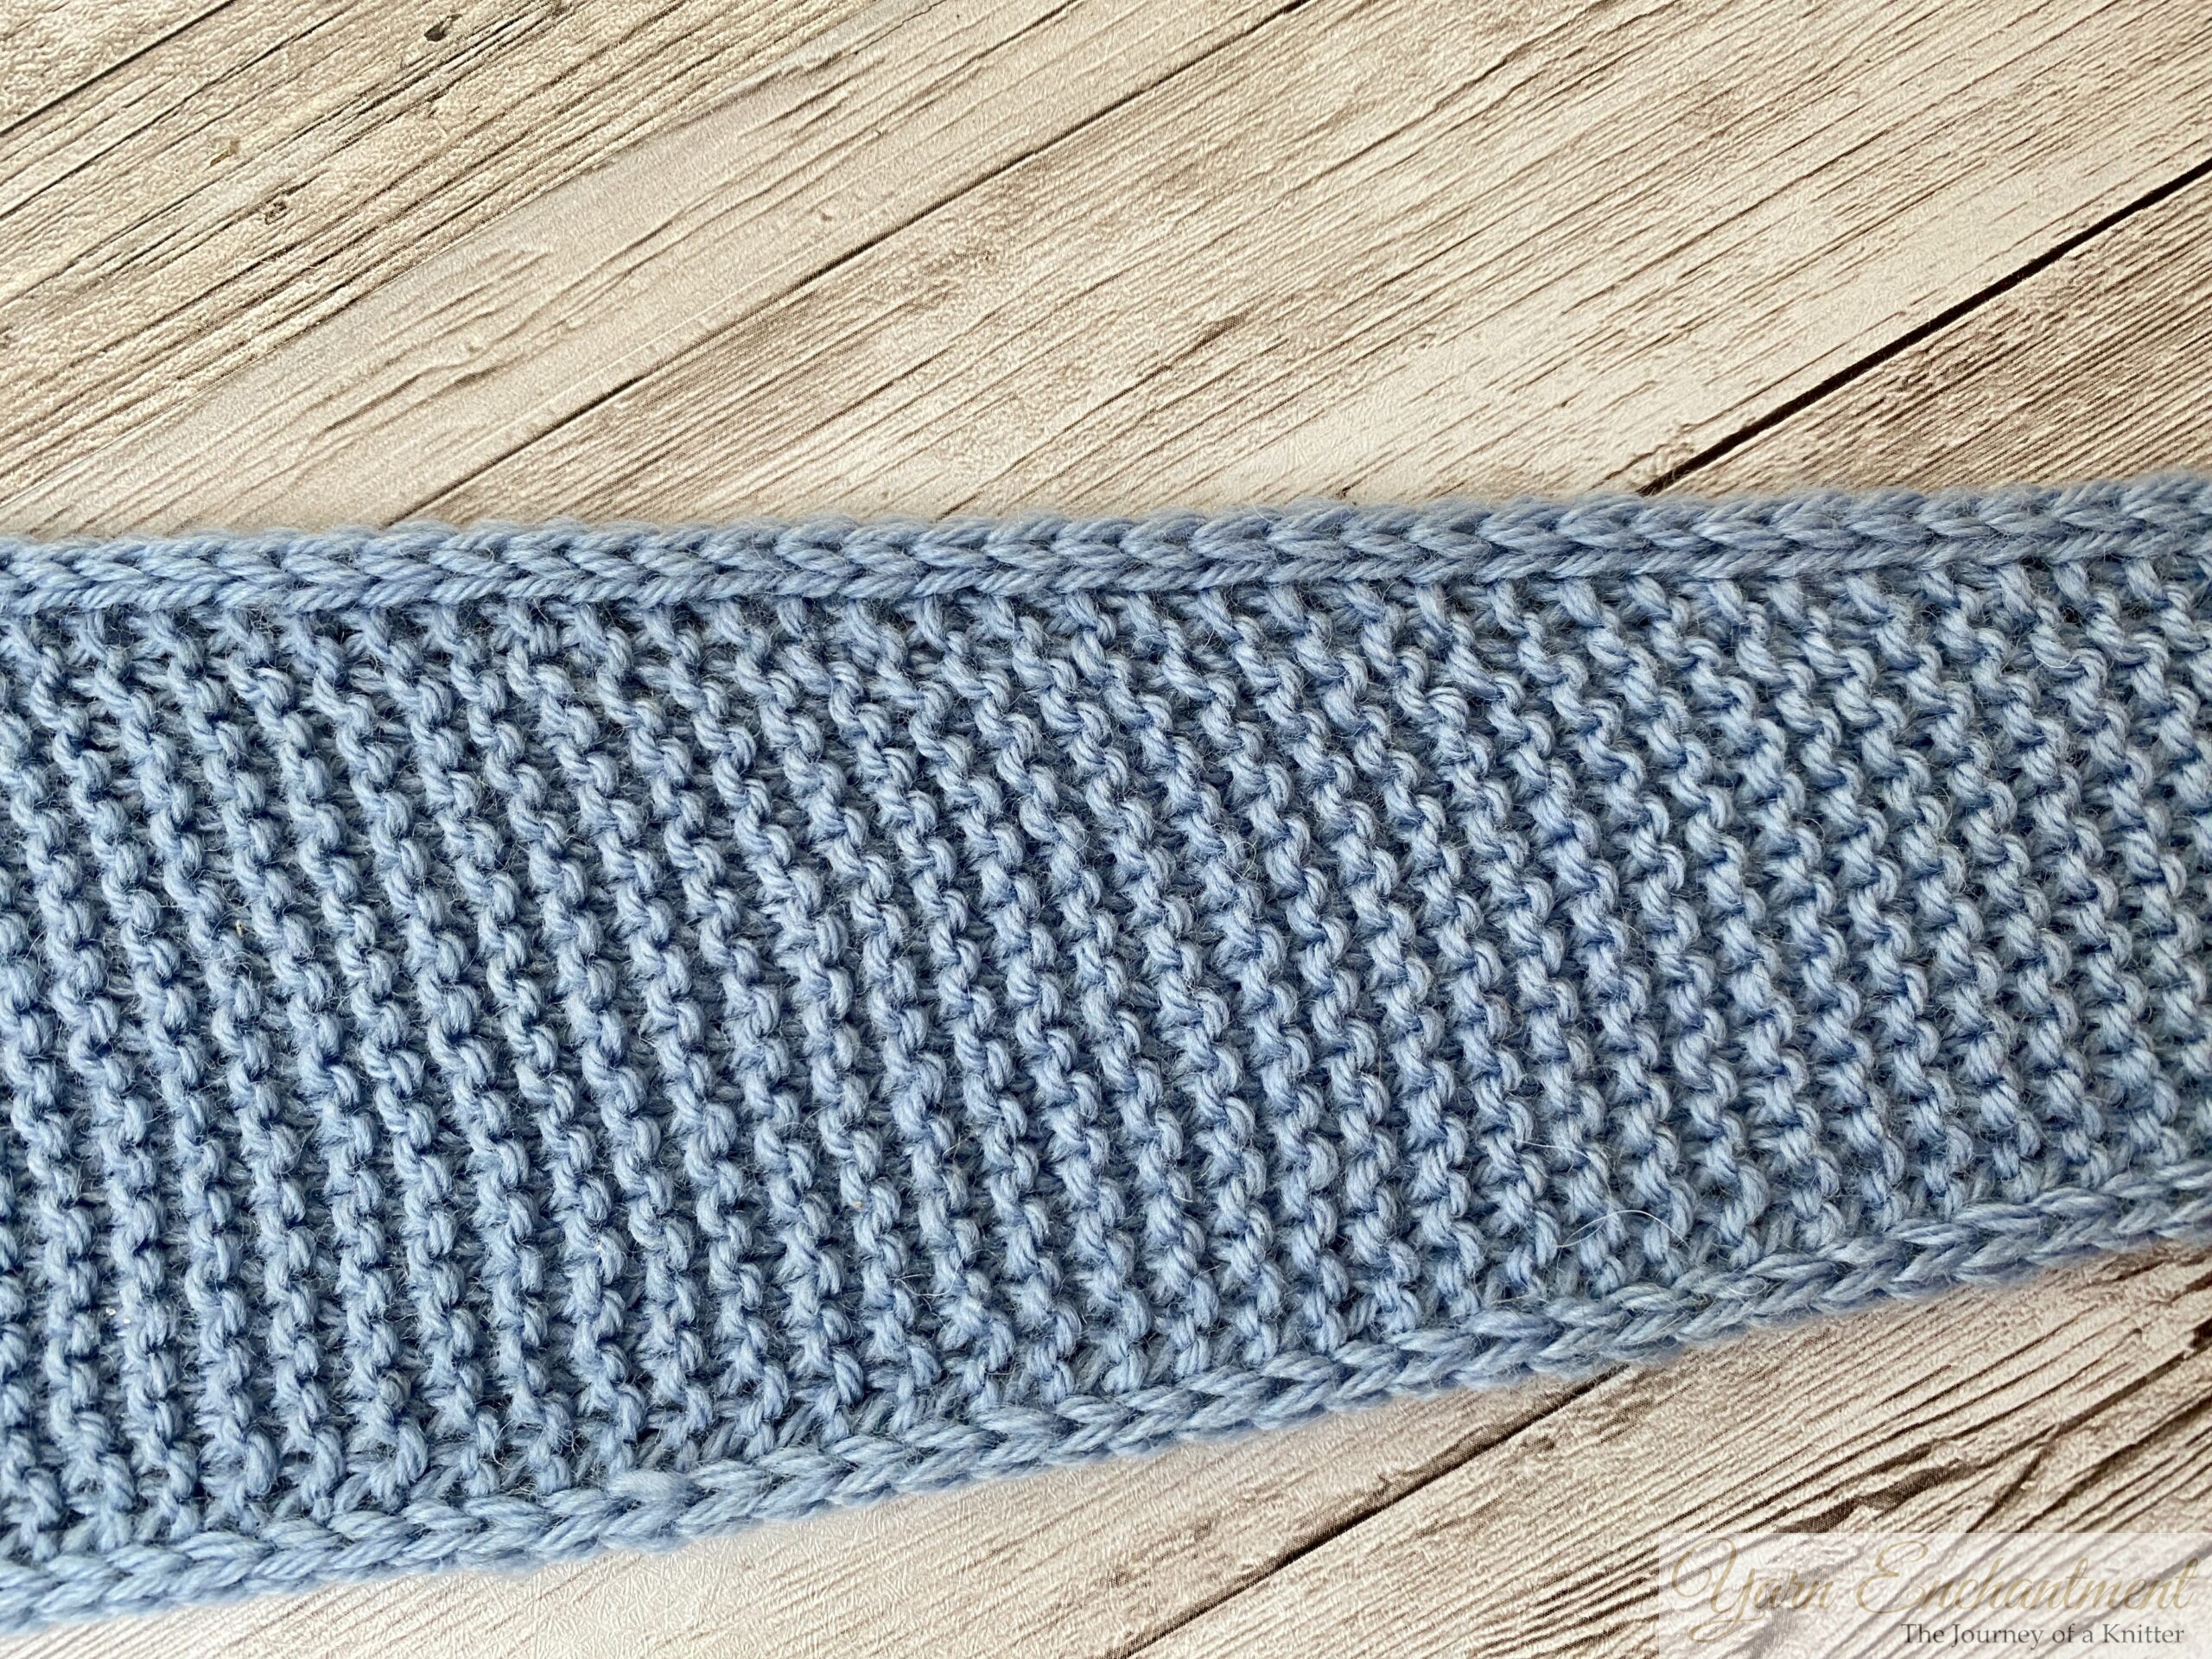 | Here you can see the increases |

It Holds Its Shape, If You Let It Dry Fully
Merino has good elastic memory. It will remember the shape you pin it into, as long as you let it dry completely. It is hard to be patient, I know, but it is worth it.
One thing to remember, while merino can stretch, it will not shrink back easily. So if you over-stretch, that is it. There is no going back. That is why I always say to be gentle and intentional with your pinning.
Note About Felting Merino is a fine fiber and it felts easily. When you wet block, use lukewarm water, never hot. Do not agitate, rub, or wring your scarf. Just let it soak and gently press the water out. Roll it in a towel to remove excess moisture, never twist. If you block too aggressively with hot water and friction, you will end up with a felted, stiff fabric that has lost all its beautiful stitch definition. And nobody wants that.
So there you have it. My yarn behaved one way and your yarn might behave another. That is the beauty of knitting. Every fiber has its own personality. The best thing you can do is get to know your yarn before you commit to the full project. Make that swatch. Block it. See what happens. Then knit your Sophie Scarf with confidence.
 |

Tips for Knitting the Sophie Scarf
Keep Your Yarn Tension Consistent
Always bring your yarn to the front before slipping those last three stitches purl-wise at the end of each row. It sounds fussy, but once you get into the rhythm, it becomes second nature. Your edges will come out neat and even every time.
You can place a stitch marker before the three i-cord stitches. This prevents you from accidentally knitting them, but this only works if you increase outside the i-cord edge.
Mark Your Progress and Fix Mistakes
Staying on track is easier than you think. Use a row counter and place a stitch marker on every increase row. For the Sophie Scarf, that is usually Row 8. This little habit makes it much easier to count rows and find your spot if you need to unravel a few rows.
And if you do make a mistake, please do not panic. This is a small project. It is actually perfect practice for learning how to pick up dropped stitches or fix i-cord errors without starting over. You can also insert a lifeline. This helps you pick up stitches easily. I would insert it after every increase so you know where to start your rows again.
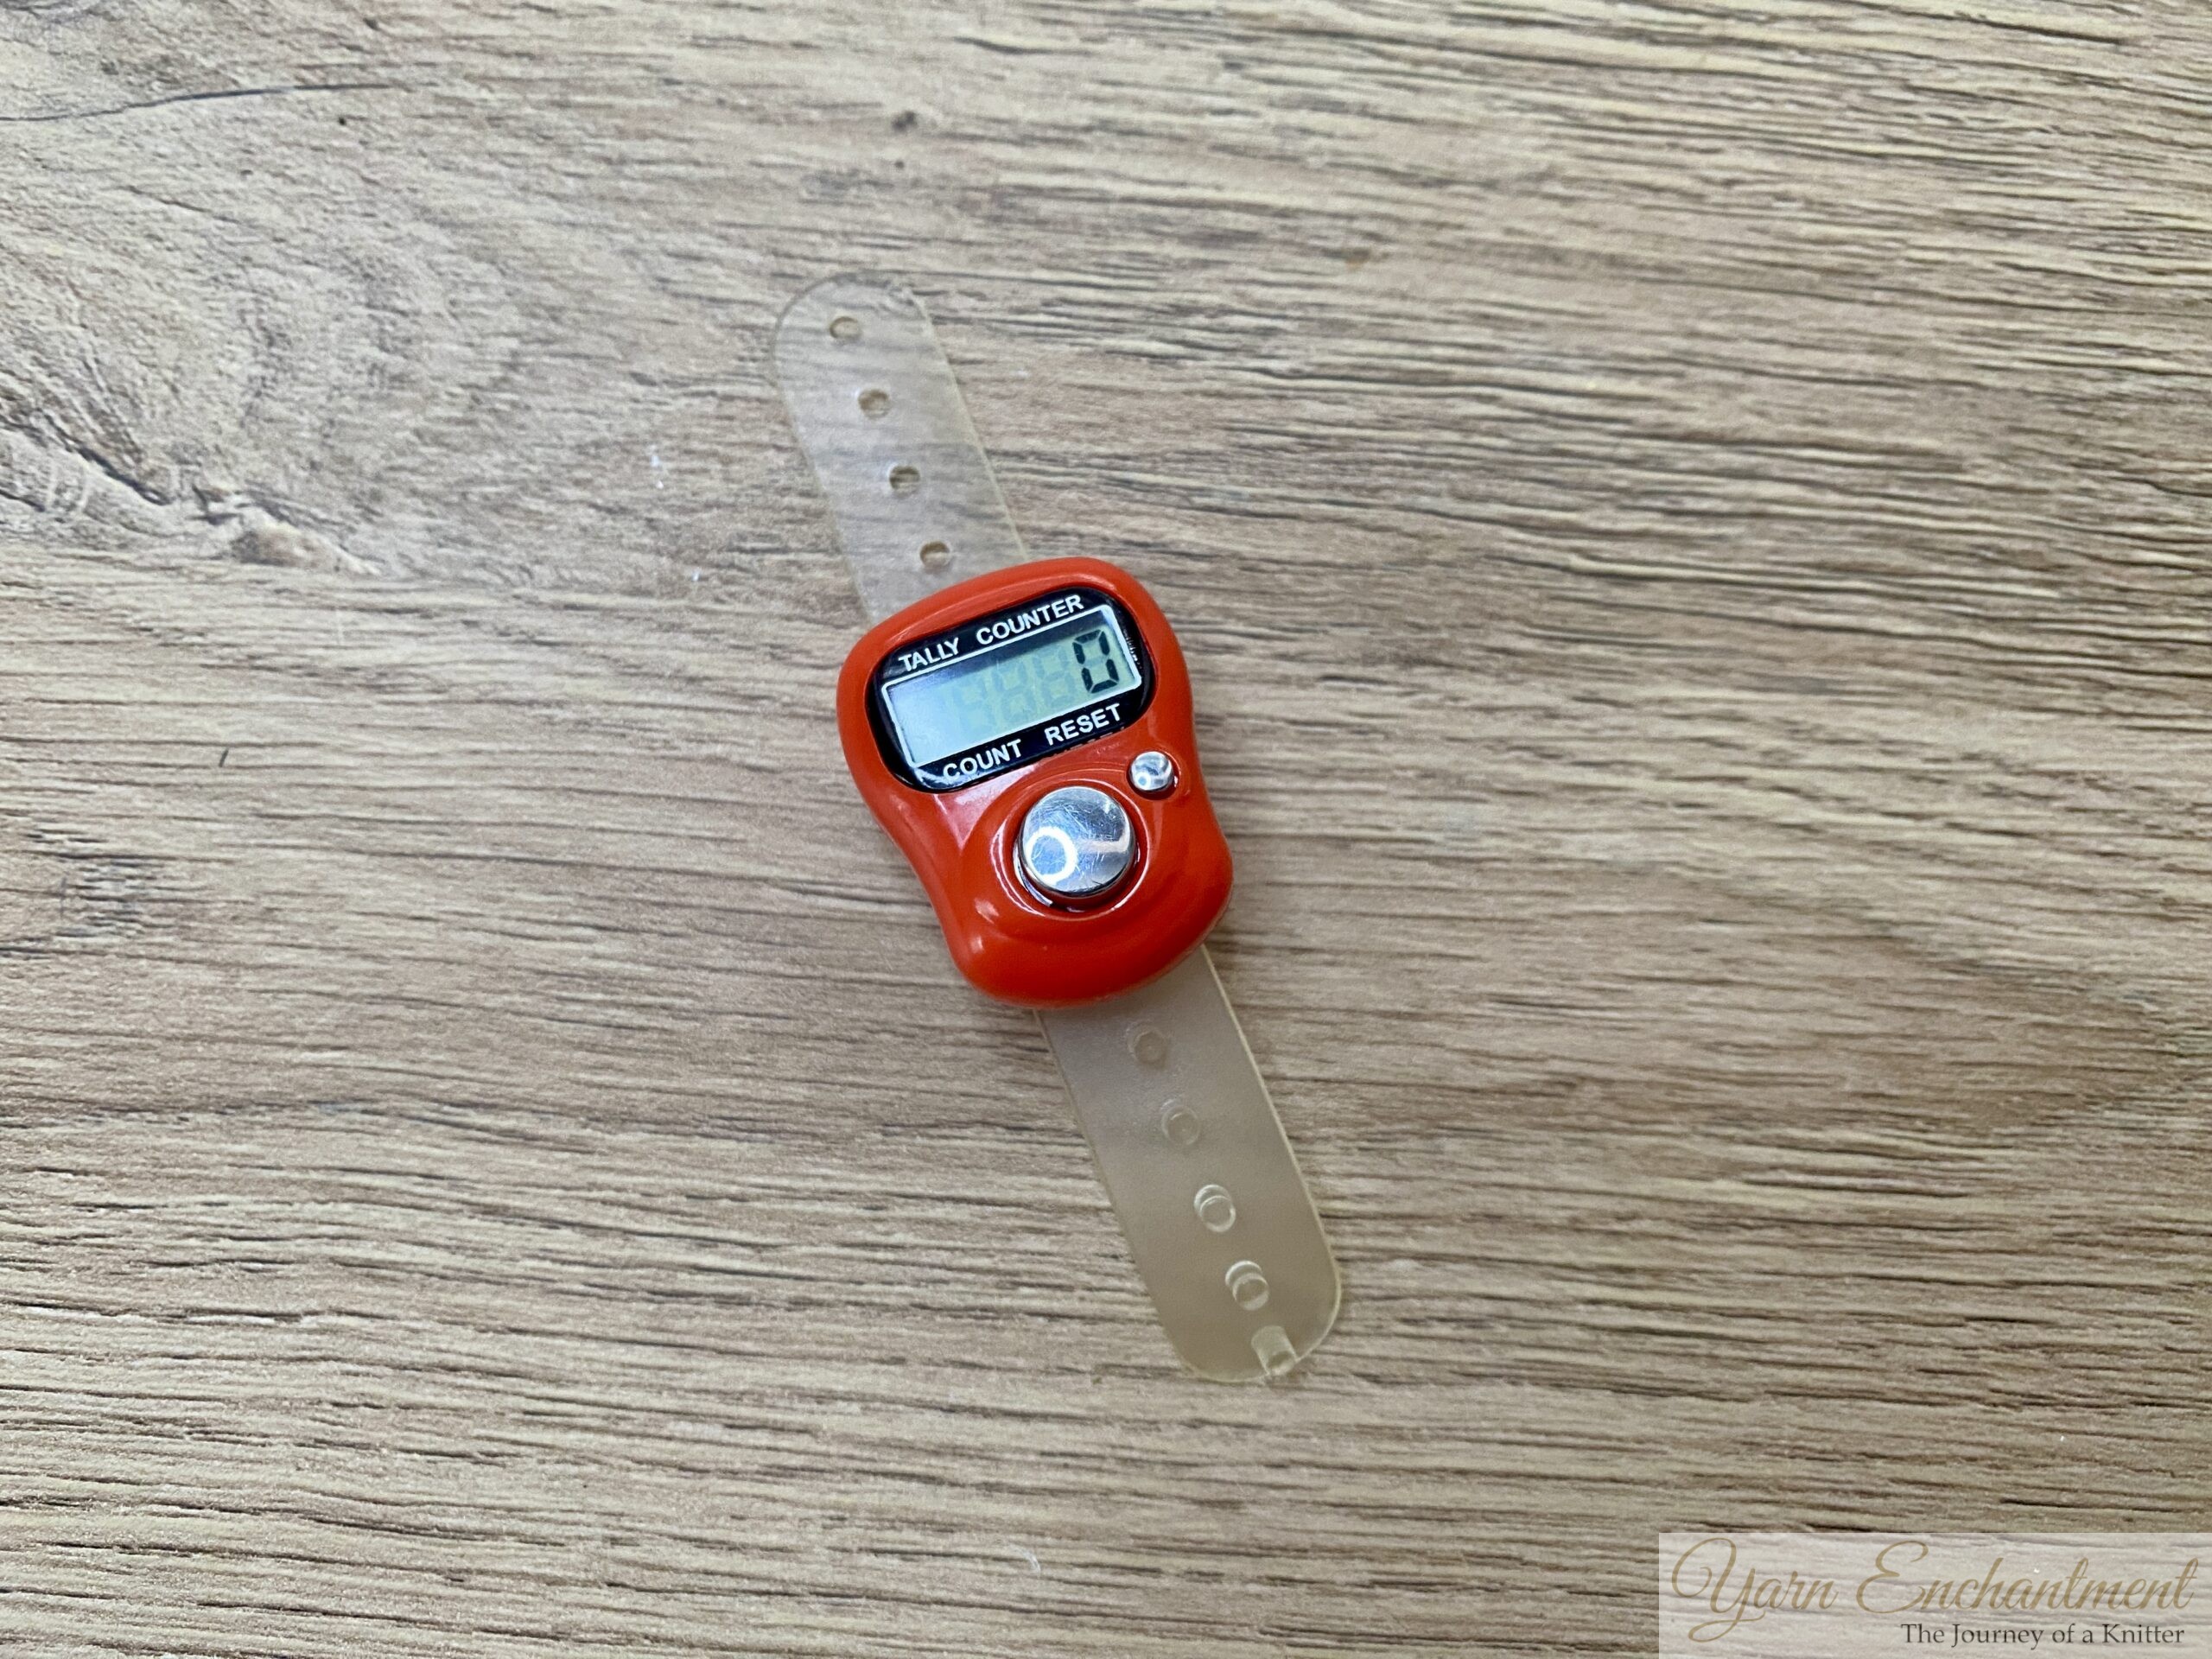 | I have had this row counter for almost 10 years. It is definitely one of those tools I cannot imagine not having. You simply slip it onto your finger, and every time you finish a row, you just press the big silver button with your thumb. So simple, but it makes such a difference. |

Strategic Yarn Management
This scarf is wonderful for using up leftover yarn. But nothing is worse than running out of yarn right before the end. Here is a simple strategy.
Weigh your yarn before you start. Work the increase section until you have used roughly half of your yarn. I like to use about 50 percent plus a little extra, maybe 10 percent, just to be safe. Then start the decrease section. This way you use as much yarn as possible for the longest scarf your stash allows. It is one of the best yarn tips for new crafters I know. I needed 1 skein for the large scarf.
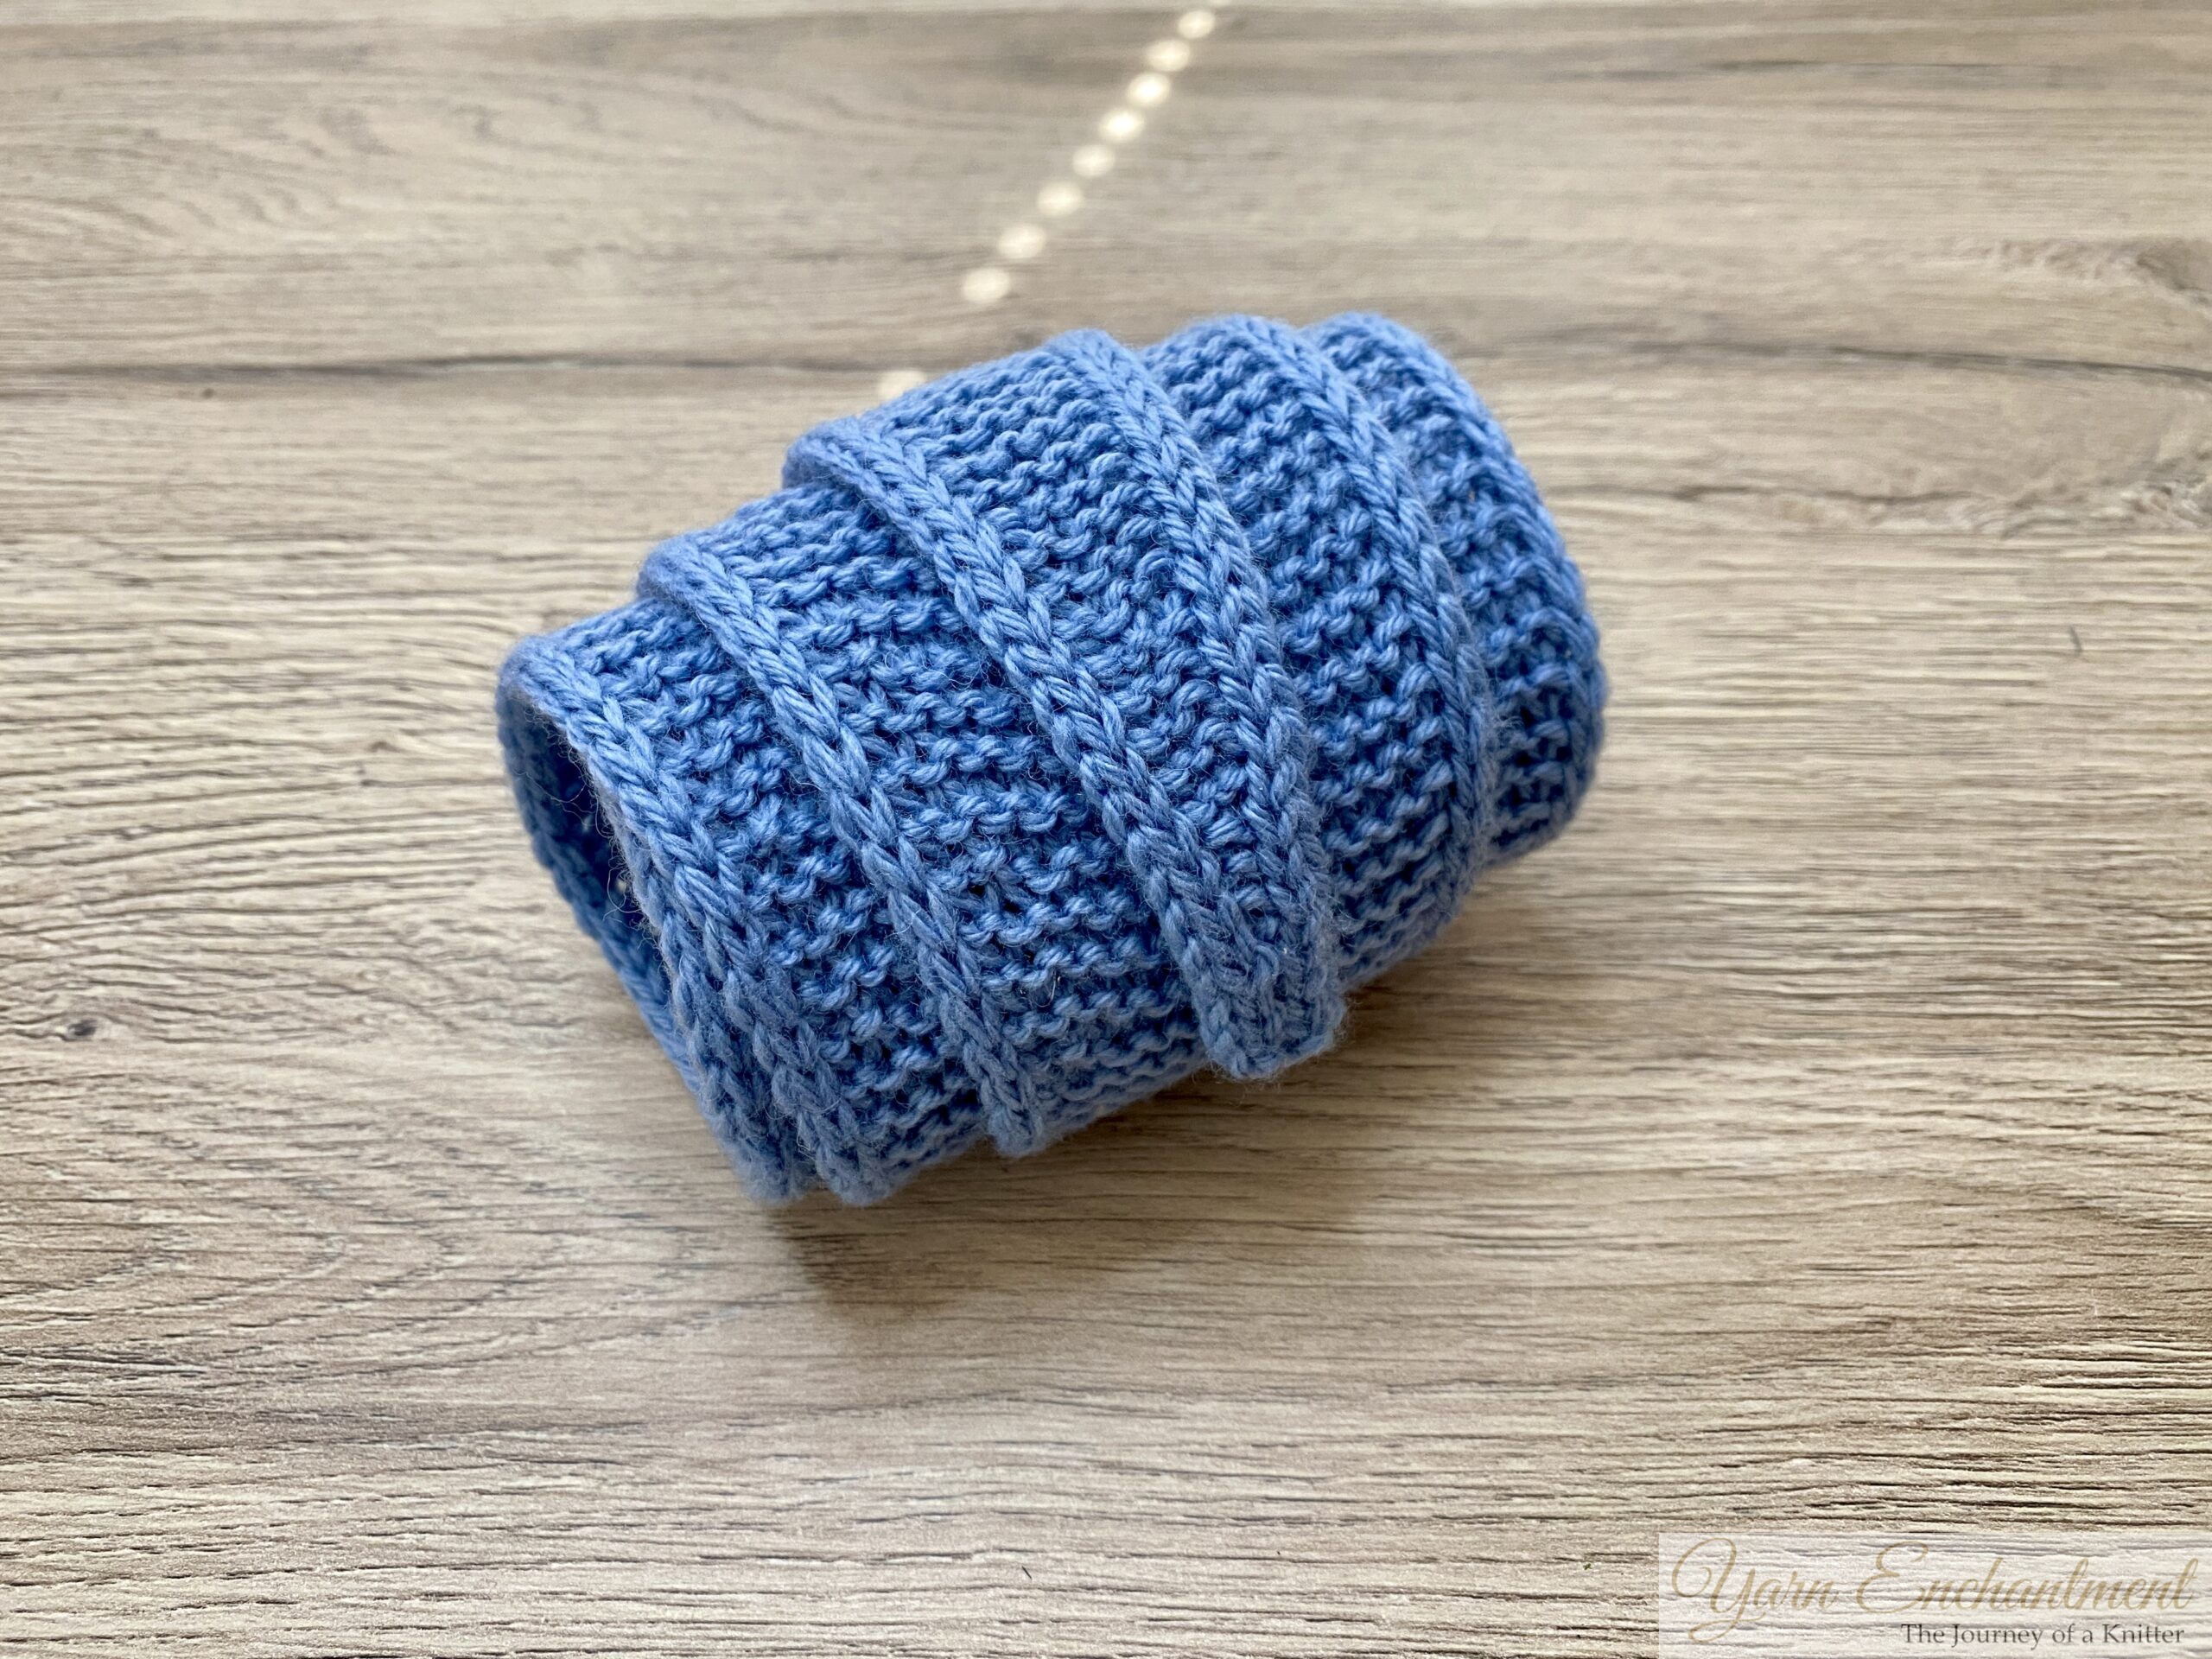 | I wanted to roll it into a little croissant, just like the ones you see in the pretty pictures. |

Do Not Forget to Block
Blocking is a game changer for this pattern. I cannot stress this enough. When you finish your scarf, give it a gentle soak in lukewarm water with a drop of wool wash. Let it sit for 10 to 15 minutes. Gently squeeze out the water. Please do not wring it. Roll it in a towel to remove excess moisture. Then pin it into shape on a blocking mat and let it dry.
You will be amazed. The stitches, increases, and decreases even out, the fabric softens, and suddenly your scarf looks like you bought it from a fancy boutique.
Remember the Golden Rule All increases must happen on the same side of the scarf. I know this sounds simple, but it is the most common mistake beginners make. If you accidentally increase on both sides or switch sides, the shape will be off. Focus on keeping that consistency. Mark your right side with a stitch marker so you never forget.
Final Thoughts
In my opinion, this pattern is a raw canvas, and the possibilities are endless. You can knit it in garter stitch, moss stitch, stockinette stitch, whatever you want. Let your creativity shine.
I would really love to hear your tips and tricks. What stitch pattern did you use for your Sophie Scarf?
Drop a comment below and tell me all about your project. I cannot wait to read your stories. And if you found these tips helpful, please share this post with your knitting friends.
Until next time, happy knitting!
|
Sophie Scarf Project Details
Pattern: Sophie Scarf by PetiteKnit
Size: L (Large)
Needles & Yarn
Needles: US 6 (4.0 mm)
Yarn: Lana Grossa Merino Uno, Colorway 67, 1 skeins (about 125.0 meters / 46 grams total)
A Little Way to Say Thanks
You Might Also Like


 |
|
Join the Cozy Corner Newsletter
Hello, creative soul. Welcome to the Yarn Enchantment Newsletter, a little space where we celebrate all things cozy, crafty, and full of heart. Think of this as your friendly crafting companion, a soft dose of inspiration delivered straight to your inbox, just for you. Each newsletter brings you: ✨ Notifications about new patterns and tutorials – easy knitting patterns and beginner crochet projects you won’t find anywhere else 🧶 Practical yarn tips for new crafters, plus advice on the best yarn for fall, blankets, and handmade gifts 💌 Small stories and adventures from my own workbench, because crafting is as much about the journey as the finished piece Whether you’re knitting by the fire, looking for your next creative spark, or simply wanting a quiet moment with your hooks and needles, this newsletter is here to cheer you on. Crafting isn’t just about the final project. It’s about the joy, the peace, and the stories we weave along the way. So grab a cup of tea or coffee, settle in, and join me. Together we’ll make a little magic, one stitch and one story at a time. I’m so glad you’re here. Let’s create something beautiful together. Sign up below to receive your first email, and feel free to leave a comment on the blog if there’s a topic you’d love to see covered. Your ideas might just become our next newsletter feature. (Note: If you're using an ad blocker, you may encounter issues subscribing to the newsletter. To subscribe, please consider disabling your ad blocker.)
|


