
How to Cast On with DPNs without Twisting Stitches | Beginner-Friendly
July 14, 2025
The Complete Guide to the Knit Stitch: Start Your Knitting Journey Today
July 22, 2025Rosy Ruffle Tee: Handmade Knitted Top to Match the Skeeter Skirt | DIY Knitting Inspiration

Originally published on July 19, 2025
Last summer, I had the chance to test-knit the Skeeter Skirt by Maya Déglon - a project that turned out even better than I imagined. When I finished the skirt, I realized I still had quite a bit of yarn left. Naturally, my next thought was: “Why not make a matching tee?”
At first, I scoured the internet for patterns, hoping to find something that would pair perfectly with the skirt. But nothing really caught my eye. That’s when I decided to take matters into my own hands, I’d design the shirt myself!
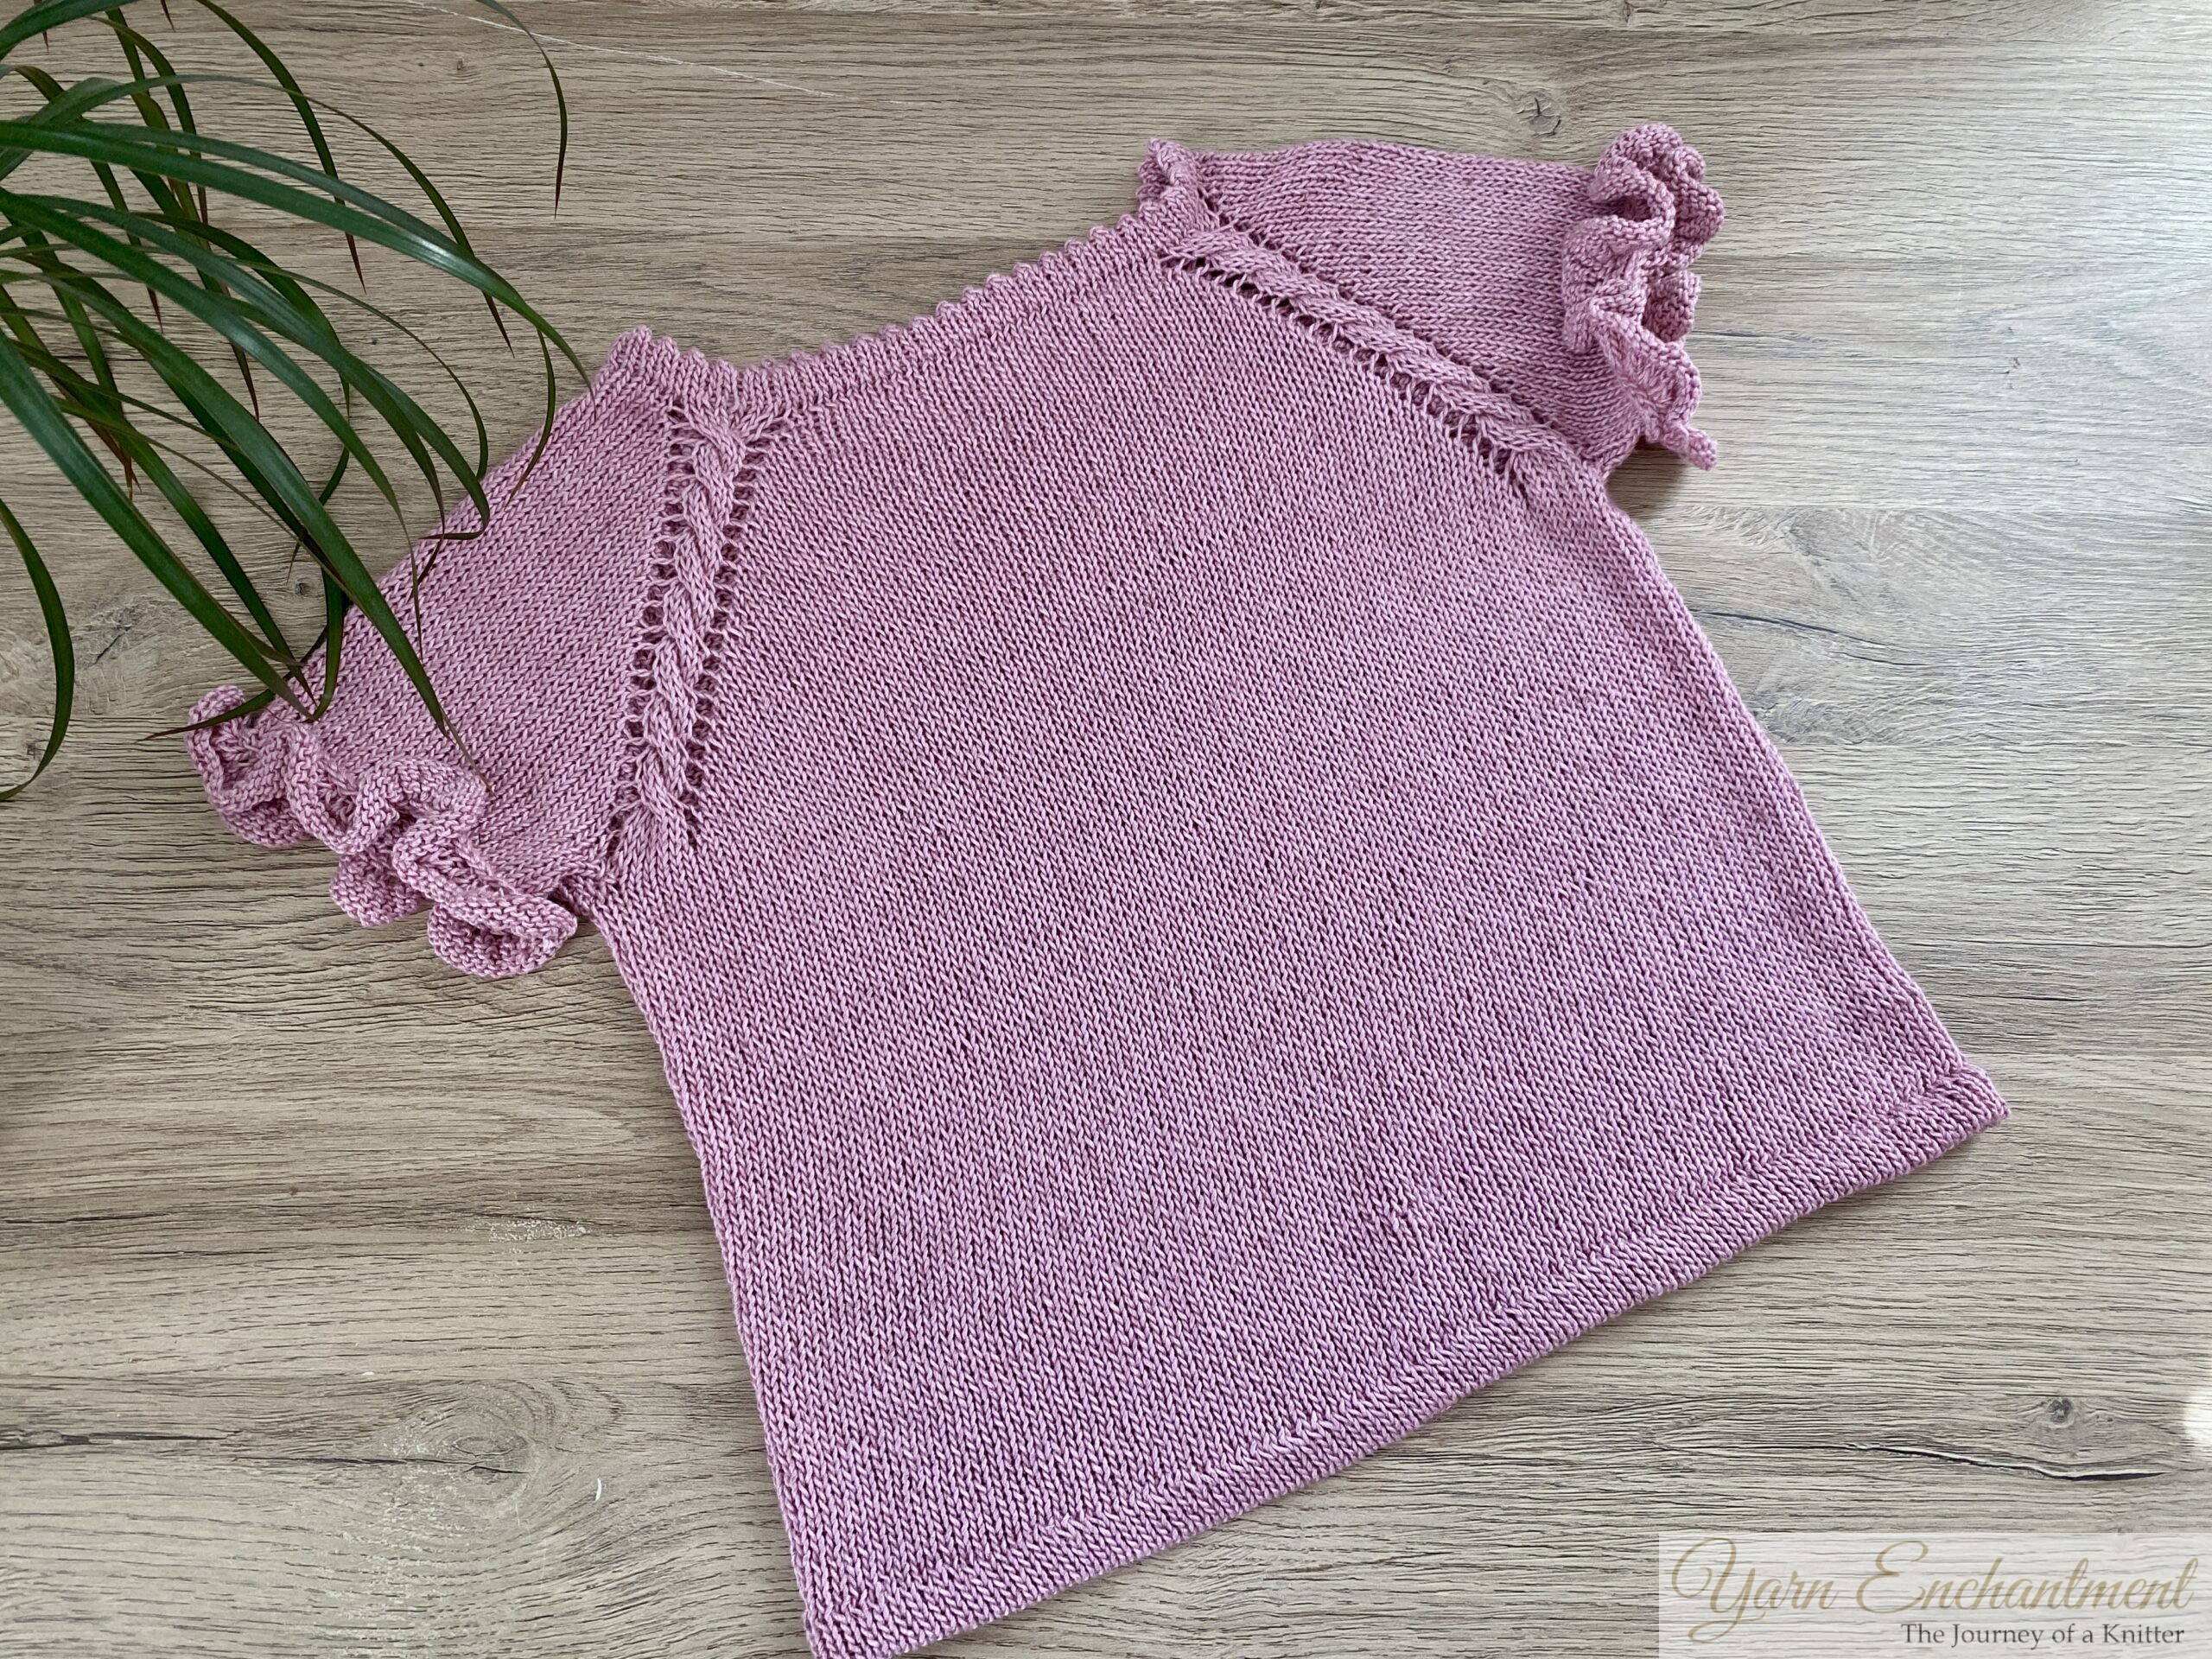 | Rosy Ruffle Tee |
Inspiration Behind the Design
When I started brainstorming ideas for the tee, I knew I wanted it to feel connected to the Skeeter Skirt. The picot edge from the skirt was such a standout detail that I decided to incorporate it into the collar of the tee. It just made sense, it tied everything together beautifully.
Then there was the raglan line. I wanted it to be more open and eye-catching, so I did some research. After browsing through the internet, I discovered that adding a cable to the raglan line was both adorable and surprisingly popular among knitters.
The ruffles on the sleeves were a last-minute inspiration. Since this was a shirt for a little girl, I figured ruffles and picot edges were always a win. And let me tell you, they were the cherry on top.
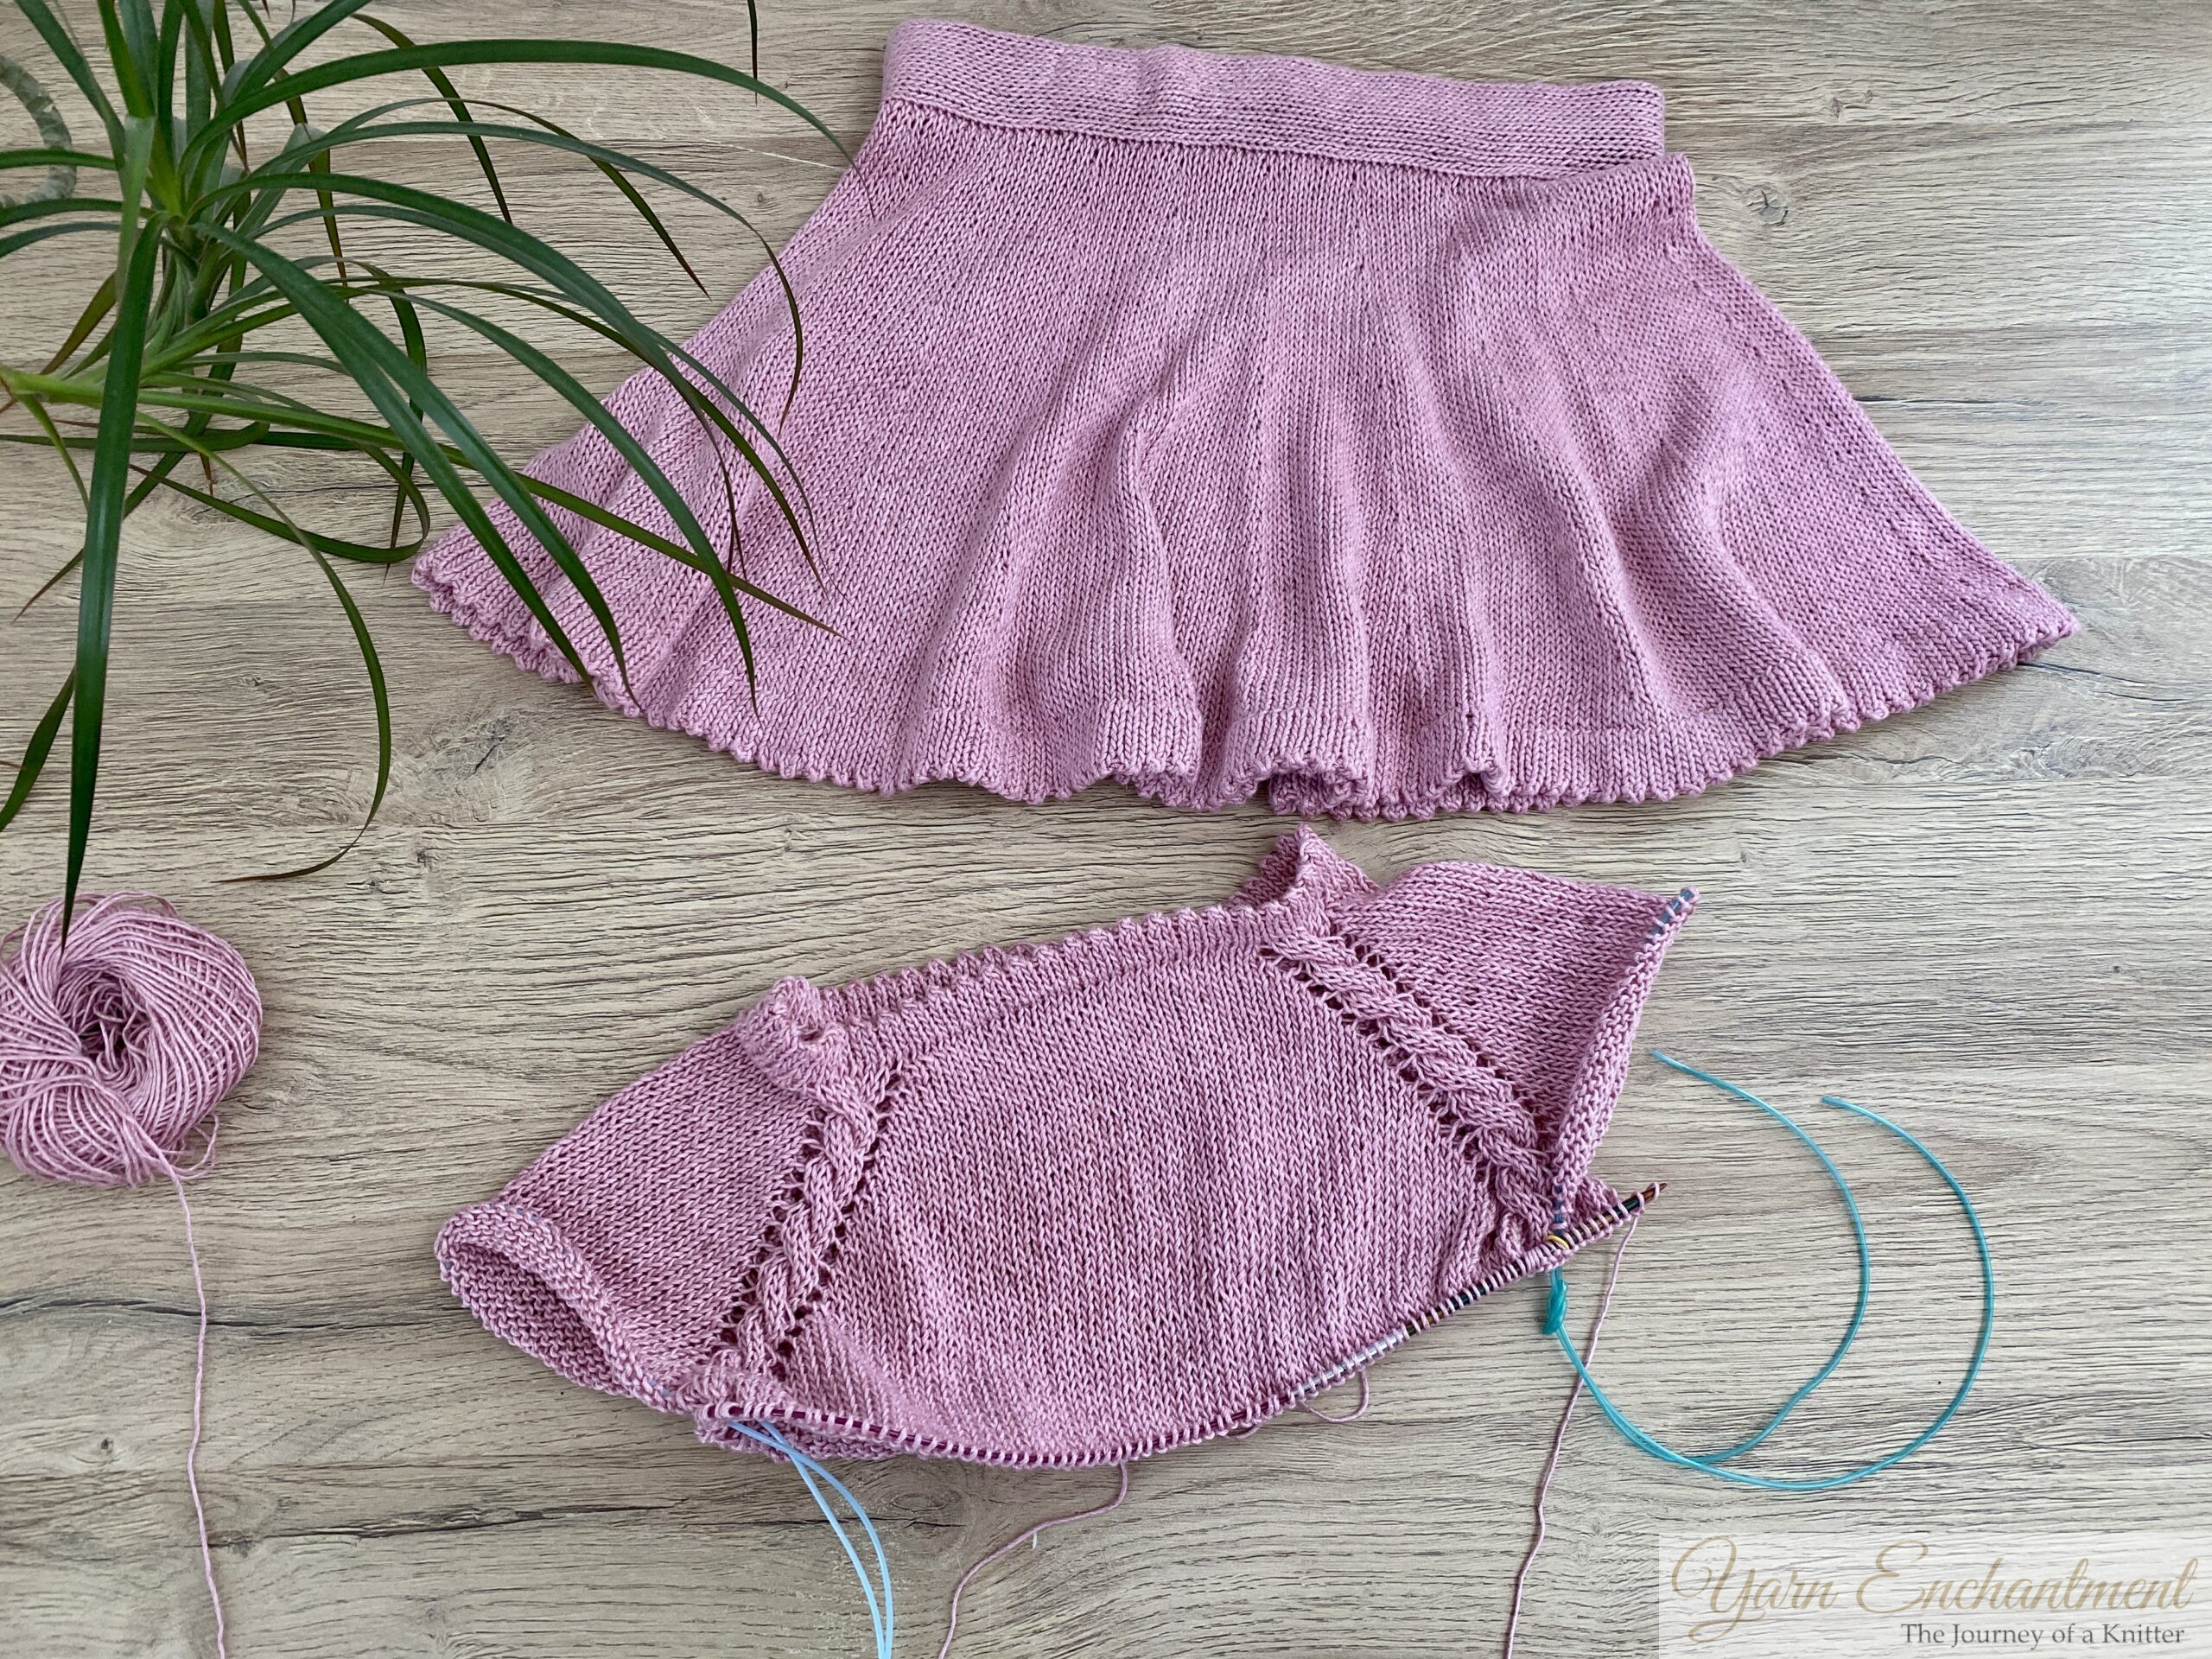
The Skeeter Skirt with the half finished Rosy Ruffle Tee

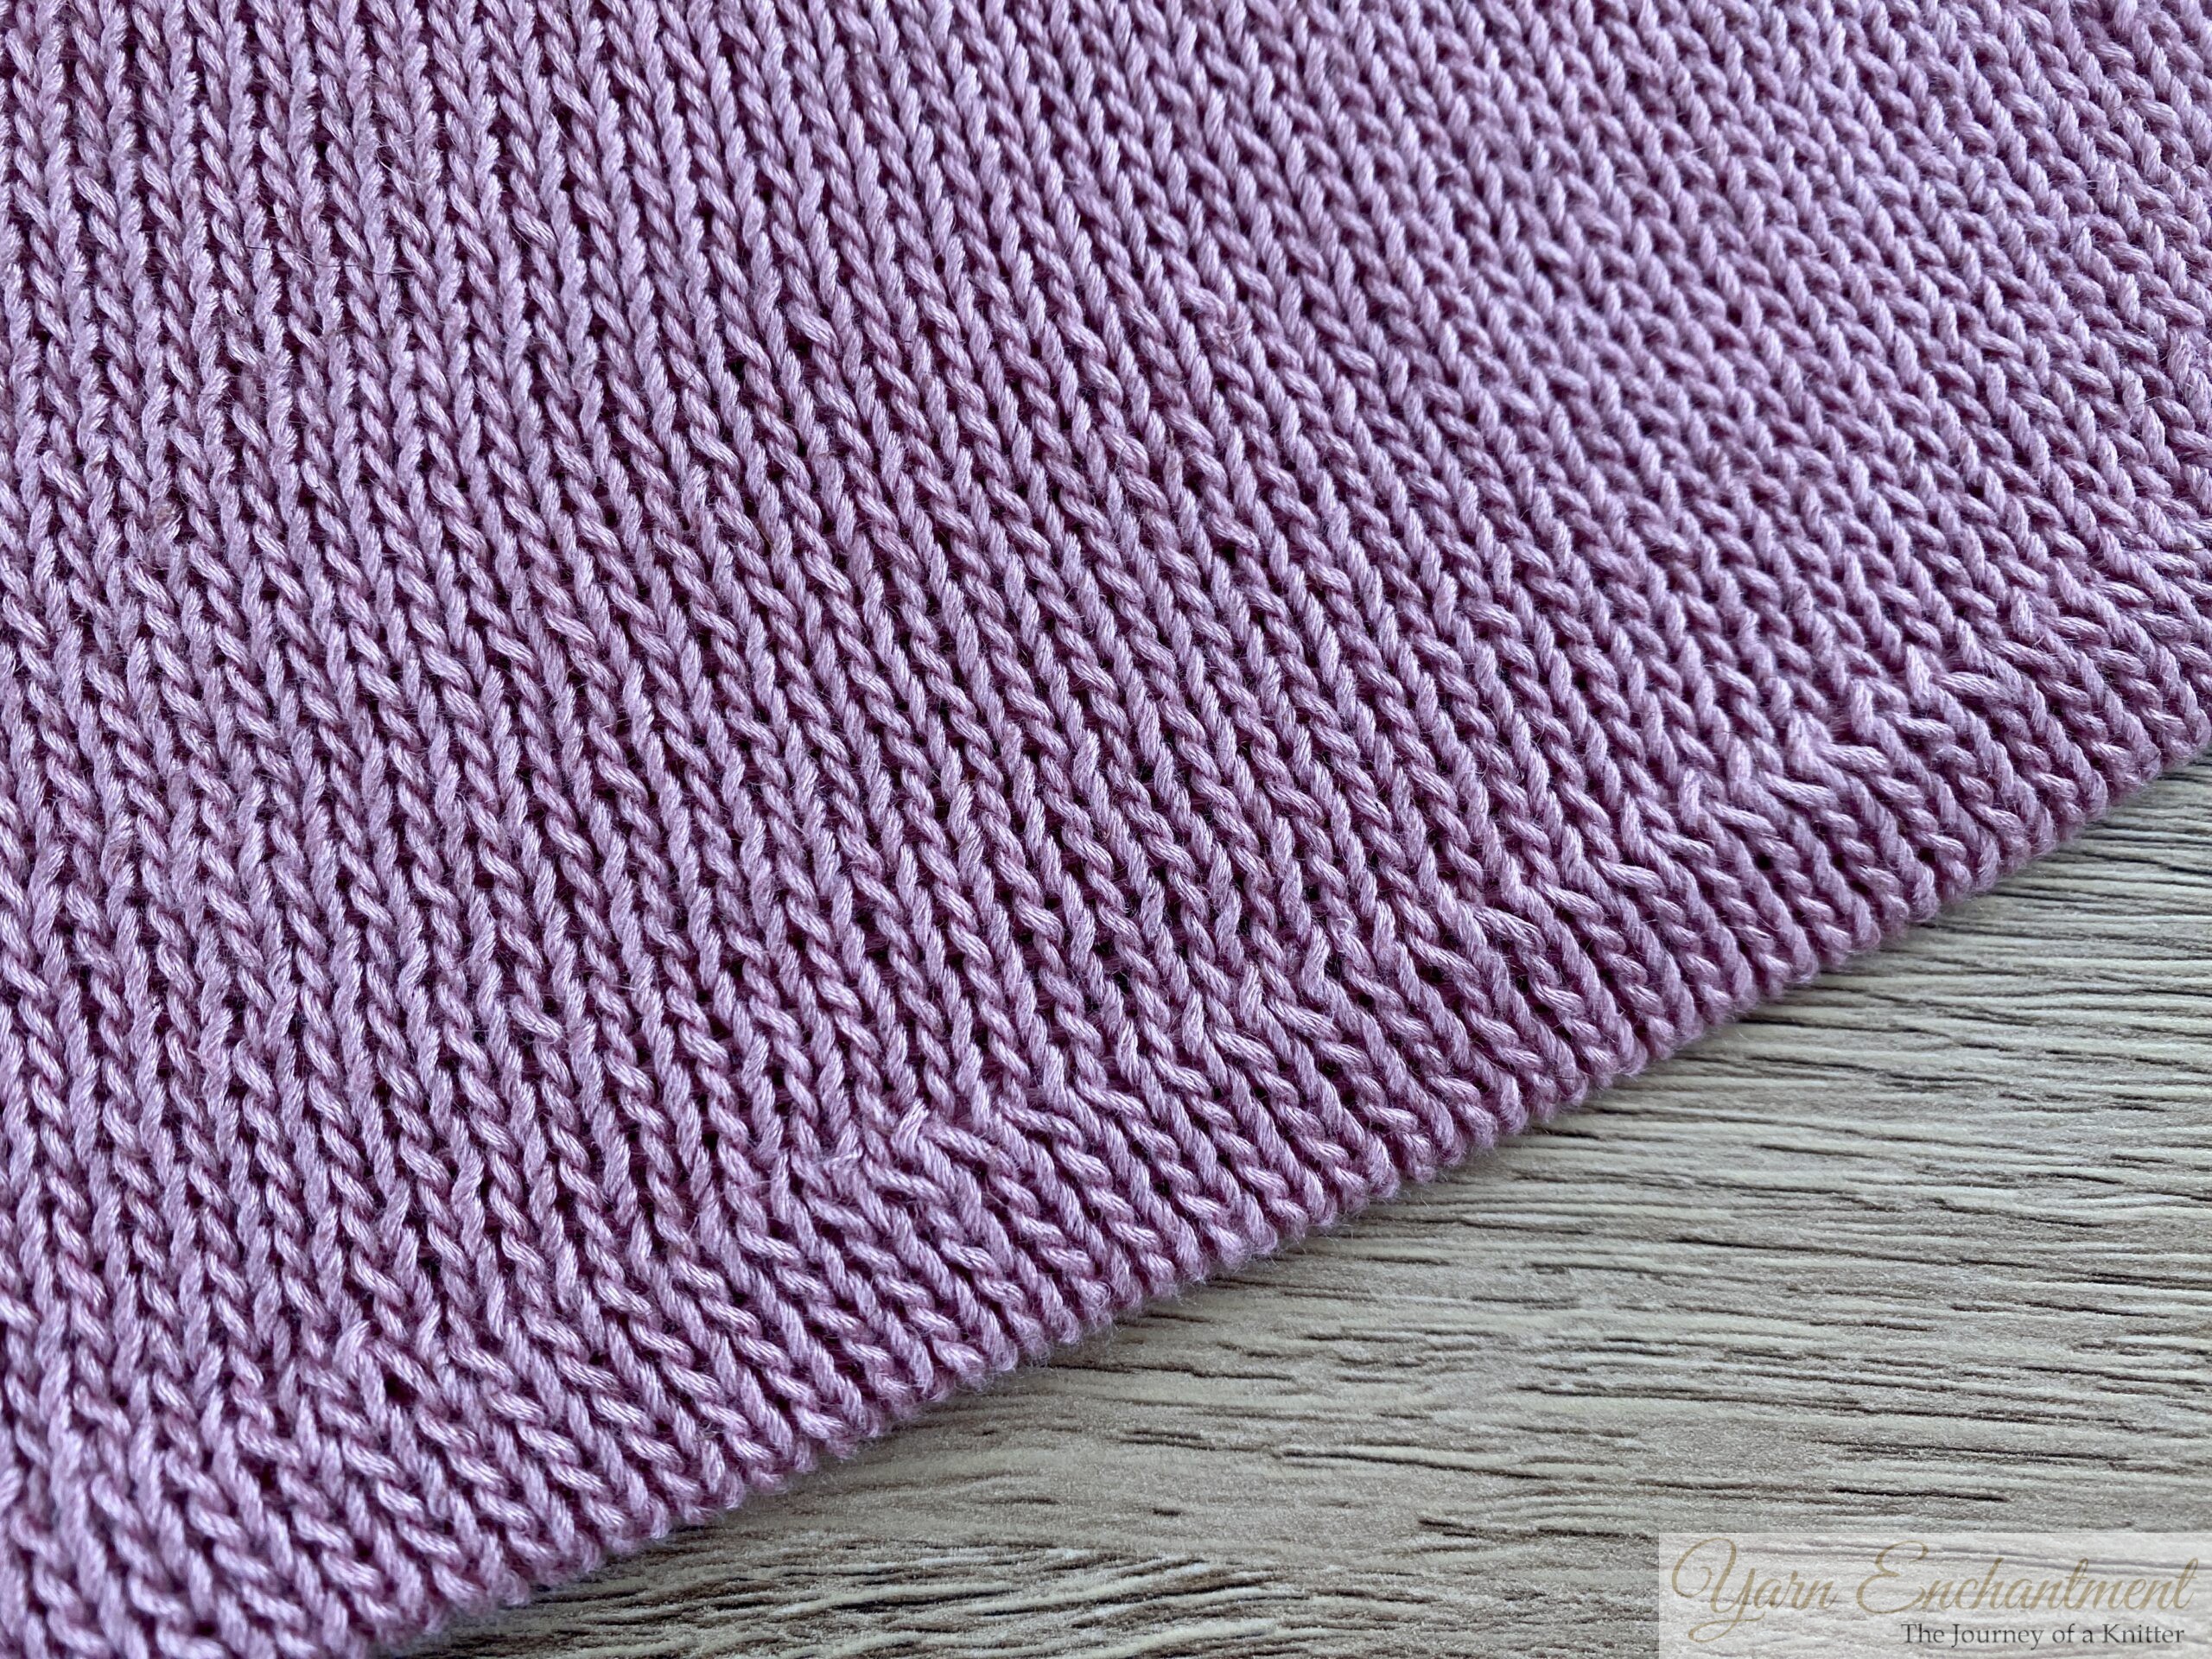
Choosing Linen Yarn
For this project, I used linen yarn, which I adore for its drape and relaxed structure. It’s perfect for breezy tops, summer tees, and flowy garments like the Skeeter Skirt . But working with linen does come with its quirks:
Linen has little to no elasticity. Unlike wool, linen doesn’t “bounce back” after being stretched. When you stretch linen, it stays stretched, which can cause sagging over time, especially at edges like sleeve cuffs or necklines.
If you’re thinking about using linen for your next project, here’s my advice: You can reinforce edges with elastic thread. Block carefully to avoid any sizing mishaps. And the most important advice is to knit a large swatch, block it, and hang a small weight, like a knitting needle, on it while it is drying. This will give you an idea of how much the fiber can stretch and grow over time.
If you're interested in learning more about fibers, I’ve written a detailed Yarn Types Guide, which I frequently update based on my own experiences working with different fibers.
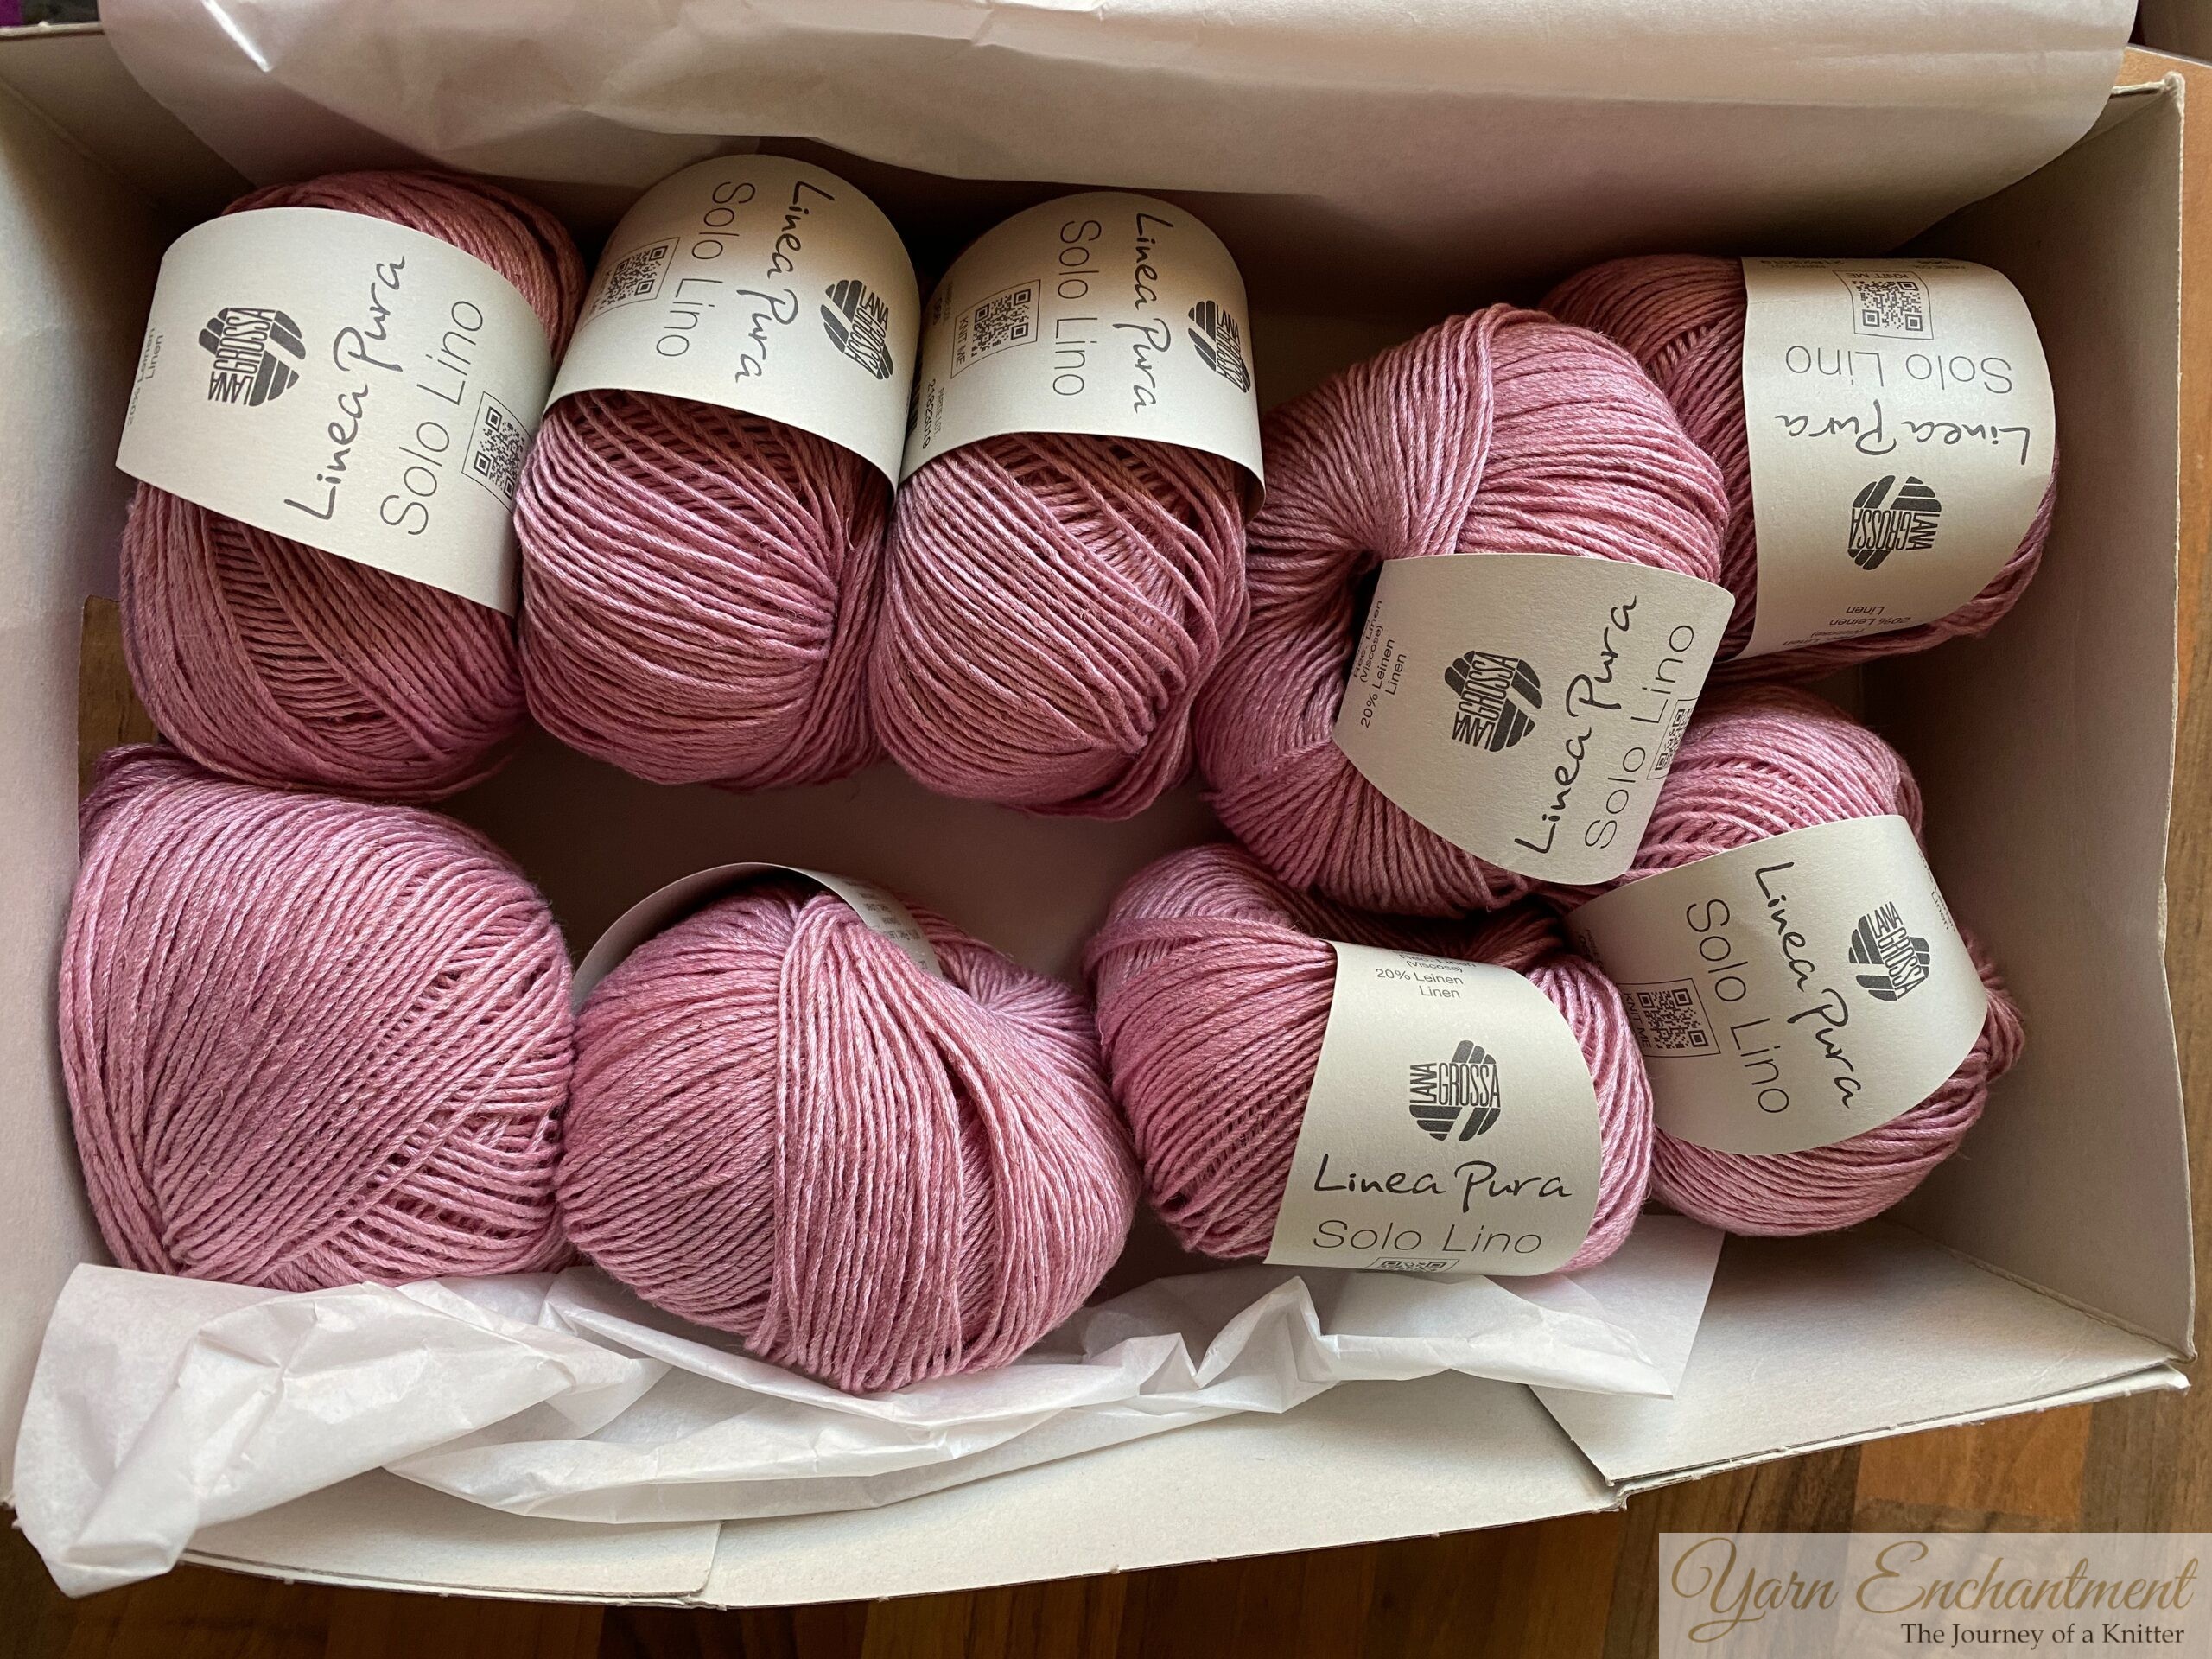
For this project, I used 'Linea Pura Solo Lino' by Lana Grossa. It is a sport-weight yarn and consists of 80% recycled linen (viscose) and 20% linen.

Calculating Raglan Construction
One of the trickiest parts of designing a top-down raglan sweater is figuring out how to allocate stitches. For this tee, I divided them as follows:
35% of stitches went to the back.
40% of the stitches were allocated to the front, which is especially important for women’s garments due to bust shaping. However, children don’t have a bust, so for a child’s garment, you can distribute the stitches equally between the front and back.
30% of stitches were split evenly between the sleeves (15% per sleeve).
While this worked well for my design, I’m planning to write a more detailed tutorial on calculating raglan proportions in the future. So if you’re interested, keep an eye out for that!
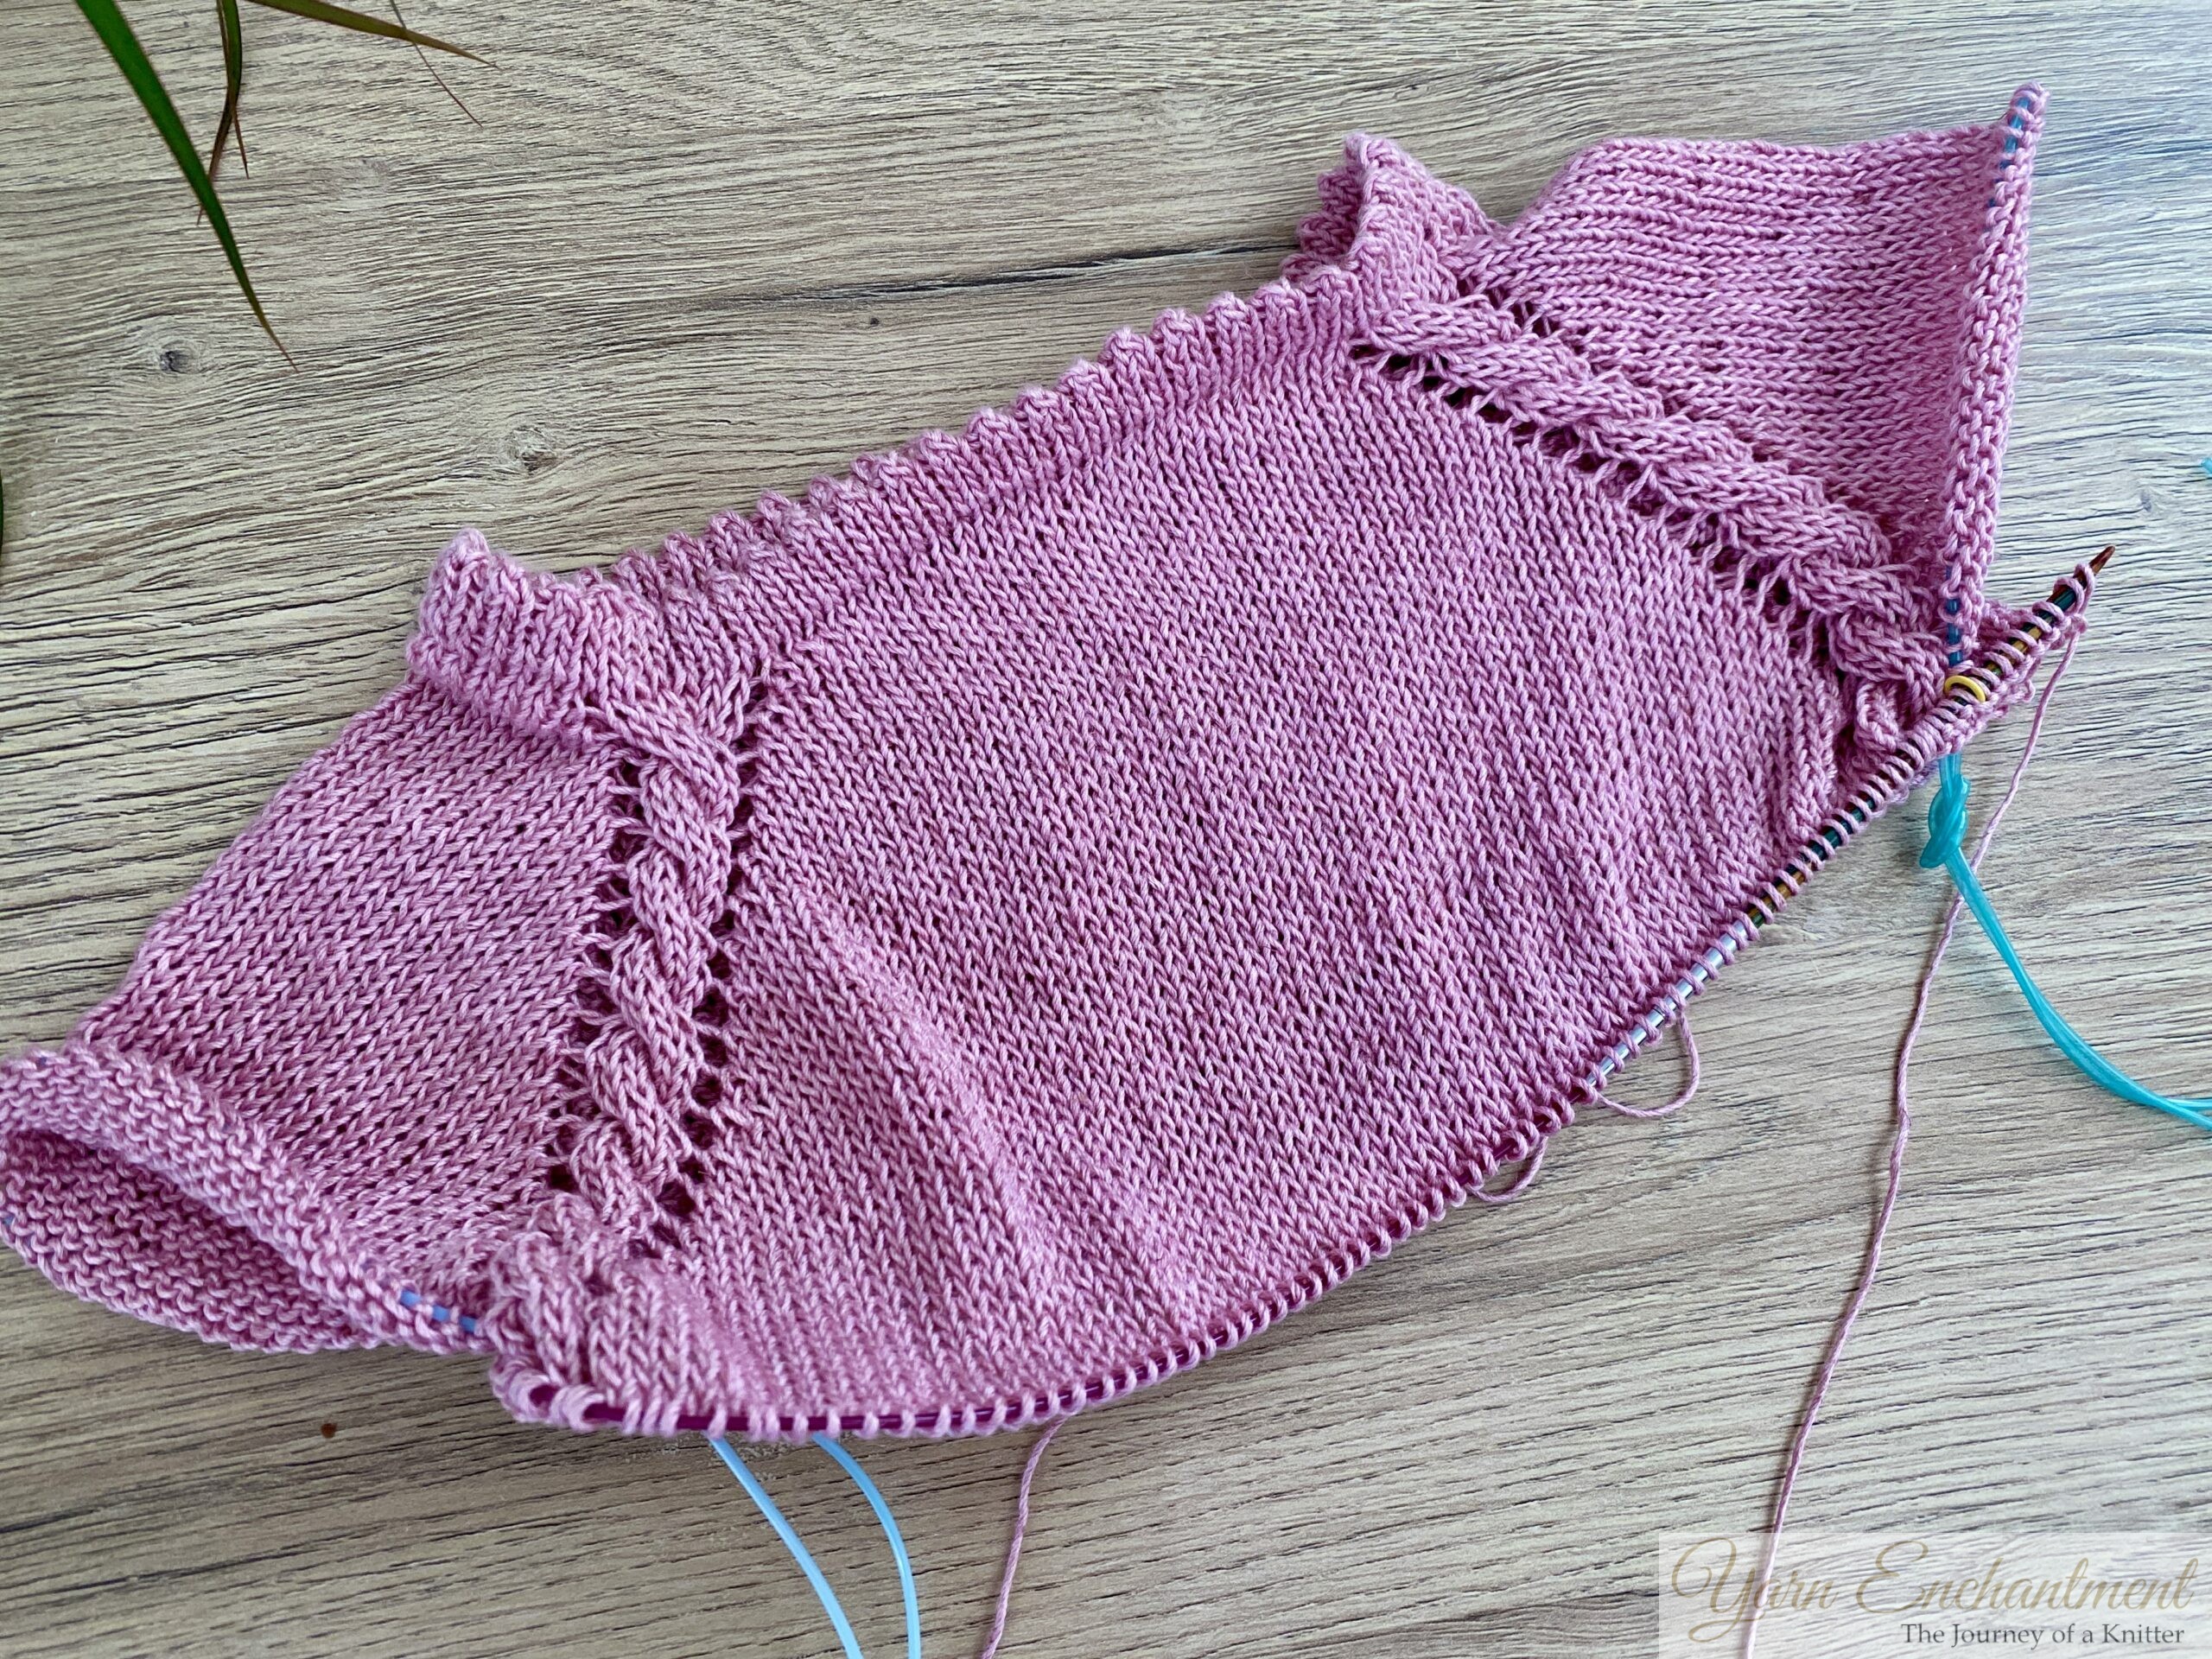
The Rosy Ruffle Tee after separating the sleeves from the body

Step-by-Step Process
1. Taking Measurements
Before jumping into any garment, I always use a well-fitting shirt as a guide. This helps me get the right circumference for the head opening and ensures there’s enough positive ease for comfort.
I’ll admit - I made the head opening a little too big. Thankfully, the elastic thread saved the day. Always double-check those measurements and swatch before casting on.
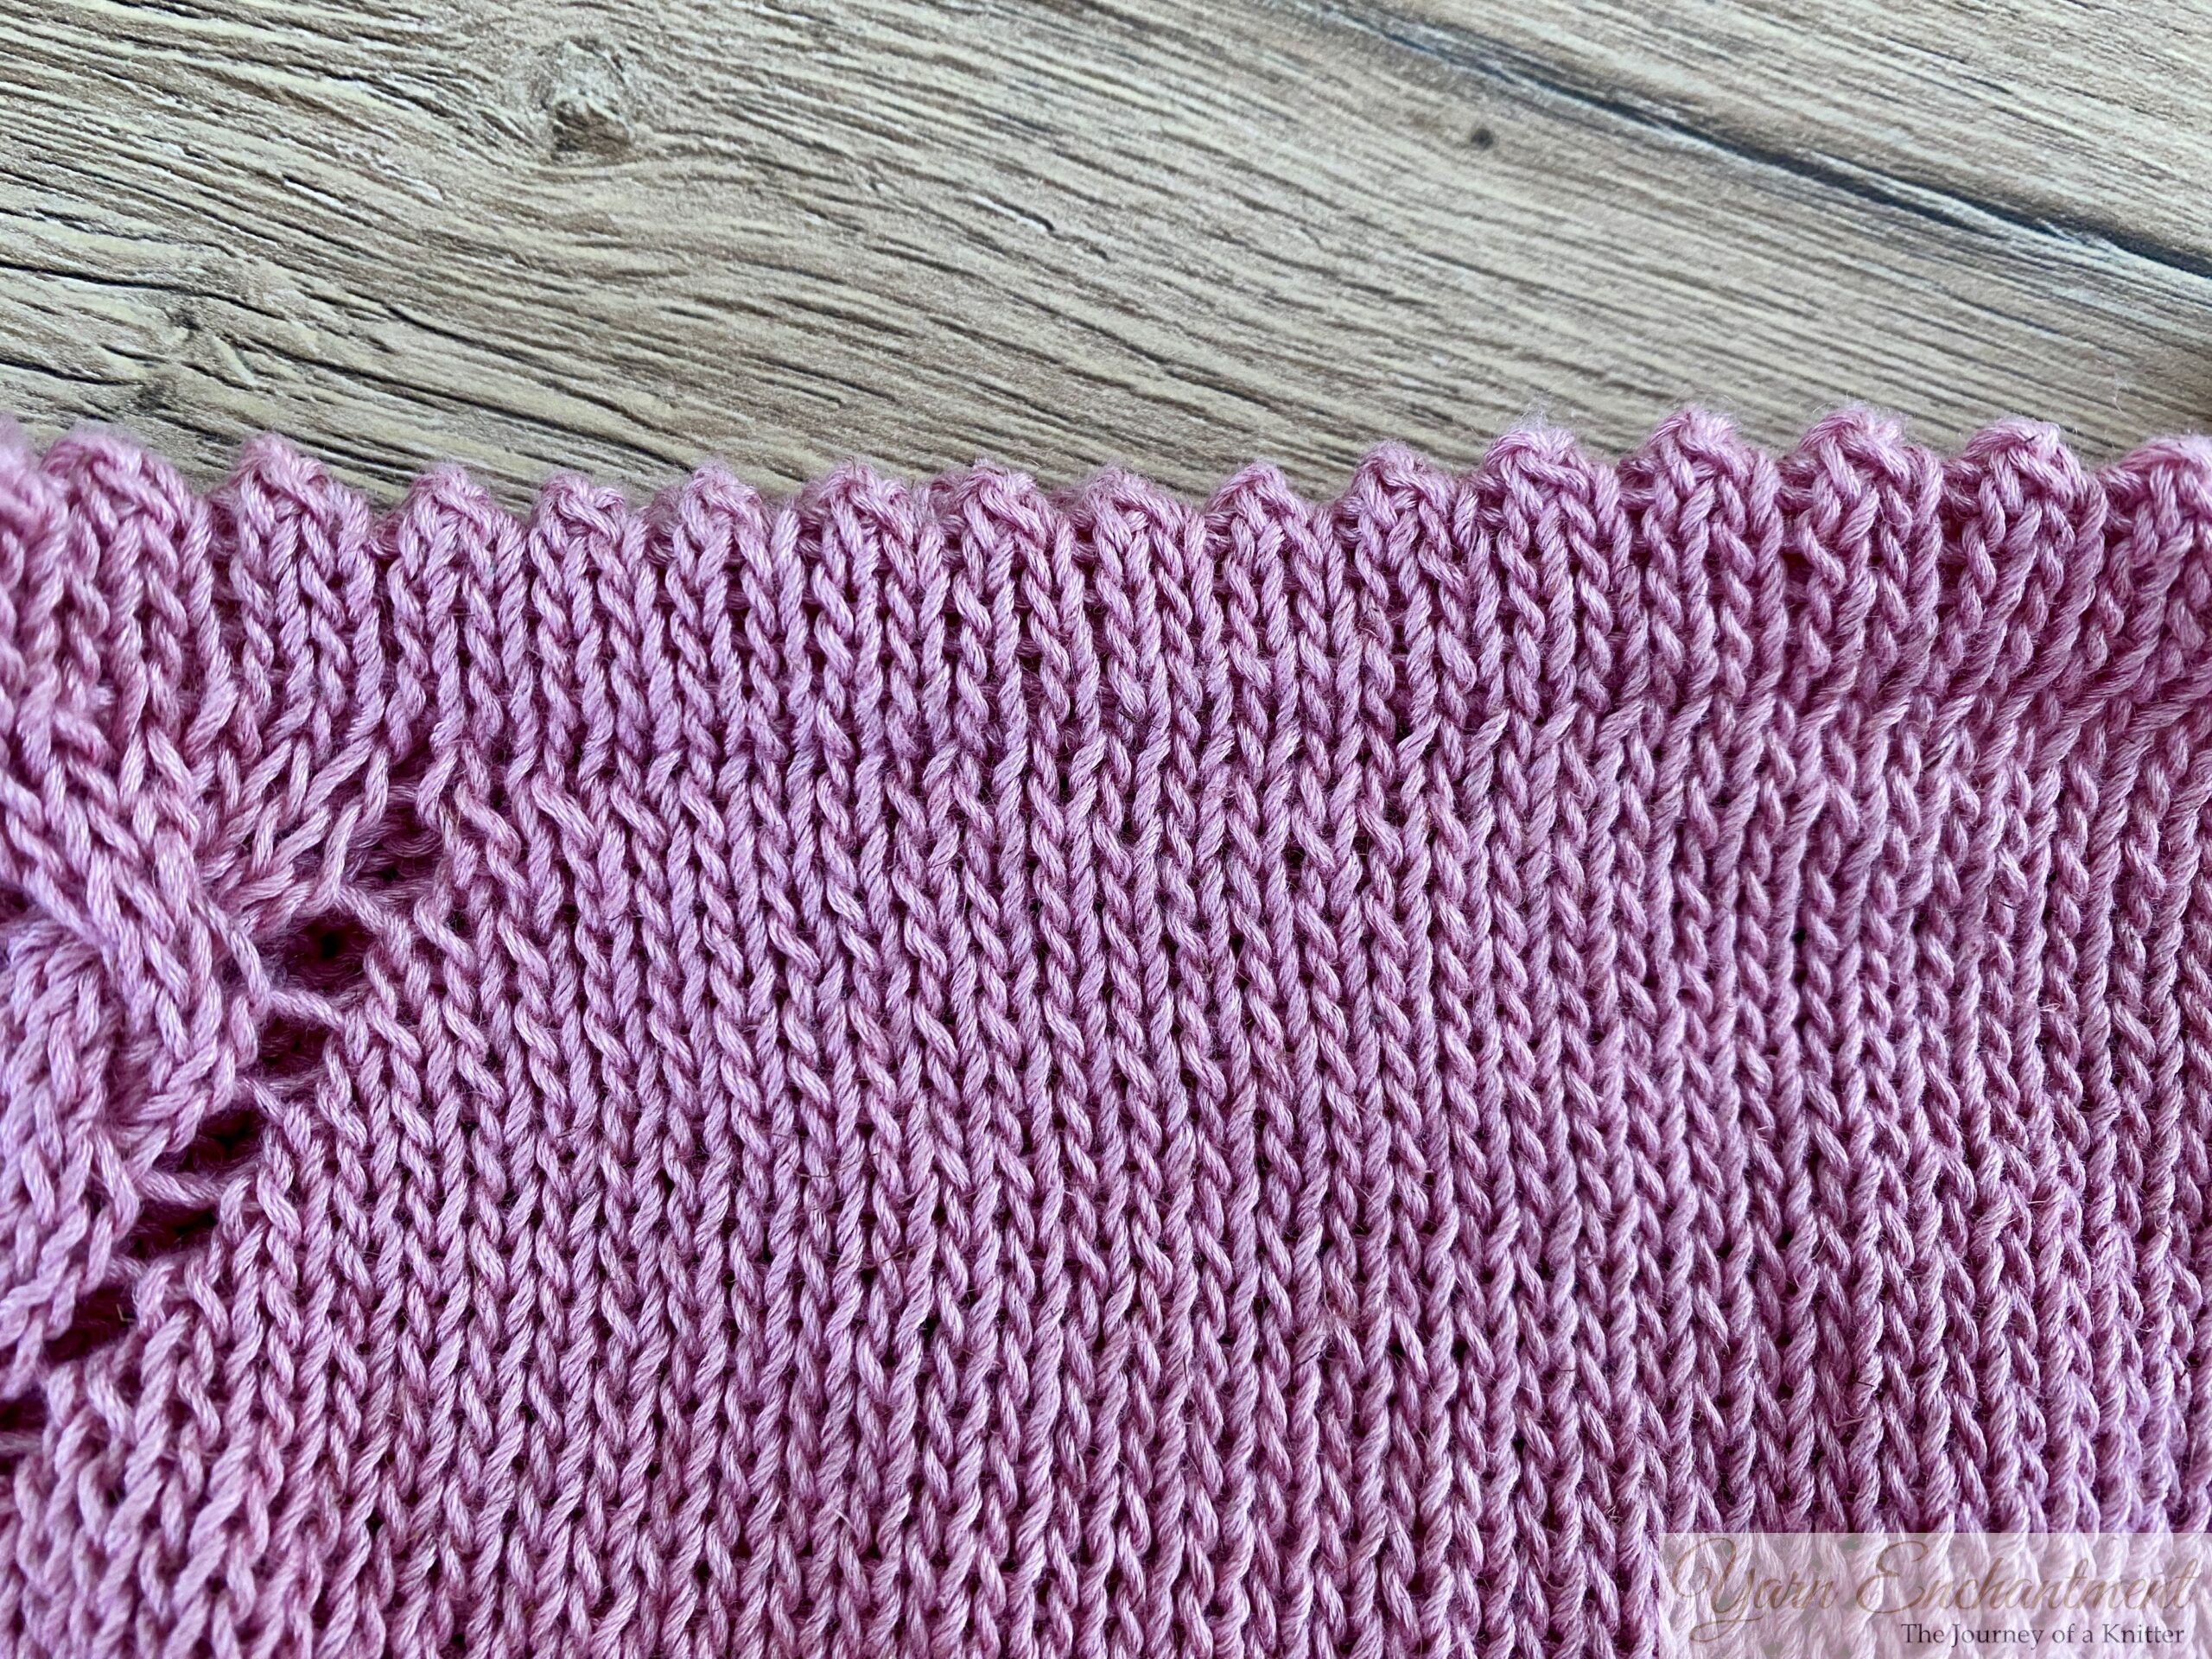
Picot Neckline Instructions
To create the picot neckline, I cast on the number of stitches required for my project. You can use a provisional cast-on if you prefer, but any standard cast-on method will work as well.
- Knit 5 rows in stockinette stitch.
- On the next row, work a picot pattern by repeating the following across the row:
- Knit two together (K2tog), then yarn over (yo). This creates the decorative picot edge.
- After completing the picot row, knit another 5 rows in stockinette stitch.
- To finish, fold the piece in half and carefully knit the cast-on edge together with the live stitches on your needle. This creates a clean and professional picot edge.
I worked a picot neckline

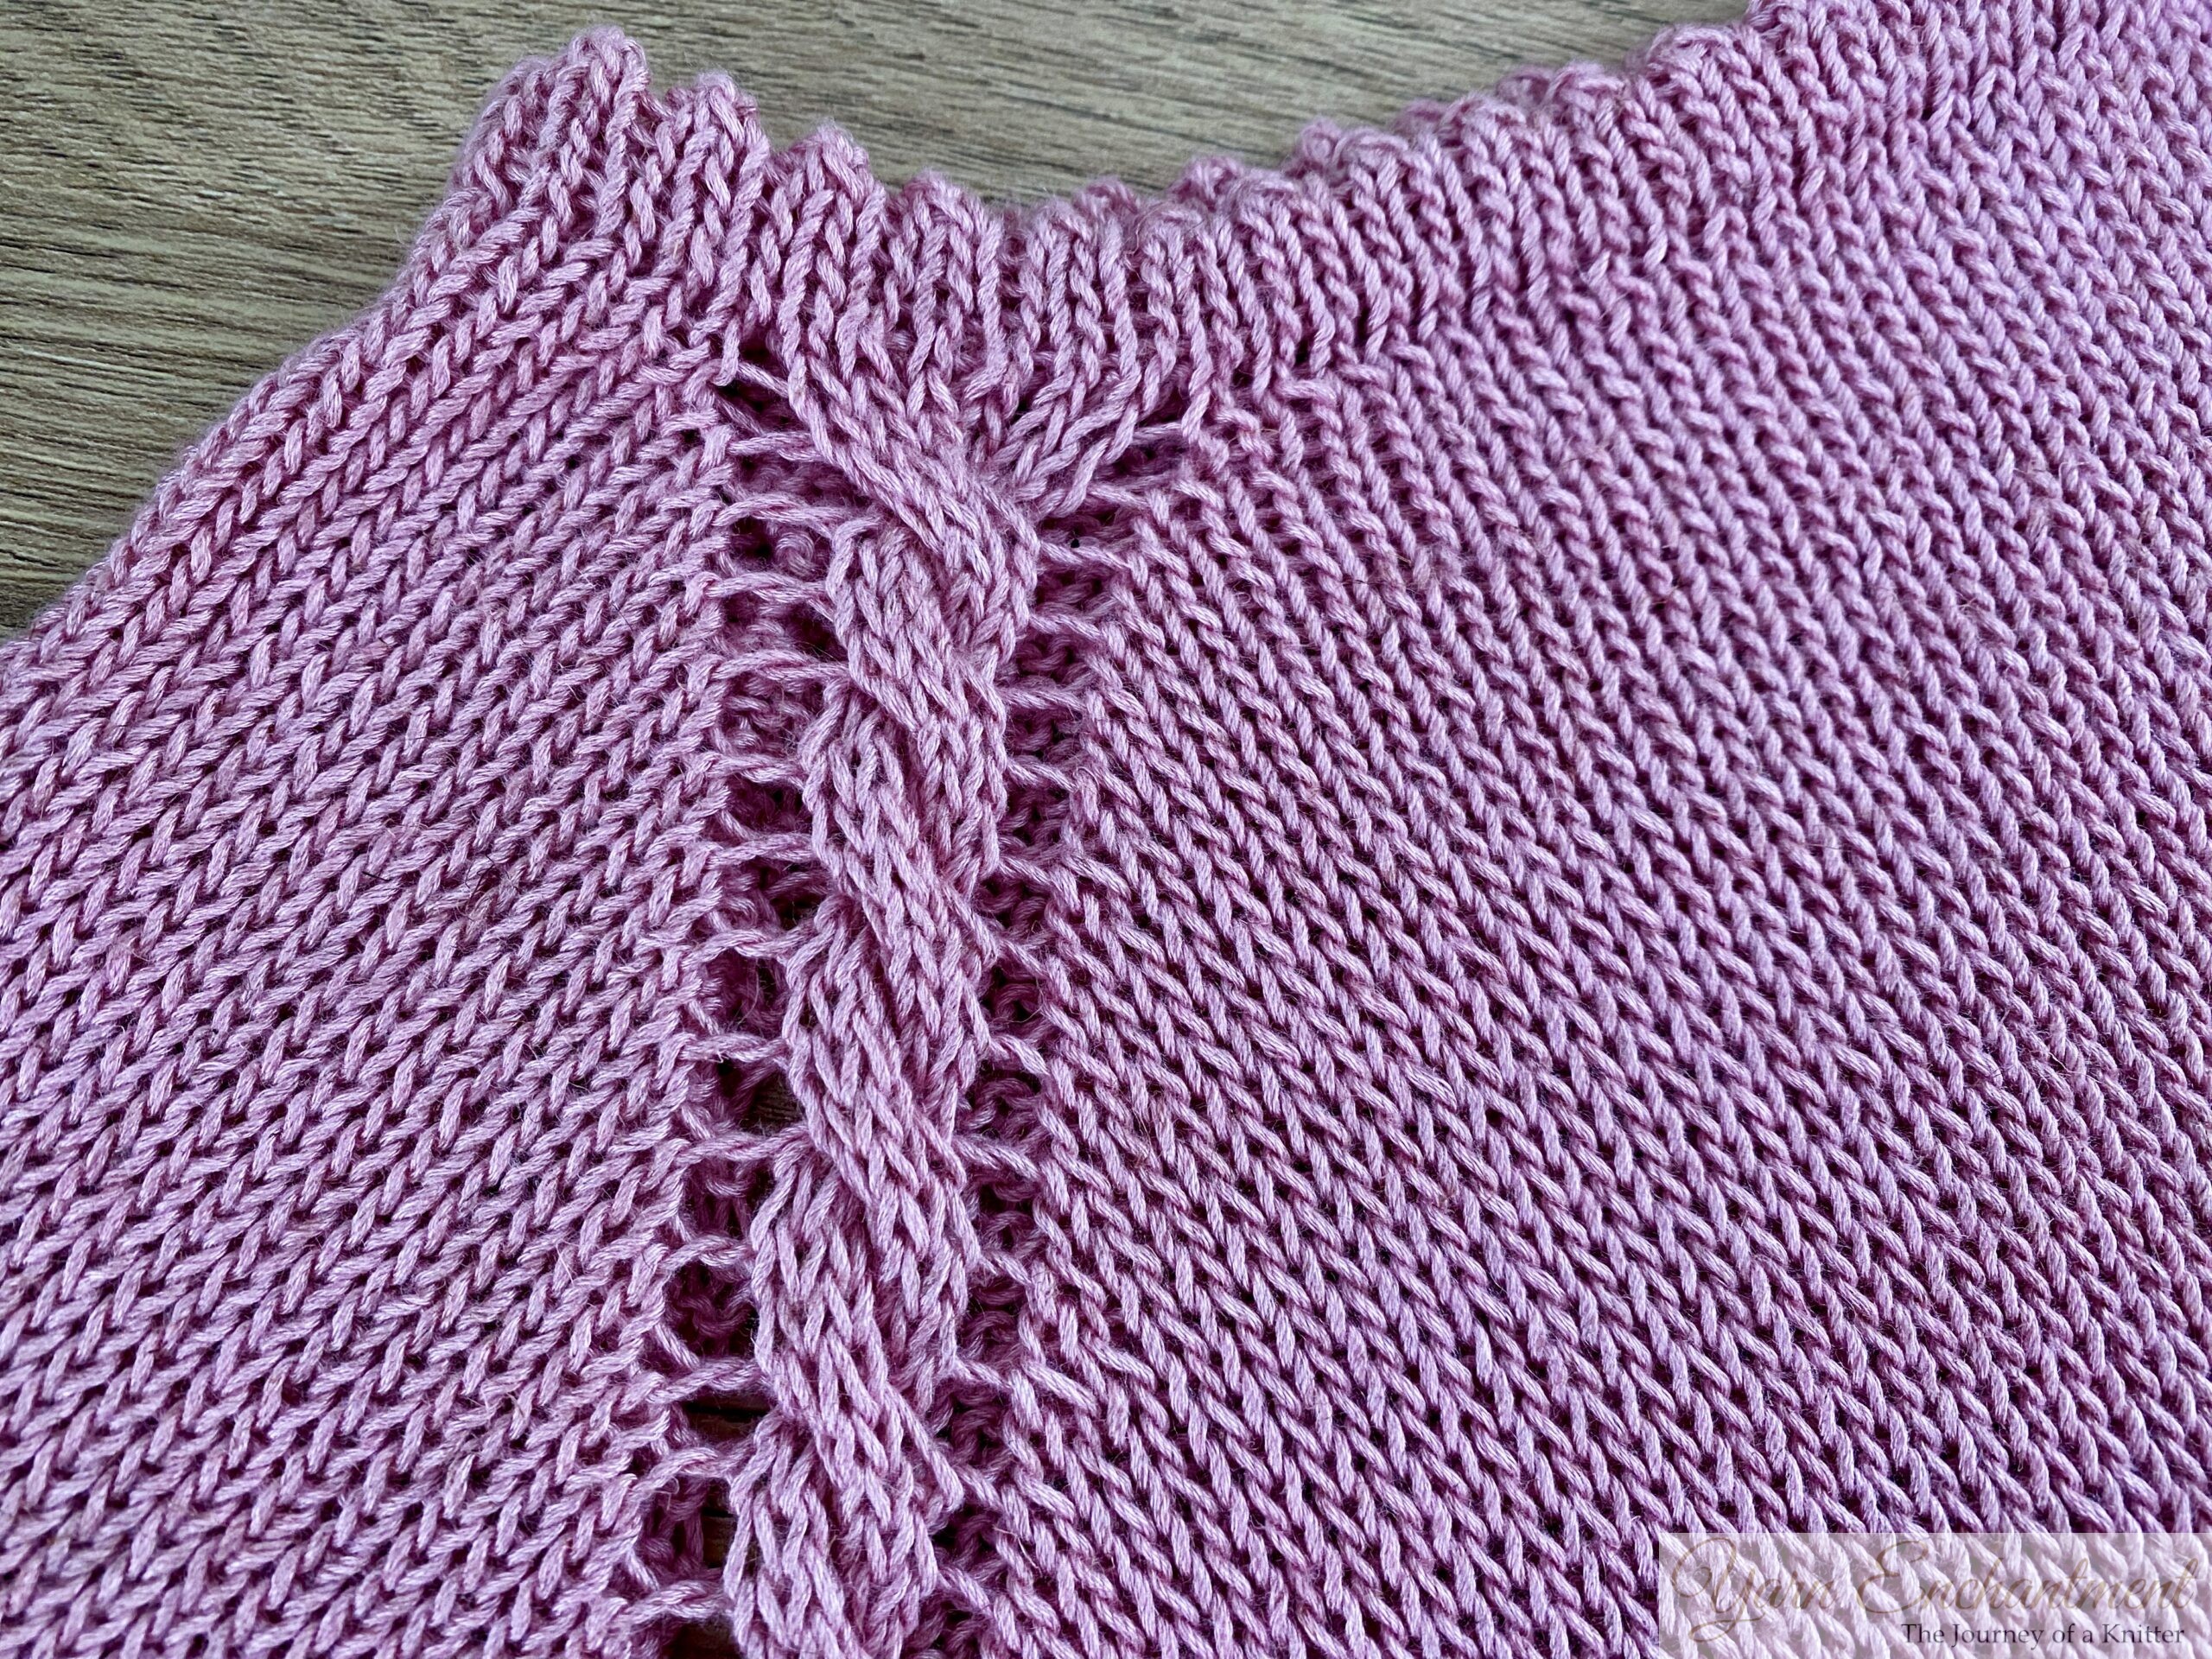
2. Knitting the Raglan Cable
For the raglan line, I worked a simple cable over six stitches. To create increases for the raglan shaping, I used yarn-overs because they’re easy and effective. After 15 cm, I separated the sleeves from the body.
The cable is worked over 6 stitches. I made a yarn-over increase on each side of the cable.

3. Finishing Touches
Body: I finished the tee with a double-folded hem. Since linen doesn’t bounce back after stretching I felt knitting a 1x1 ripping would look bad over time.
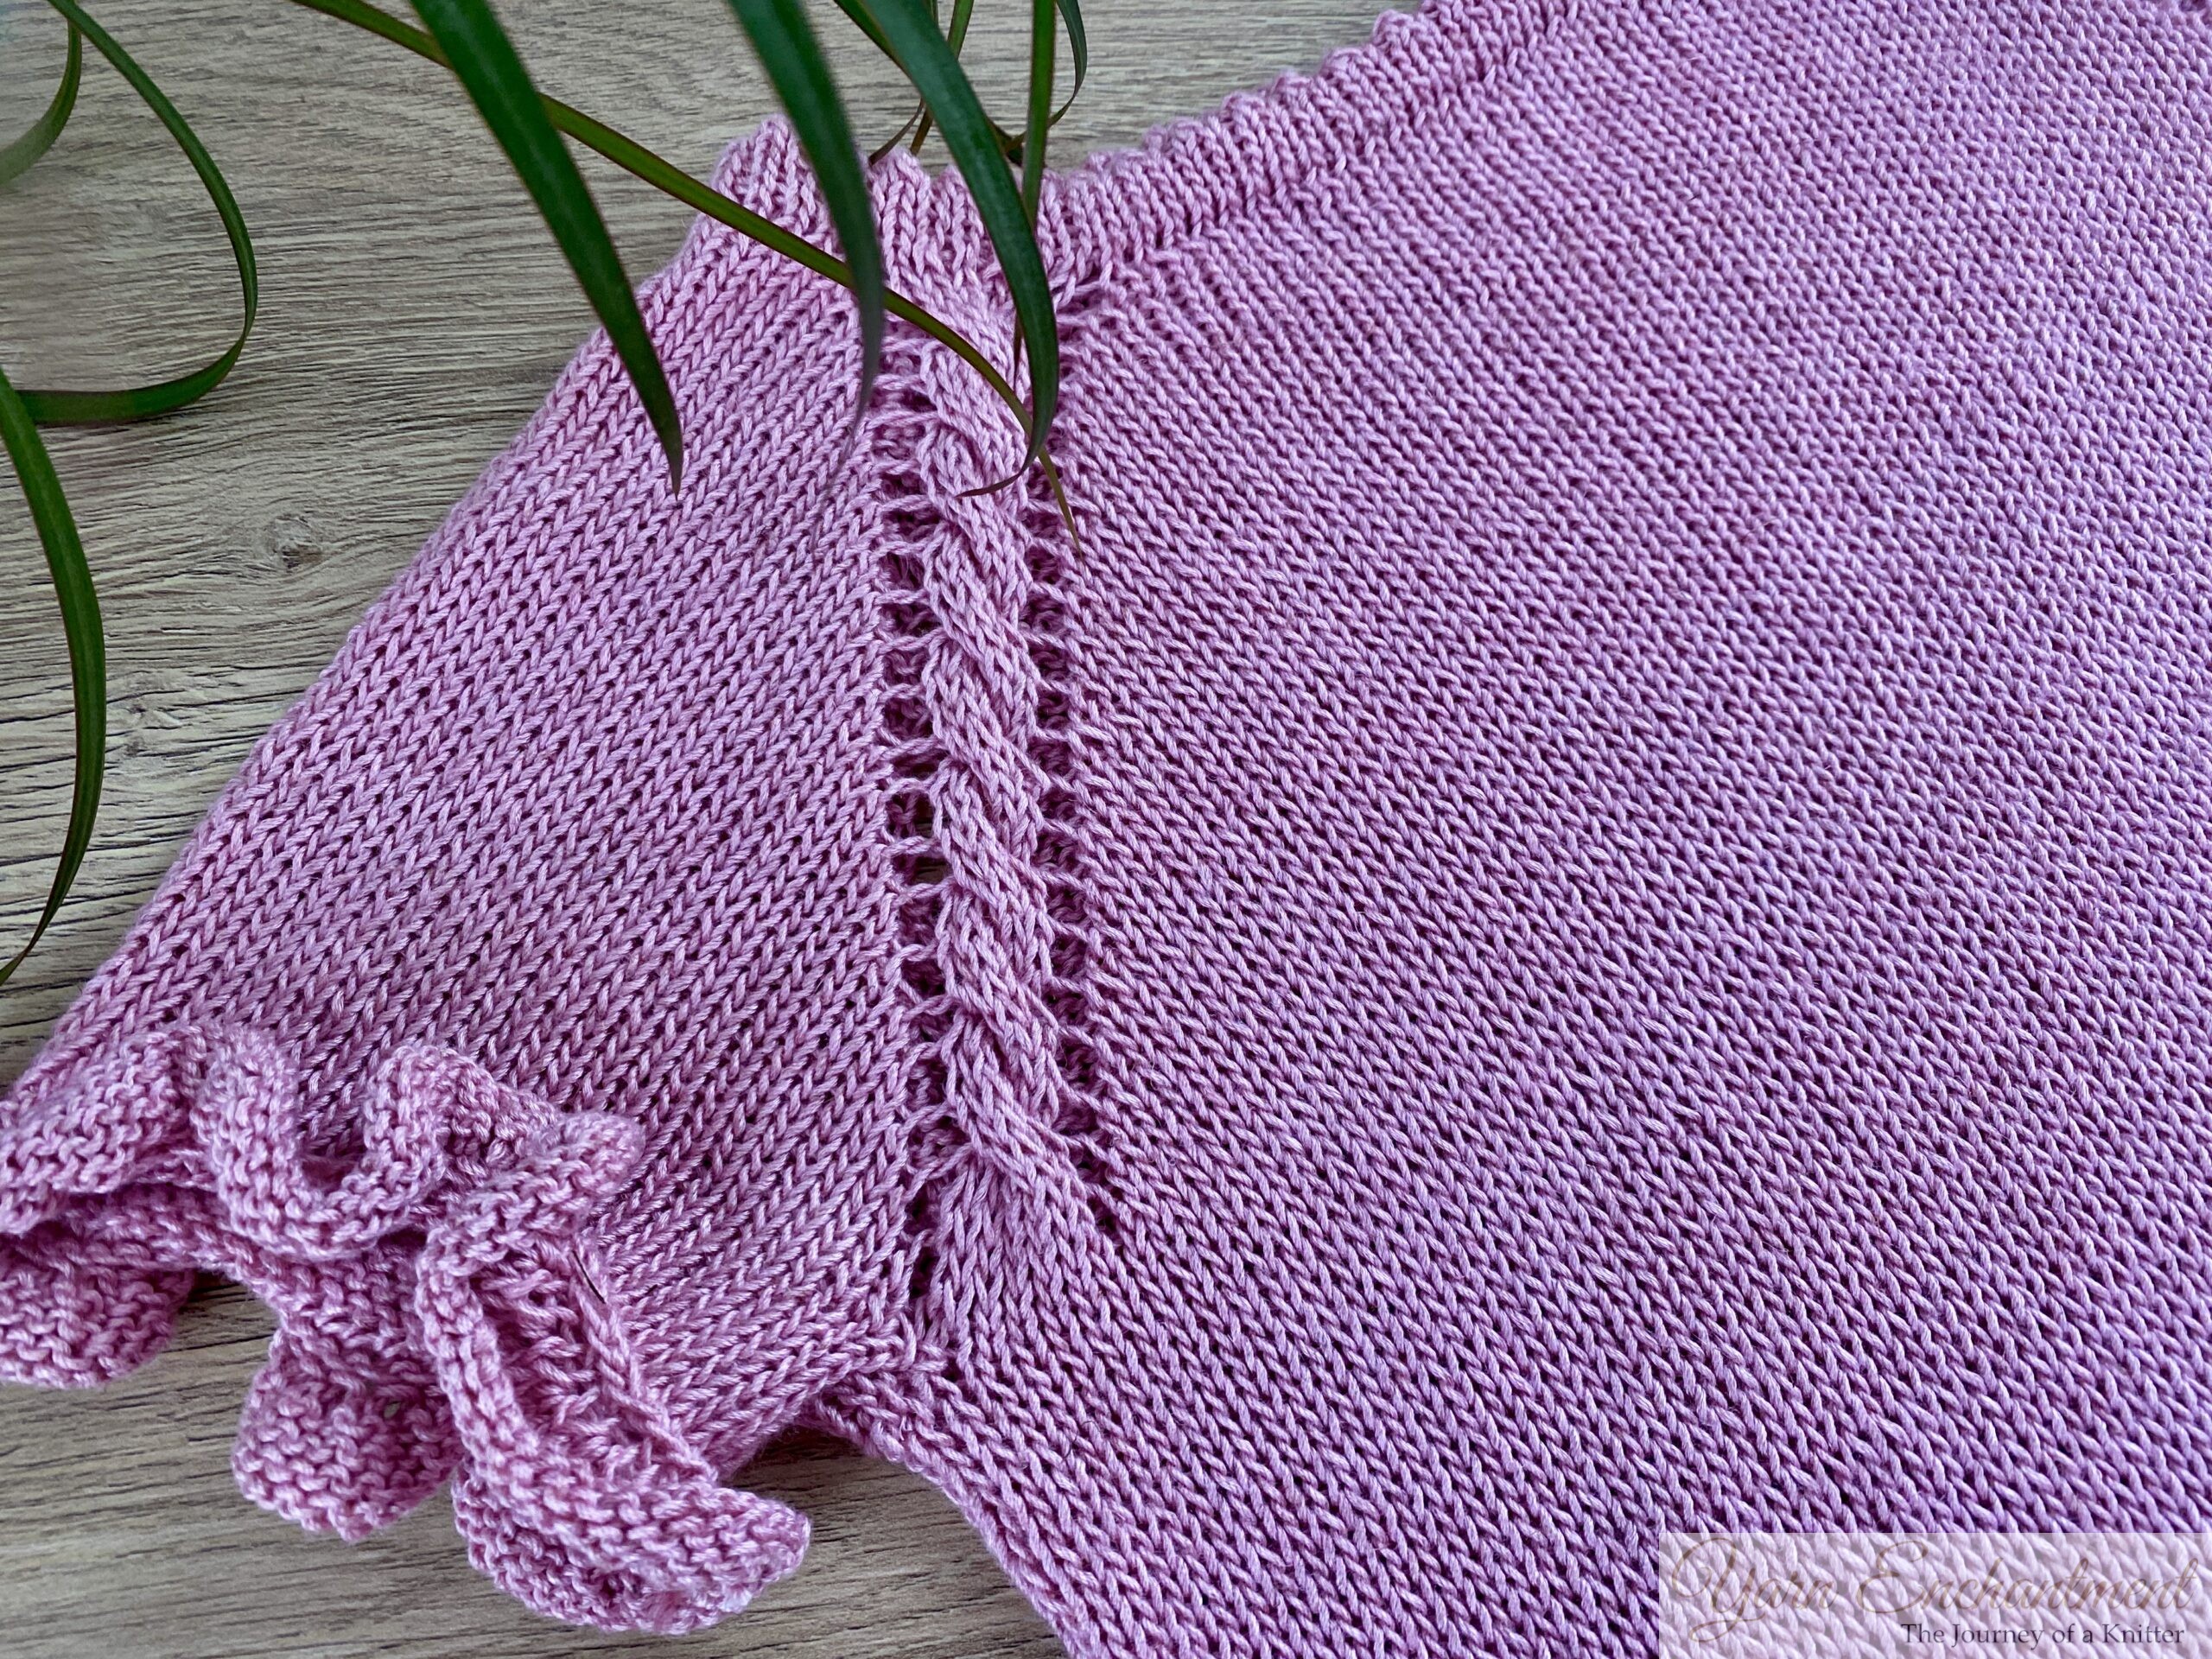
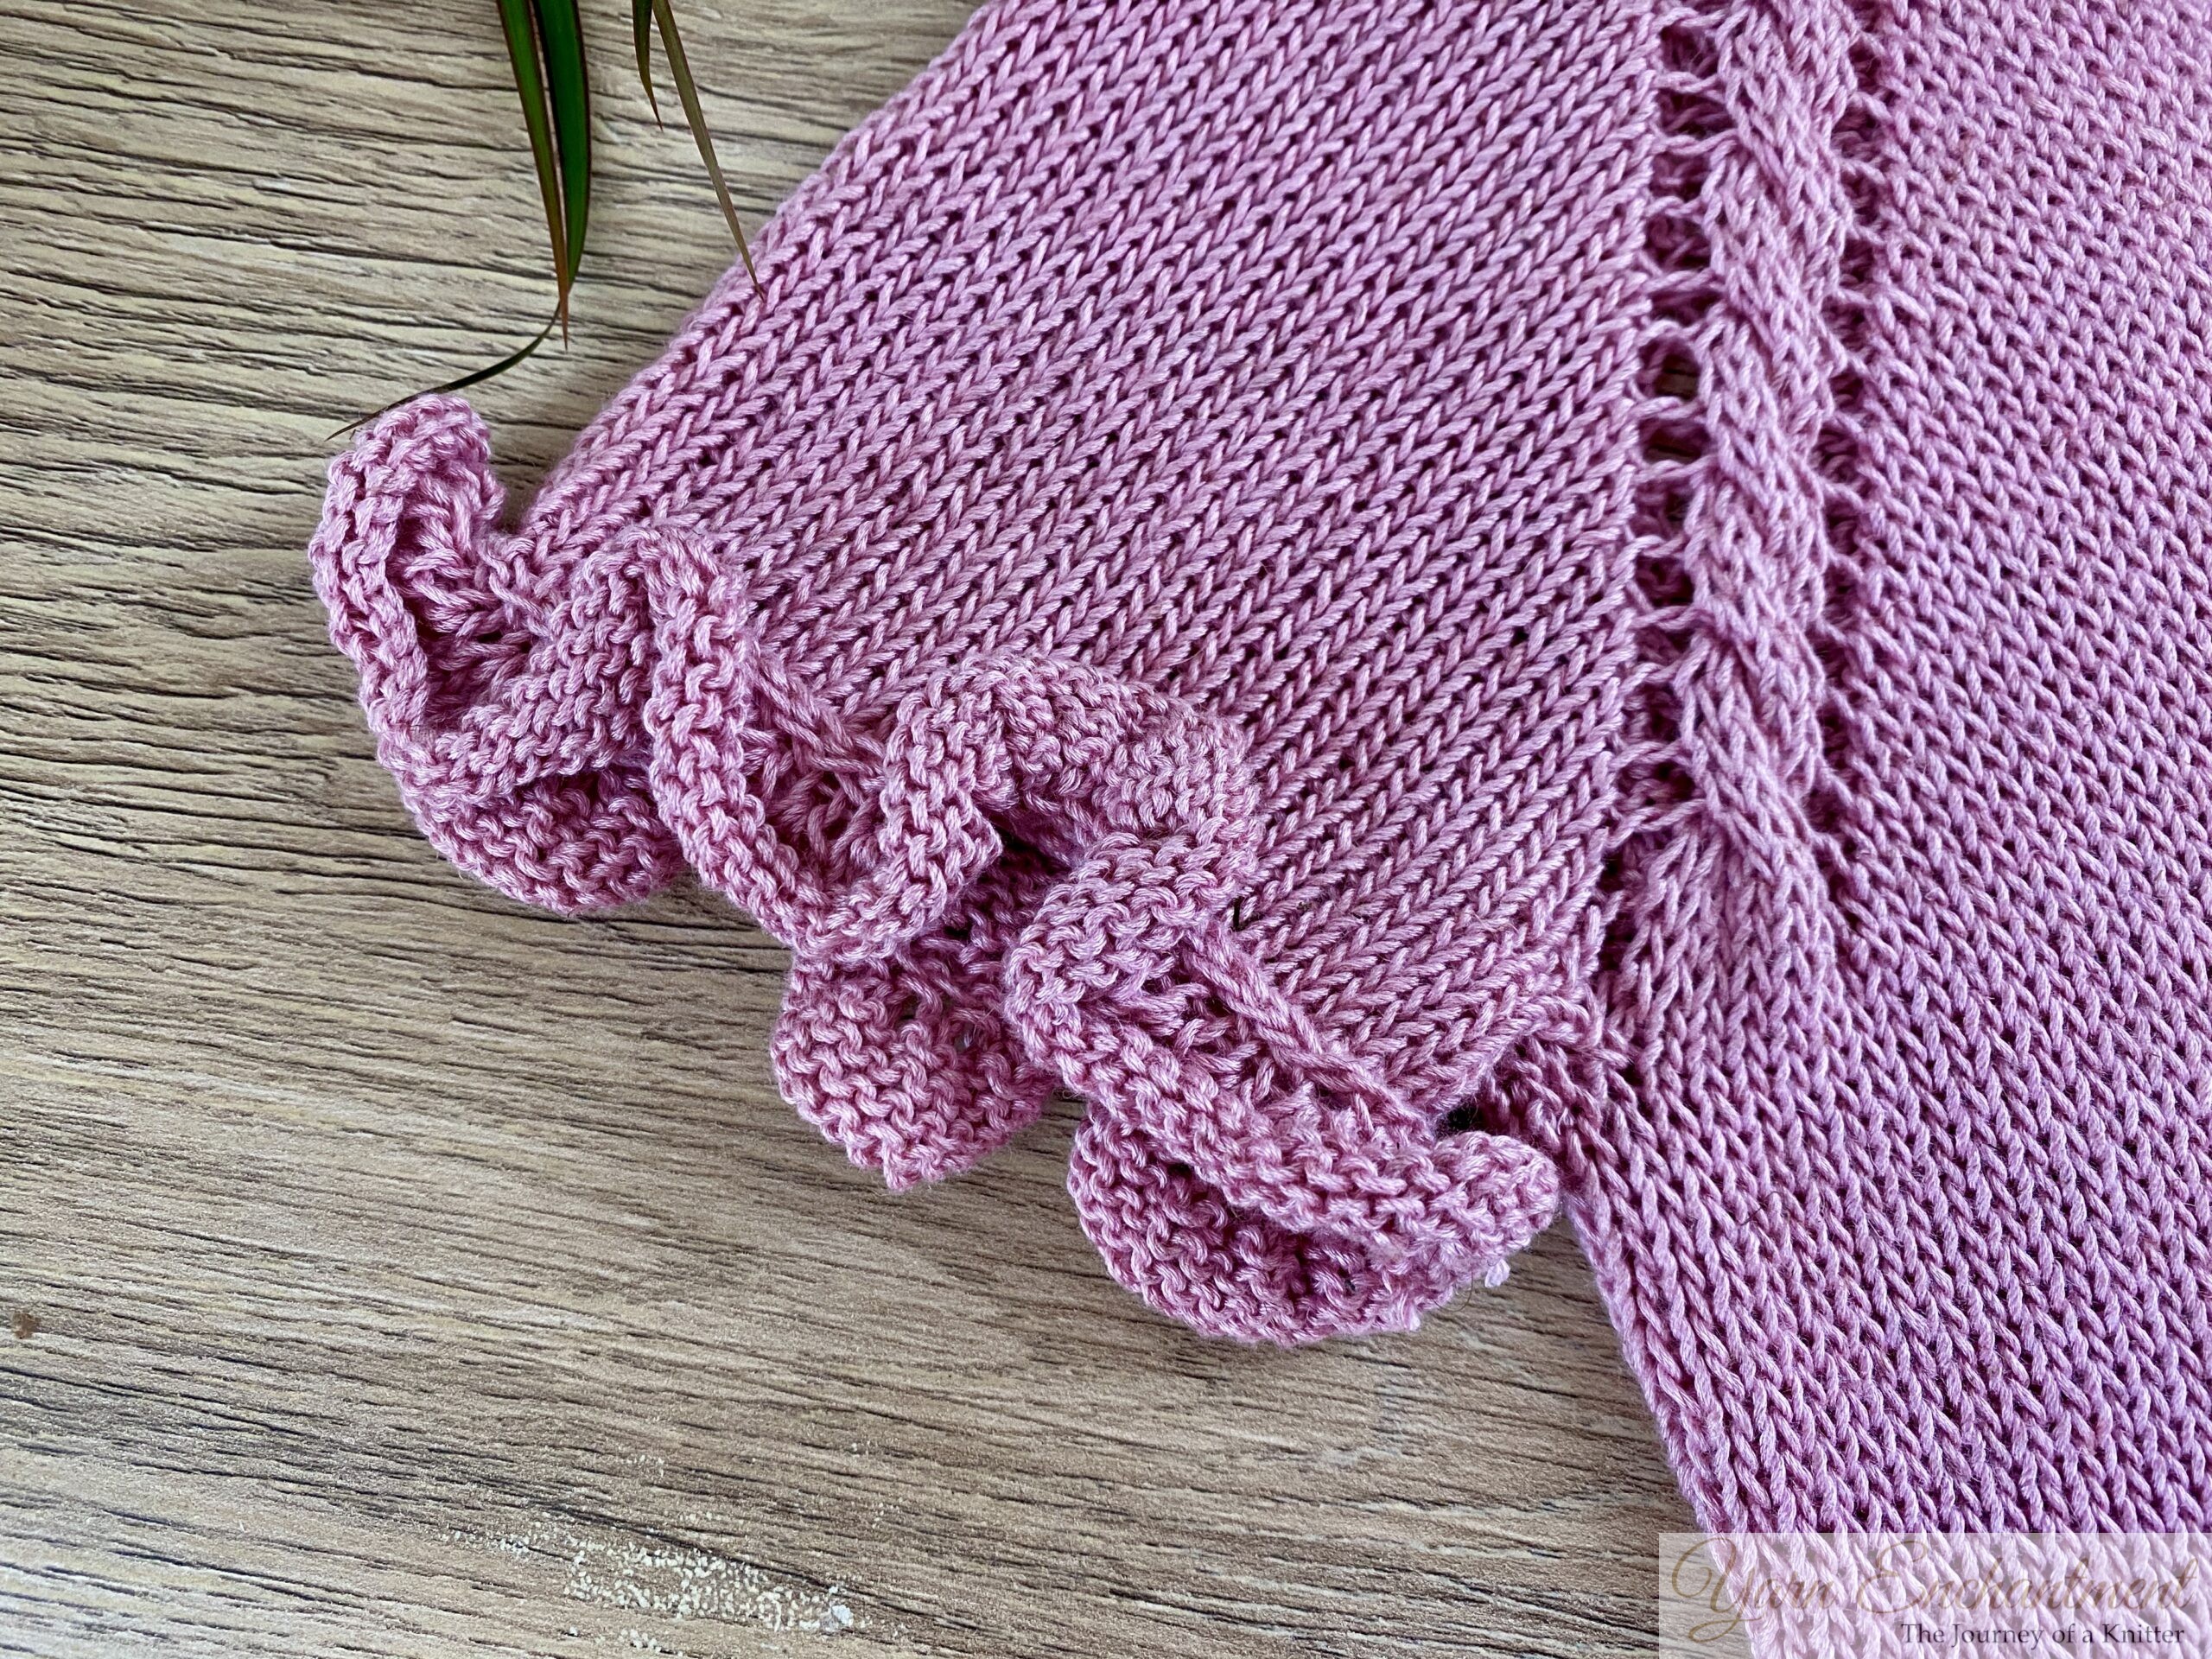
Sleeves: I opted for short sleeves finished with an I-cord edge. After completing the sleeves, I still had some yarn leftovers, which gave me the idea to add ruffles. Sometimes the best ideas come at the last minute, don’t they?
These little ruffles are what gave the tee its name.

Final Thoughts
Designing this matching tee was such a fun and rewarding experience. It gave me the chance to experiment with new techniques while creating something truly unique. Each week, I’m adding more topics, tutorials, and inspirations to this blog to grow our community of knitters.
As a busy mom of three juggling work and life, my progress on the blog isn’t always as fast as I’d like - but I’m so grateful for your patience and support. Together, we can build a wonderful space for sharing creativity and learning.
Have you tried designing your own knitted tee? Share your thoughts, tips, and tricks in the comments below - I’d love to hear from you!
Until then, happy knitting!
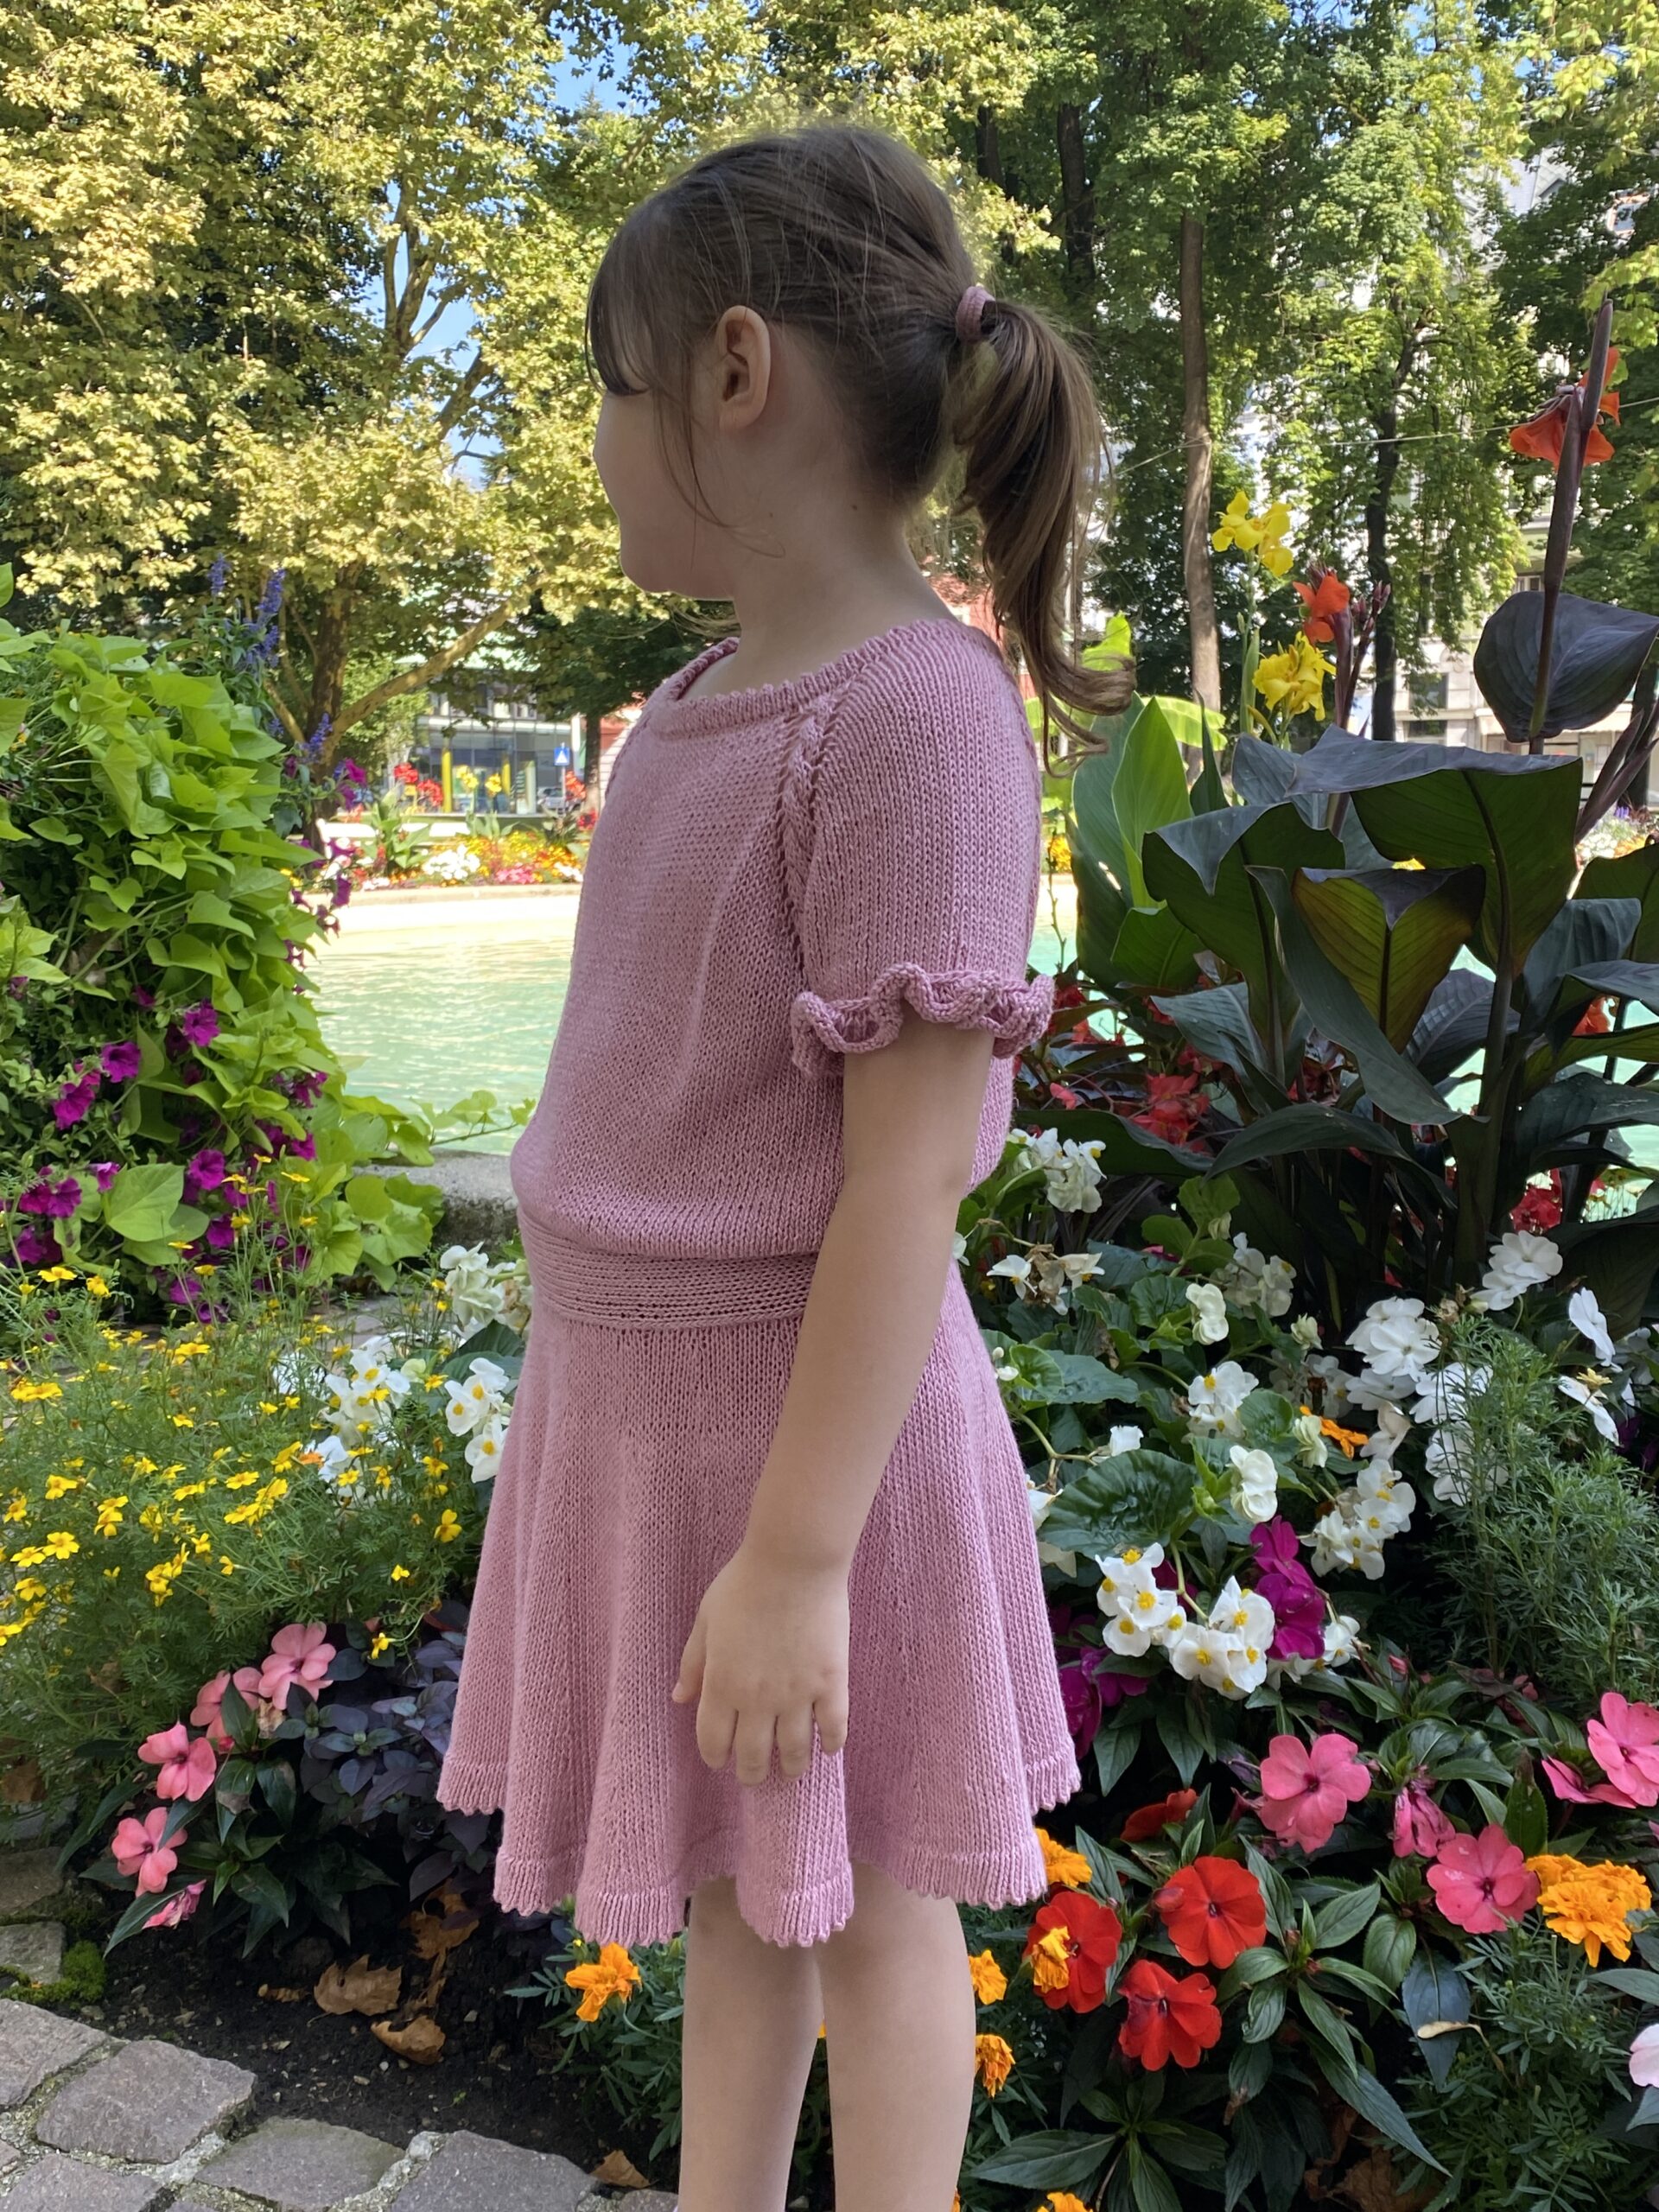
The complete set, worn by my little princess, fills me with so much pride. I have to admit, this project holds a special place in my heart - it turned out exactly how I envisioned, and I couldn’t be happier with the result.

A Little Way to Say Thanks
Gallery
You Might Also Like


 |
|
Join the Cozy Corner Newsletter!
Hey there, creative soul! Welcome to the Yarn Enchantment Newsletter, where we celebrate all things cozy, crafty, and full of heart. Think of this as your friendly crafting companion - a little dose of inspiration delivered straight to your inbox, just for you. Inside, you’ll find: ✨ Exclusive patterns & tutorials - ideas you won’t find anywhere else (just for us!) 📚 Bookish crafts that bring your favorite stories to life 🧶 Tips and tricks to make your crafting journey smoother (and more fun!) 💌 Heartfelt musings on life, creativity, and the magic of making something with your own two hands Whether you’re knitting by the fire, brainstorming your next DIY project, or just looking for a little creative pick-me-up, this newsletter is here to cheer you on. Because let’s be honest - crafting isn’t just about the finished project; it’s about the joy, peace, and stories we create along the way. So grab a cup of tea, cozy up, and join me. Together, we’ll weave a little magic into everyday life - one stitch, one story, and one email at a time. P.S. I’m so glad you’re here. Let’s make something beautiful together! (Note: If you're using an ad blocker, you may encounter issues subscribing to the newsletter. To subscribe, please consider disabling your ad blocker.)
|
