
The Blushbow Beanie – A Crochet Hat Story About Handmade Gifts
February 7, 2026
Alpaca Yarn for Knitting: Why It’s Expensive & Worth It (2026 Guide)
February 23, 2026Sweater Math: Adjust Any Knit Sweater to Your Gauge (+ Free Calculator)

Originally published on February 10, 2026
The room was quiet - too quiet - except for the gentle ticking of the row counter.
On my desk lay the pattern: neat columns of numbers, perfectly innocent at first glance… until I looked closer. Each stitch count seemed to shift when I wasn’t watching. Row 56 became 57, then 55 - cheekily dancing out of reach.
“It’s just sweater math,” I told myself, taking a deep breath. But the numbers seemed to shimmer in the lamplight, curling into mysterious little fractions, as if they were hiding a secret. For a moment, it felt less like knitting - and more like trying to break a spell.
Sometimes you do everything “right”: you swatch, you wash, you block - and your gauge still laughs in your face. That’s usually the moment when the silliness ends and the real question begins: what do you actually do when the numbers don’t match the pattern?
The good news is that sweater math isn’t dark magic at all - it’s just a handful of clear steps you can learn, reuse, and even make friends with.
In this post, I’ll walk you through the exact sweater math I used for a real sweater on my needles: a top‑down raglan written for 16 sts in 10 cm and 25 rows, and my own honest swatch at 21 sts and 29 rows in 10 cm. I’ll show you why I ended up knitting size 2XL instead of M - and still got a neat, 96‑cm‑bust sweater that fits me beautifully.
You’ll also get a fill‑in worksheet you can print, copy into your notebook, or turn into a Google Sheet so you can reuse this process for every future sweater. As we go through the steps, I’ll point out exactly where each part lands on the worksheet so you can follow along with your own numbers.
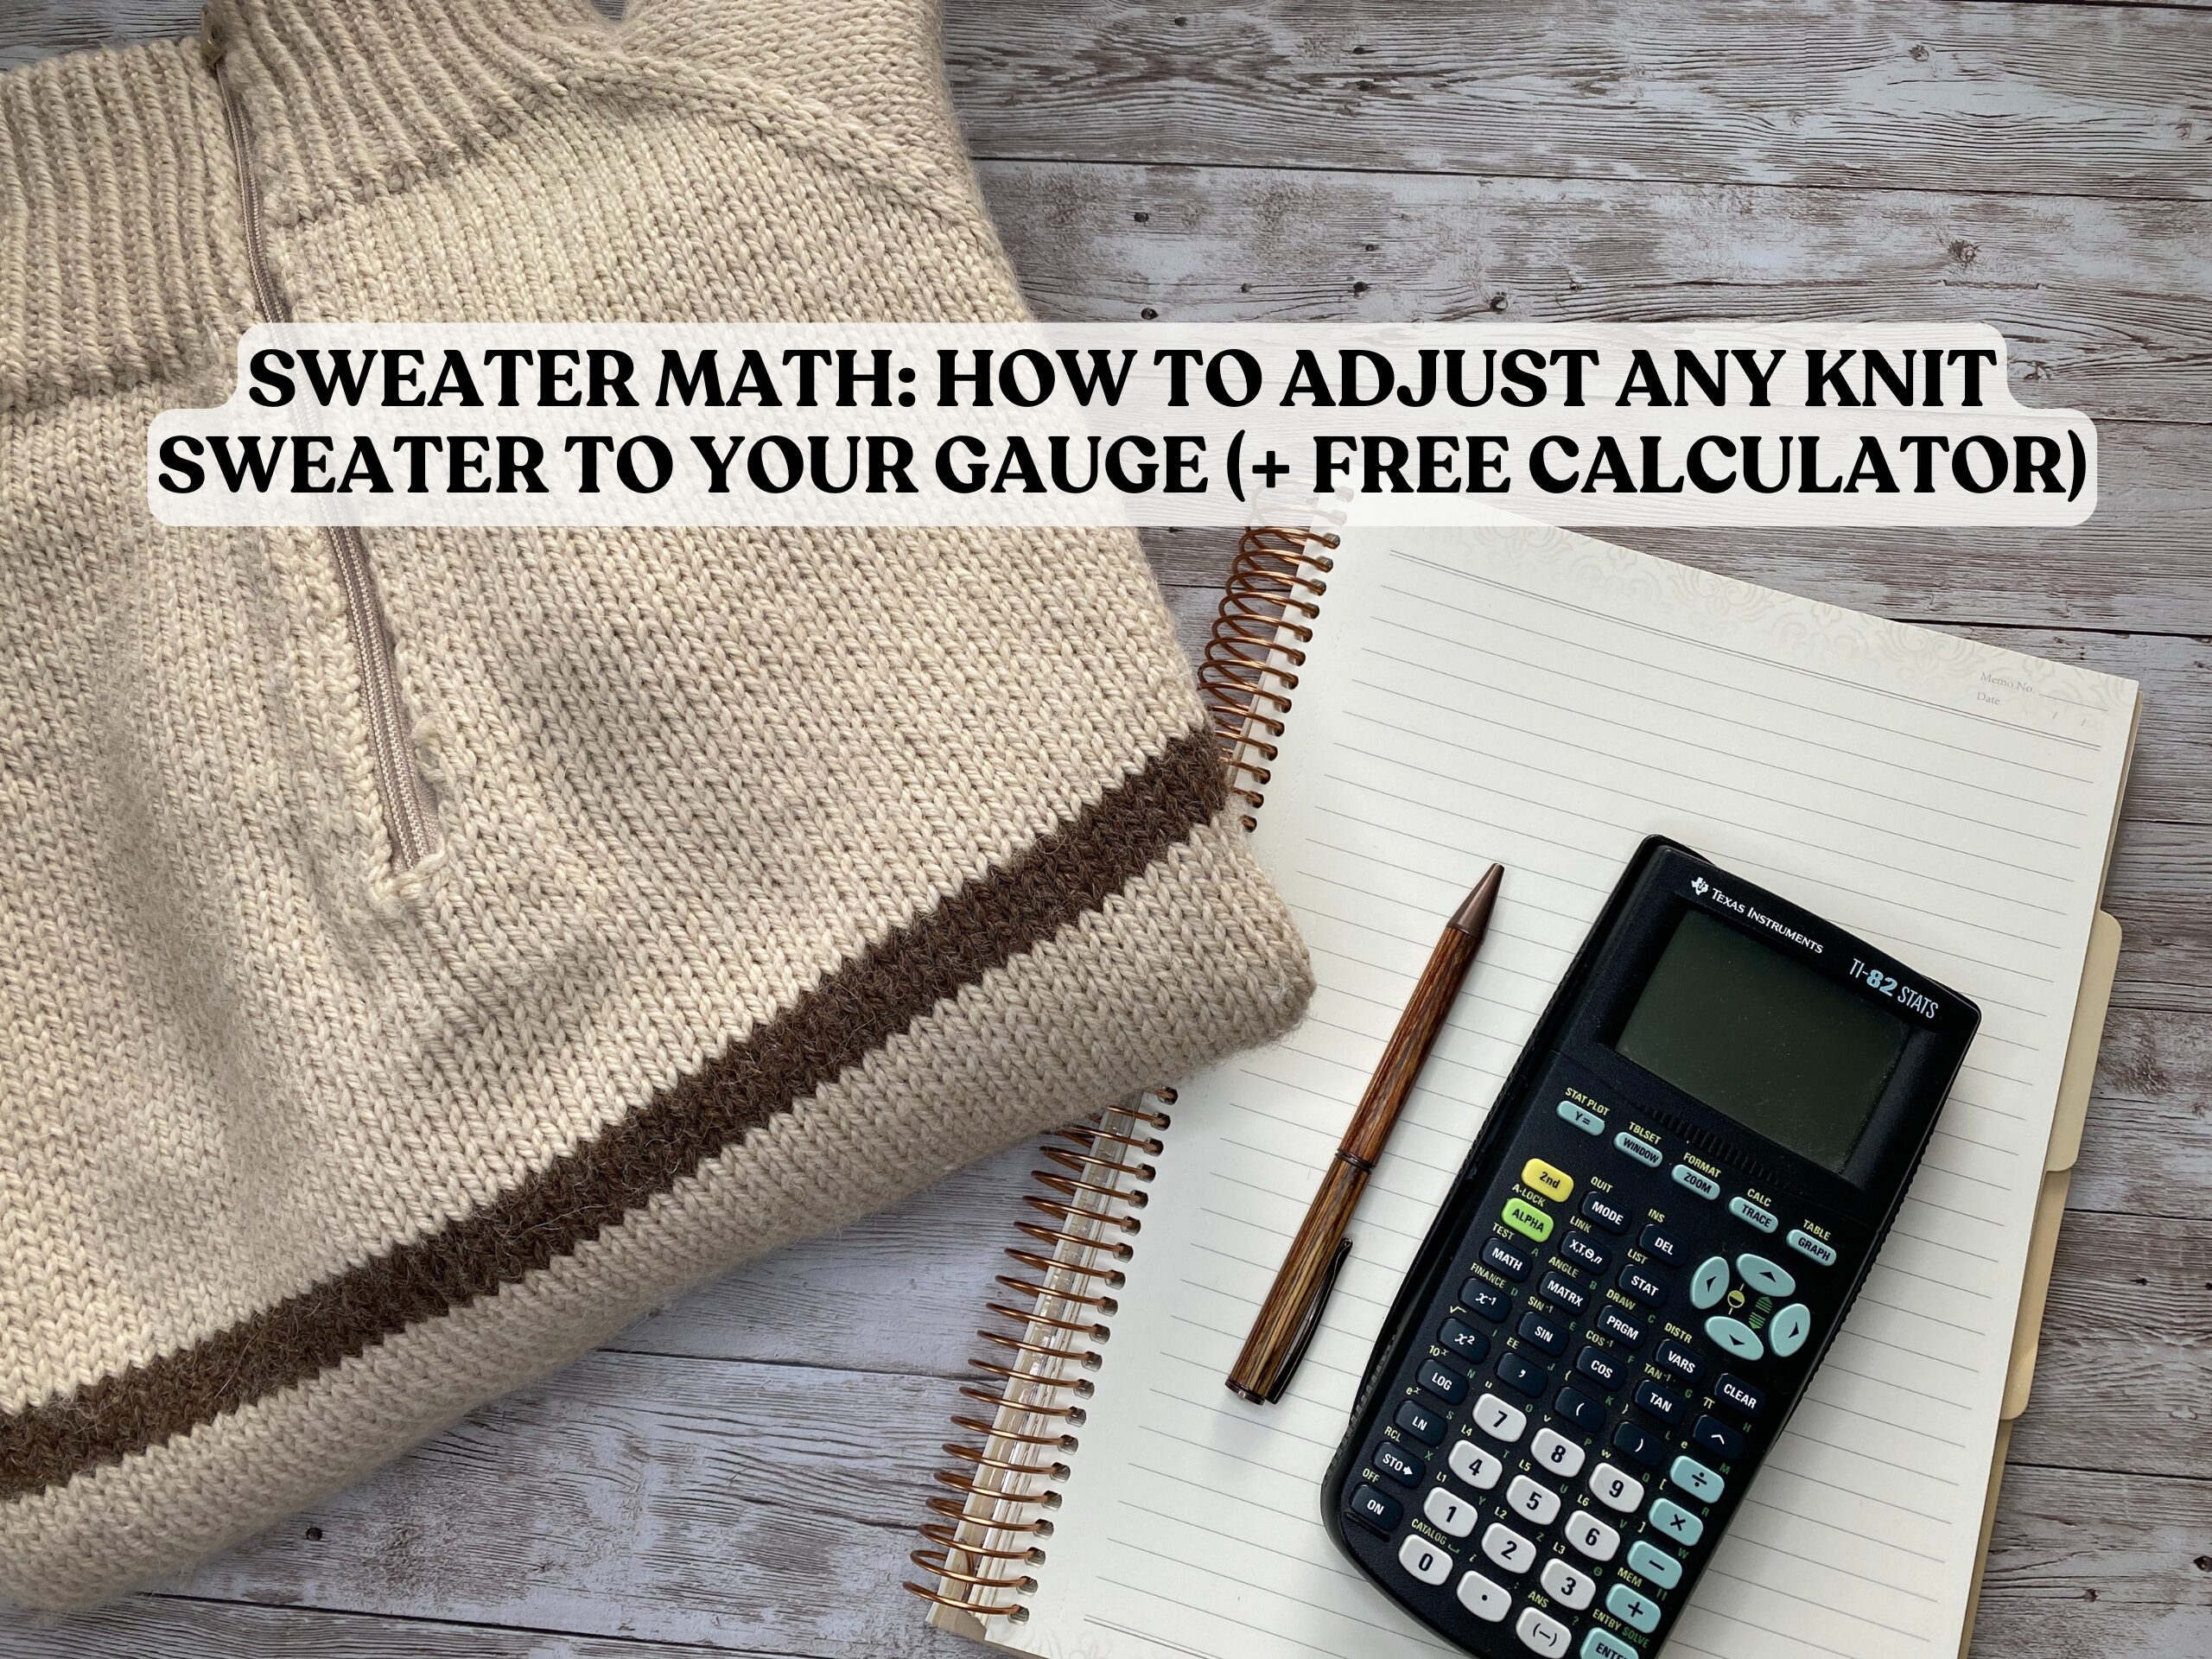 | Sweater Math: How to Adjust Any Knit Sweater to Your Gauge (+ Free Calculator) |
Table Of Contents
- A Note About This Pattern and Process
- Why Gauge Matters More Than the Size Label
- The Example Sweater We’ll Use
- Sweater Math Calculator (Use Your Own Numbers)
- Sweater Math: Step‑by‑Step Tutorial
- What If Your Size Isn’t in the Pattern at All?
- How to Use the Worksheet with This Post
- I Knit 2XL for My 96‑cm Bust (And It Wasn’t Scary)
- Conclusion: Your Gauge, Your Numbers, Your Sweater
A note about this pattern and process
This is not a made‑up example just for the blog. This is the exact math I’m using on a real sweater that I am knitting right now. I trusted my blocked swatch, chose the size whose stitch count matched my own numbers (2XL for my 96‑cm bust!), and I know the finished sweater will fit exactly how I hoped.
The construction and original numbers, though, belong to the pattern designer. That’s why I’m not sharing big chunks of the written instructions or the full raglan table here. I’ll name the pattern and designer and link to the pattern so you can support their work and follow along with your own copy.
My goal with this post is to show you that the “scary” part – changing sizes, adjusting for a different gauge, knitting a letter size that doesn’t match your body size – is actually just a series of small, honest calculations. The pattern gives you the design and the structure; this sweater math simply helps you make those numbers belong to your gauge and your body.
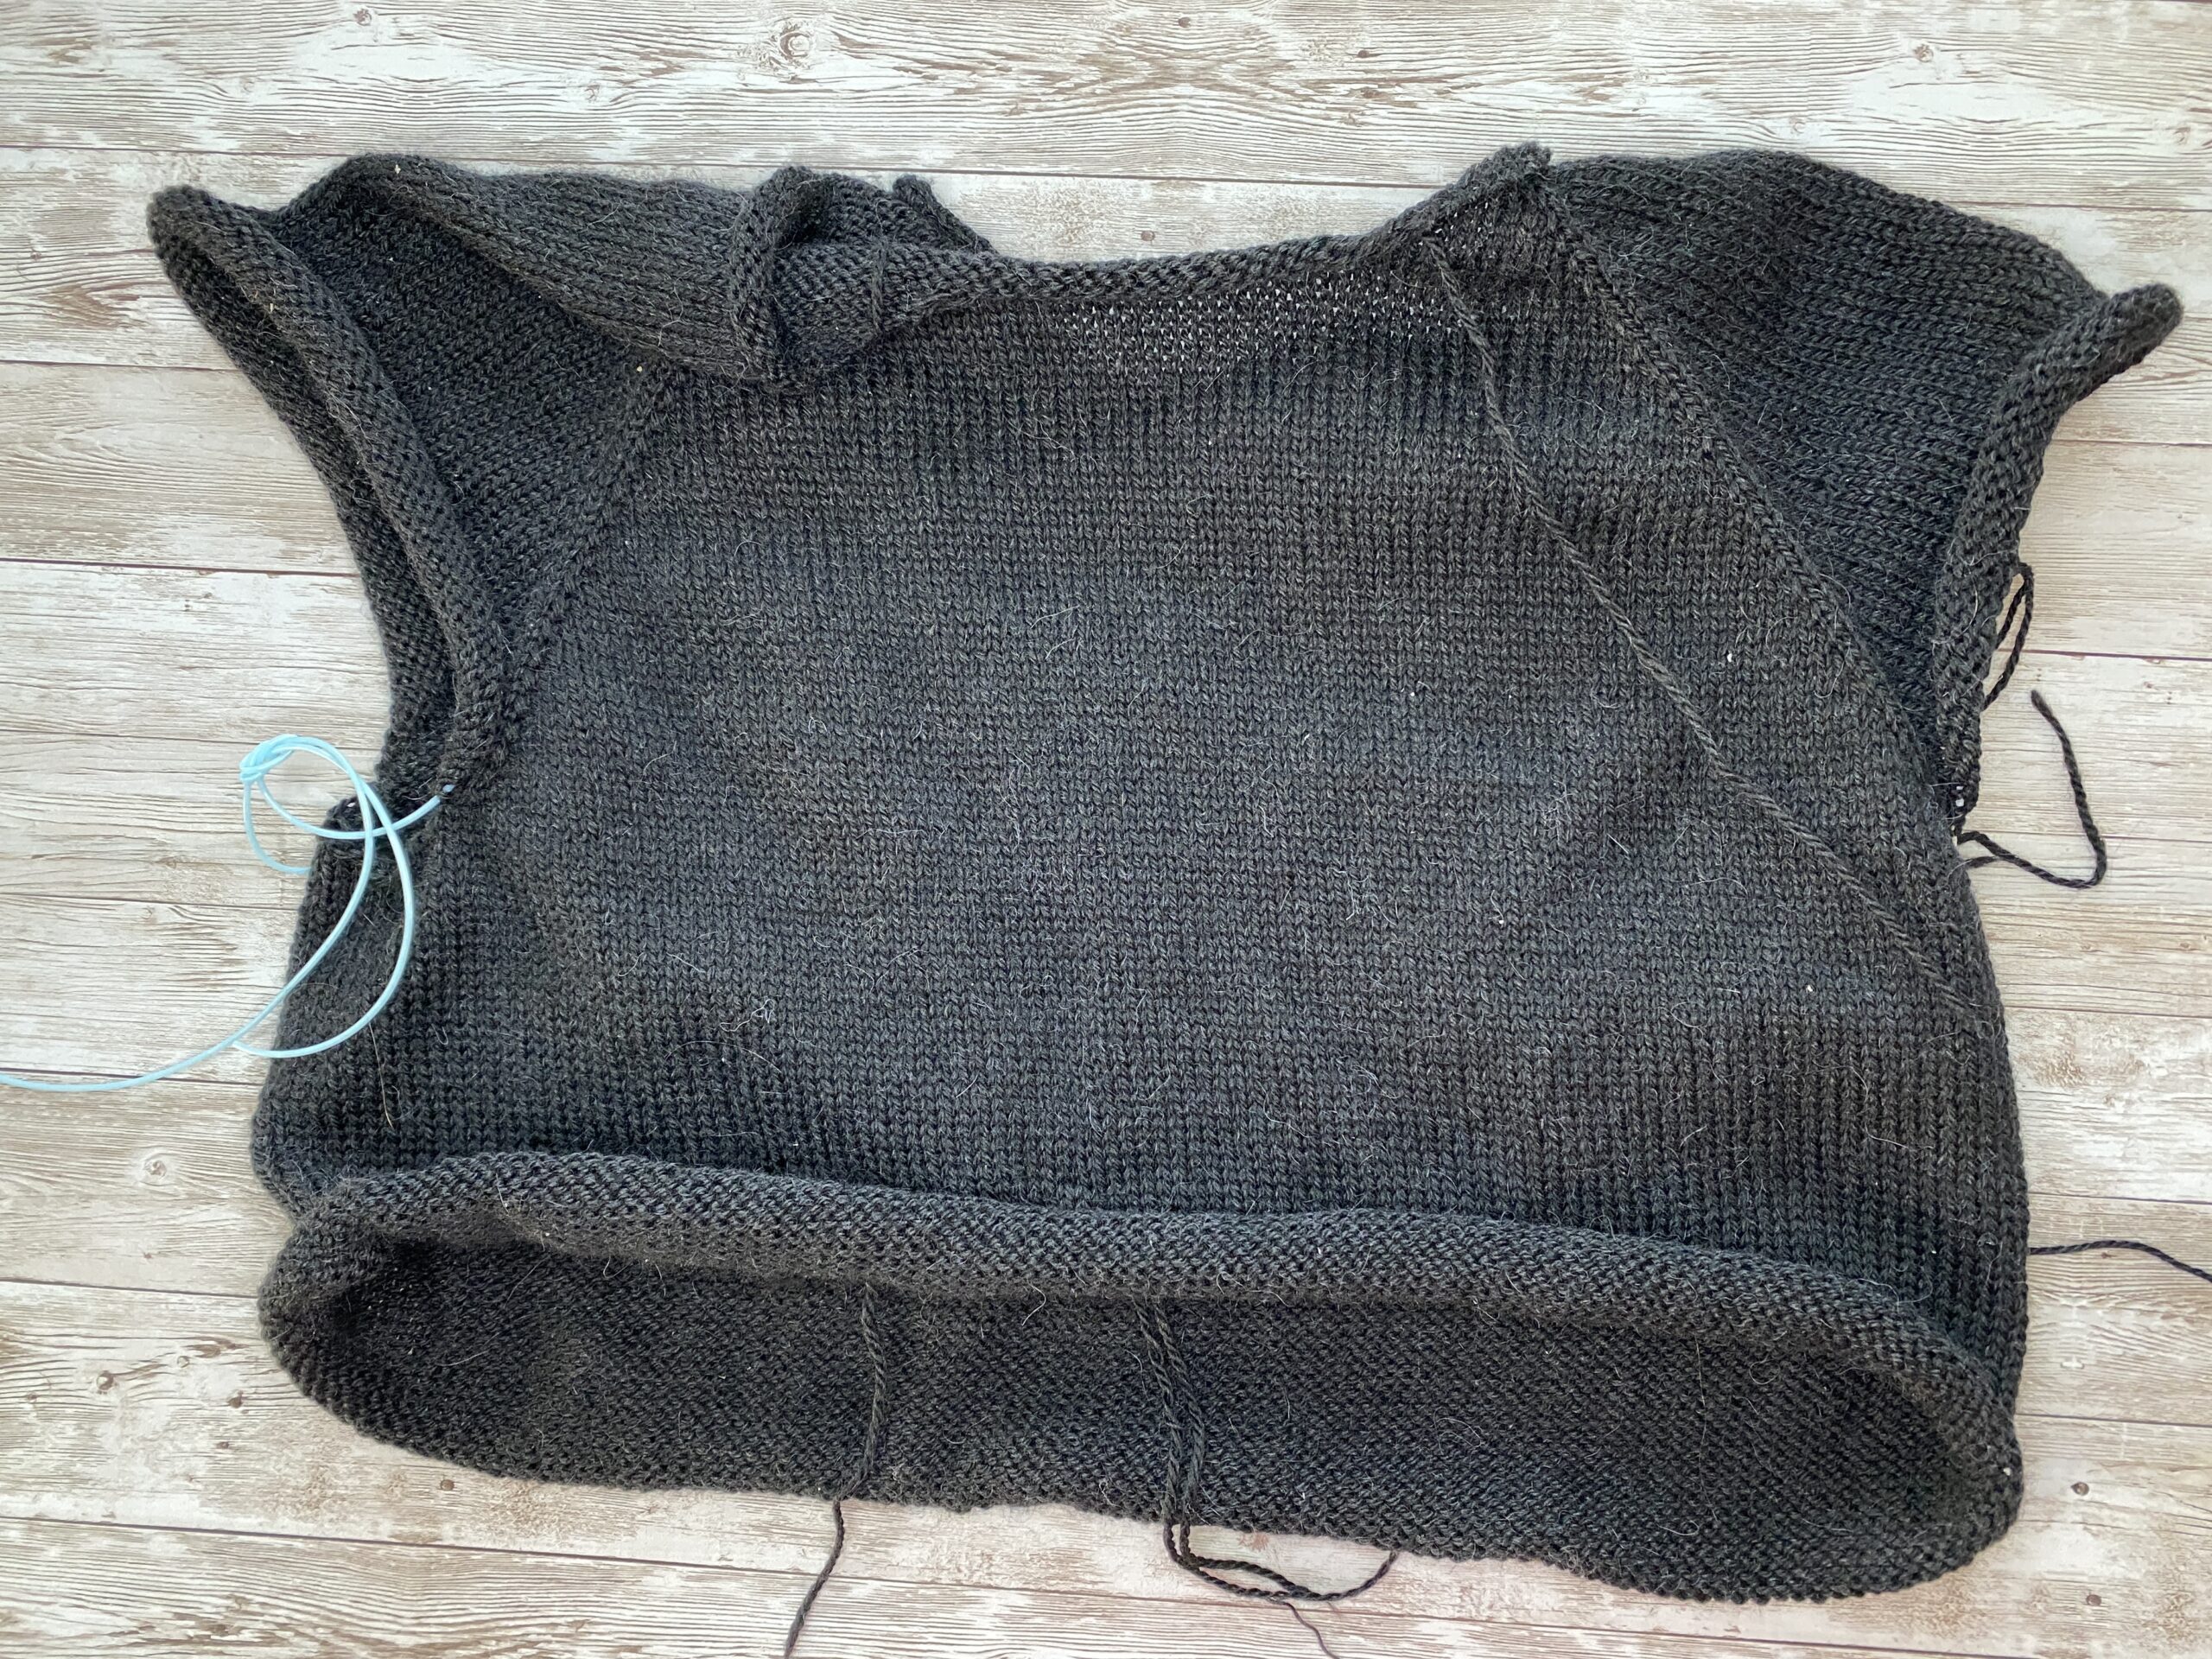 | This is my work in progress: the Caspar Blouse by Johanna Böhme. I’ve already separated the sleeves from the body, and I can already tell this sweater is going to fit perfectly. As soon as I finish, I want to write a blog post about this sweater journey. |

Why gauge matters more than the size label
Most of us choose a size by looking at “S, M, L” or the finished bust in the pattern and assume that’s what we’ll get if we follow the instructions. That’s only true if your gauge is the same as the designer’s gauge.
Gauge is the link between stitches and centimeters: it tells you how wide and tall each stitch is when you knit with your hands, your yarn, and your needles. If the pattern has 16 stitches in 10 cm and your swatch has 21 stitches in 10 cm, your stitches are smaller, so any given stitch count will knit up to fewer centimeters.
For this example:
Pattern gauge: 16 sts / 10 cm (about 4 inches) → 16 ÷ 10 = 1.6 sts per cm (about 4 sts per inch).
My swatch: 21 sts / 10 cm (about 4 inches) → 21 ÷ 10 = 2.1 sts per cm (about 5.3 sts per inch).
If we both cast on 160 stitches, the designer’s fabric will measure about 160 ÷ 1.6 ≈ 100 cm (about 39.5 inches), while mine will measure 160 ÷ 2.1 ≈ 76 cm (about 30 inches) – same instructions, very different results.
 | Having a gauge you can really trust is the key to accurate sweater math, because everything depends on getting the right numbers. This whole gauge‑swatch series grew out of that idea, so if you haven’t read those posts yet, I’d love you to circle back to them - how to knit a gauge swatch flat and in the round, why borders can disturb your stitches, and what a gauge swatch actually is. |

The example sweater we’ll use
For this walkthrough, I’m using a top‑down raglan blouse pattern that:
- Is written for a blocked gauge of 16 sts × 25 rows in 10 × 10 cm (4 × 4 inches), stockinette in the round on 5 mm needles.
- Offers finished bust sizes from around 96 to 156 cm (about 38 to 61.5 inches), with 5–15 cm (2–6 inches) of positive ease built in.
- Includes a table that shows how many stitches you have after all the raglan increases: front, back, each sleeve, raglan stitches, and a TOTAL for each size.
My washed and blocked swatch measures 21 sts and 29 rows in 10 cm with the yarn and needles I like, and my actual bust is 96 cm (about 38 inches). I’m happy with about 5–10 cm of ease, so I’m aiming for a finished bust close to what the pattern shows on the model – but at my gauge.
In other words, I want to keep my fabric, keep the design, and just nudge the numbers so the sweater belongs to my gauge and my body.
Sweater math calculator (use your own numbers)
If you’d rather plug in your own gauge and bust instead of doing the formulas by hand, use the sweater‑math calculator below. It lets you enter your knitting gauge and bust measurement and shows you how to adjust a sweater pattern to your real gauge. As you read through the steps in this post, you’ll see exactly what the calculator is doing behind the scenes for your sweater.
I’ve been dreaming about having a little sweater‑math helper like this on the blog for a long time, because a simple knitting gauge calculator is so practical for all of us. My son very kindly built it for me so we can use it whenever the stitch counts and sizes start to feel a bit wobbly.
You can use this calculator any time you need help with sweater math - bookmark this post and come back whenever you are adjusting a gauge, changing sizes, or knitting a top‑down raglan in a different yarn. Share it with friends or keep it as your secret knitting spellbook; we made it for you.
Note: This calculator uses the standard knitting conversion (2.54 cm = 1 inch), so both the cm and inch results are accurate for sweater knitting. My son built this little tool for us, and we checked the math carefully, so you can trust these numbers and don’t need to adjust anything by hand.
Sweater Math: Step‑by‑Step Tutorial for Adjusting Gauge
Step 1: Turn your gauge into stitches (and rows) per centimeter
The worksheet starts with a tiny bit of division: we turn “sts per 10 cm” into “sts per cm” so that all the later formulas stay simple. You can think of it the same way as turning “sts per 4 inches” into “sts per inch.”
For any gauge: Stitches per cm = stitches in 10 cm ÷ 10.
Rows per cm = rows in 10 cm ÷ 10.
Stitches per inch ≈ stitches in 10 cm ÷ 3.94.
Rows per inch ≈ rows in 10 cm ÷ 3.94.
For our example: Pattern: 16 sts / 10 cm (about 4 inches) → 1.6 sts/cm (about 4 sts/inch), 25 rows / 10 cm → 2.5 rows/cm (about 6.4 rows/inch).
Me: 21 sts / 10 cm (about 4 inches) → 2.1 sts/cm (about 5.3 sts/inch), 29 rows / 10 cm → 2.9 rows/cm (about 7.4 rows/inch).
On the worksheet, you write both the pattern’s stitches/rows per cm and your stitches/rows per cm into Part 1 so you can hop back and forth between “pattern world” and “your swatch world” later. This is your little translation key for everything that follows.
Step 2: How many stitches do you need for your bust?
Now we stop thinking in pattern sizes and think in centimeters.
My body bust is 96 cm (about 38 inches). The pattern is written with 5–15 cm (2–6 inches) of ease, and I like a light, relaxed fit, so I aim for somewhere in that range; the size I actually landed on (2XL) has 214 body stitches after the yoke.
At my gauge of 2.1 sts/cm (about 5.3 sts/inch), those 214 stitches give:
214 ÷ 2.1 ≈ 102 cm around the bust (about 40 inches).
That’s a 96 cm body (about 38 inches) + about 6 cm ease (roughly 2.5 inches), right in the middle of the pattern’s suggested 5–15 cm (2–6 inches). It explains why the finished sweater feels “exactly right” on me, even though the size label says 2XL.
Formula: Finished bust (cm) × your sts/cm = your total body stitches.
And plug in the numbers as a worked example:
102 cm (my finished bust, about 40 inches) × 2.1 sts/cm ≈ 214.2 → rounded to 214 stitches, which is exactly the body stitch count of the 2XL size.
So instead of knitting my “usual” M, I deliberately chose 2XL because its body stitch count gives me the circumference I want at my gauge.
For contrast, at the pattern’s gauge:
102 cm (about 40 inches) × 1.6 sts/cm (about 4.1 sts per inch) ≈ 163–165 stitches would be enough in theory, but the designer has chosen larger body stitch counts (154, 166, 174, …, 250) to build in ease and shaping for each size.
On the worksheet, this is where you fill in: your actual bust, your preferred ease, your finished bust, and the total stitches you need at your gauge.
Step 3: What the pattern's body stitch count becomes at your gauge
After the raglan increases and sleeve separation, the pattern has these body stitch counts for the 9 sizes:
154, 166, 174, 190, 202, 214, 230, 242, 250 stitches.
At my gauge of 2.1 sts/cm, each of these would knit up to:
|
Body stitches |
Width at 2.1 sts/cm (cm) |
Width (inches, approx.) |
|
154 |
154 ÷ 2.1 ≈ 73 cm |
≈ 28.75 inches |
|
166 |
166 ÷ 2.1 ≈ 79 cm |
≈ 31.1 inches |
|
174 |
174 ÷ 2.1 ≈ 83 cm |
≈ 32.7 inches |
|
190 |
190 ÷ 2.1 ≈ 90 cm |
≈ 35.4 inches |
|
202 |
202 ÷ 2.1 ≈ 96 cm |
≈ 37.8 inches |
|
214 |
214 ÷ 2.1 ≈ 102 cm |
≈ 40.2 inches |
|
230 |
230 ÷ 2.1 ≈ 110 cm |
≈ 43.3 inches |
|
242 |
242 ÷ 2.1 ≈ 115 cm |
≈ 45.3 inches |
|
250 |
250 ÷ 2.1 ≈ 119 cm |
≈ 46.9 inches |
So if I had knit my “obvious” size M (one of the smaller body counts), at my tighter gauge I would have ended up with something closer to my naked bust or even smaller – not the slightly roomy sweater the photos promised.
Instead, I looked at the table and asked: Which body stitch count gives me the circumference I want at 2.1 sts/cm? The answer was 214 stitches – which belongs to the 2XL size in this pattern.
That’s the key mindset shift: you are choosing a size by the stitch count that matches your target centimeters, not by the letter on the size label.
If you like, you can turn this step into a little table on your worksheet: one column for the pattern’s body stitch counts, one column for “this would be ___ cm at my gauge.” Seeing it laid out like that makes the “of course I need 2XL” moment much less mysterious.
Step 4: Use the pattern as a blueprint, not a cage
Once I knew 214 stitches was my magic number, I could treat the pattern as a blueprint and follow it with confidence.
Your magic number is the total body stitches that give you your happy bust measurement at your gauge.
Here’s what I kept:
- The overall construction: top‑down raglan, neck shaping, where the markers go.
- The rhythm of the raglan increases (for example, increasing before and after each raglan marker every second round).
- The designer’s distribution of stitches between front, back, sleeves, and raglan stitches for the 2XL size.
And here’s what I changed (or rather, checked):
- I chose the 2XL instructions because its body stitch count (214) gives me 102 cm at my gauge.
- I trusted my washed, blocked gauge swatch instead of the size label.
If your own calculation doesn’t land exactly on one of the written body stitch counts, this is where the worksheet’s percentage trick comes in:
- You copy the TOTAL and section counts for one size.
- For each section: section sts ÷ TOTAL × 100 → percentage.
- Then multiply those percentages by your desired total stitches to get new target numbers.
You then follow the same increase pattern, but stop when your sections and your TOTAL are close to your custom numbers and the yoke depth looks and feels right on your body.
On the worksheet, Part 3 is where you do this: write down the original TOTAL, calculate the percentages, then let those percentages tell you how many stitches to aim for on front, back, and sleeves at your custom total.
Step 5: What about row gauge?
Stitch gauge controls how wide your sweater is; row gauge controls how long it is. My row gauge (29 rows / 10 cm → 2.9 rows/cm, about 7.4 rows per inch) is different from the pattern’s 25 rows / 10 cm (2.5 rows/cm, about 6.4 rows per inch), so my knitting has more rows in the same height.
For most parts of a sweater, the fix is much simpler than the stitch math:
- I ignore the exact row counts in the pattern.
- I follow the pattern’s lengths in centimeters or inch and knit until my piece measures that length on my tape measure.
On the worksheet, there’s a small table where you can write:
- Pattern yoke depth in cm, body length in cm/inches, sleeve length in cm/inches.
- Your rows per cm (2.9 in my case, which is about 7.4 rows per inch).
- “Pattern length × your rows per cm = your rows,” if you like seeing a number.
For example, if the pattern says the body should be 40 cm to the hem (about 15.75 inches) and your row gauge is 2.9 rows/cm (about 7.4 rows per inch), you’d expect around 116 rows (40 × 2.9). You don’t have to count every row, but it can be comforting to know the ballpark number before you simply knit to the tape measure.
For a top‑down raglan, it’s especially powerful to try on as you go: you can fine‑tune the yoke depth, body length, and sleeve length just by knitting a few more rows or stopping a bit early.
How row gauge changes when you stop increasing
In my case:
- Pattern row gauge: 25 rows / 10 cm → 2.5 rows/cm (about 6.4 rows per inch).
- My row gauge: 29 rows / 10 cm → 2.9 rows/cm (about 7.4 rows per inch)
That means my knitting stacks up more rows in the same height. To reach, for example, a 20 cm yoke depth (about 8 inches):
- Pattern rows: 20 × 2.5 = 50 rows (which is about 6.4 rows per inch over 8 inches).
- My rows: 20 × 2.9 = 58 rows (which is about 7.4 rows per inch over 8 inches).
So I have to knit more rounds than the pattern says to reach the same vertical length. At the same time, every second row I’m also increasing for the raglan. If I just copied the written row counts, I’d keep increasing for too long and my yoke would grow deeper and deeper.
For a top‑down raglan, this leads to one important change in how I follow the pattern:
- I don’t just “knit all the written raglan rows.”
Instead, I watch two things at once:
- The total stitch count (so I hit my target body stitches).
- The yoke depth in cm (so I stop increasing when it looks right on my body).
Because my row gauge is tighter, I reach my desired body stitch count (214 sts) before I’ve knit as many rows as the pattern expects for that size. That’s fine – I simply:
- Stop doing raglan increases once my stitch counts are where I want them.
- Keep knitting without increases until the yoke depth in centimeters is right for me.
If you have more rows in 10 cm than the pattern, you’ll need to knit more rows to reach the same length, and you may reach your target stitch count sooner. When that happens, stop increasing once the stitch math is right, then continue straight until the yoke measures the length you want.
How to calculate sleeve decreases with your row gauge
For sleeves, the idea is the same: we spread a certain number of decrease rounds over the sleeve length we have.
Count how many stitches you have at the upper sleeve (after picking up or separating the sleeves).
Decide how many stitches you want at the cuff before the ribbing.
Each decrease round removes 2 stitches (one on each side of the sleeve).
So the number of decrease rounds you need is:
Decrease rounds = (upper sleeve stitches - cuff stitches) ÷ 2
With your row gauge, you can also estimate how often to decrease:
Rows available for shaping = sleeve length in cm × your rows per cm.
Then:
Decrease every ≈ rows available for shaping ÷ decrease rounds rows.
For example, let’s say my upper sleeve has 70 stitches and I want 46 stitches before the cuff. That’s 24 stitches to get rid of. Because I’m decreasing 2 stitches per decrease round, I need 12 decrease rounds. If my sleeve shaping should go over about 32 cm (about 12.5 inches) and my row gauge is 2.9 rows/cm (about 7.4 rows per inch), that’s around 93 rows (32 × 2.9). So I’ll decrease roughly every 8th row (93 ÷ 12 ≈ 7.75, so every 8th row is close enough).
Just like with the yoke, I don’t obsess over hitting the exact row number. I use this math to get a sensible “every Xth row,” then I try the sweater on and adjust if the sleeve looks a bit long or short on my arm.
Adjusting length with your row gauge
Sometimes you just want the body or sleeves a bit longer or shorter, without changing any of the shaping. If you decide you’d like a cropped version and want the body about 10 cm shorter, your row gauge lets you translate “I want 10 cm less” into a clear number of rows to remove. You can just as easily turn a cropped garment into a longer one by using the same formula to work out how many extra rows to add for the length you want.
Formula: (cm to add or remove × your row gauge in rows per 10 cm) ÷ 10 = rows to add or remove.
Example: You want to add 10 cm and your row gauge is 29 rows per 10 cm → 10 × 29 ÷ 10 = 29 rows to add.
What if your size isn’t in the pattern at all?
Sometimes your ideal bust measurement isn’t one of the written sizes, or you’re clearly smaller than the smallest size or larger than the largest size. You can still use the same sweater math, with one extra mindset shift.
You’re no longer “adjusting a size,” you’re creating a custom size that uses the same construction:
- Start with your body measurements or a garment that fits well (bust, yoke depth, sleeve width).
- Use the formula width in cm × your sts/cm for each key width to get your stitch counts.
- Use the percentage trick from the closest written size to split your total into front, back, sleeves, and raglan stitches, then scale those percentages to your own stitch counts.
If you are only a little outside the written sizes, this works very well and keeps the original proportions. If you are several sizes outside the range, or want to significantly change things like neckline, armhole depth, or sleeve shape, you’re moving into full pattern grading, which is more complex than this post aims to cover - and that’s where dedicated grading resources really shine.
I really love Amy Herzog’s Knit to Flatter for this kind of work. If you ever need to recalculate a sweater from scratch, that book is incredibly helpful for understanding how to adjust proportions beyond just stitch counts.
How to use the worksheet with this post
First, scroll through the example with my numbers filled in: pattern gauge 16 sts / 10 cm and 25 rows, my gauge 21 sts and 29 rows, my 96‑cm bust, and the choice of the 2XL size with 214 body stitches. Notice how each step corresponds to a section on the worksheet.
Then download or copy the blank worksheet version and plug in your own gauge, body measurements, and target ease.
Every pattern, gauge, and body is a little different; this worksheet doesn’t tell you which size to pick, it teaches you how to make the numbers fit you. Use it as often as you like - your future sweaters will remember the care you put in here.
 |  | Here is your sweater math worksheet. I’ve also added an example to walk you through how to use it. | If you have any questions, please don’t hesitate to reach out to me. |


I knit 2XL for my 96‑cm bust (and it wasn’t scary)
On paper, I’m nowhere near a 2XL. My actual bust is 96 cm (about 38 inches), which in most sweater patterns puts me around an S or M. So when my sweater math told me to knit the 2XL size, I hesitated.
The pattern is written for 16 stitches in 10 cm (about 4 inches). My washed, blocked swatch came out at 21 stitches in 10 cm. My stitches are smaller, my fabric is tighter – and that means every “M” stitch count in the pattern would knit up smaller on my needles.
Instead of looking at the size label, I looked at the body stitch counts after the yoke. The size I would normally choose had fewer body stitches; at my gauge, that would have given me something close to my naked bust, or even less, not the easy, relaxed fit from the photos.
The 2XL size, however, has 214 stitches for the body after separating the sleeves. At my gauge of 2.1 sts/cm (about 5.3 sts per inch), those 214 stitches knit up to about 102 cm around the bust – 96 cm body + roughly 6 cm of ease (about 40 inches total). That is exactly the fit I wanted.
So I trusted the numbers instead of the label, cast on for 2XL, and the finished sweater fits perfectly. This is the whole heart of sweater math for me: your body, your gauge, your ease, and whatever size name happens to line up with that is just a detail on the pattern page.
Conclusion
This little gauge-swatch mini series grew out of my wish to share my personal sweater math and calculator with you. Along the way, I realised that the numbers alone wouldn’t be enough - your results are only as good as your gauge swatch. That’s why we started with a reliable, accurate swatch that tells you the truth about your stitches and rows every time. I really hope this course has helped you, and as always, I’d be very happy to hear your thoughts or your own experience.
Until then, happy knitting!
This article is Part 5 of the “Gauge Swatch Confidence” series:
- Knitting Gauge 101
- How to Knit and Measure a Swatch (Flat)
- How to Knit and Measure a Swatch (Round)
- Borderless Gauge Swatches
- Adjusting Patterns to Your Gauge
A Little Way to Say Thanks
You Might Also Like


 |
|
Join the Cozy Corner Newsletter!
Hey there, creative soul! Welcome to the Yarn Enchantment Newsletter, where we celebrate all things cozy, crafty, and full of heart. Think of this as your friendly crafting companion - a little dose of inspiration delivered straight to your inbox, just for you. Inside, you’ll find: ✨ Exclusive patterns & tutorials - ideas you won’t find anywhere else (just for us!) 📚 Bookish crafts that bring your favorite stories to life 🧶 Tips and tricks to make your crafting journey smoother (and more fun!) 💌 Heartfelt musings on life, creativity, and the magic of making something with your own two hands Whether you’re knitting by the fire, brainstorming your next DIY project, or just looking for a little creative pick-me-up, this newsletter is here to cheer you on. Because let’s be honest - crafting isn’t just about the finished project; it’s about the joy, peace, and stories we create along the way. So grab a cup of tea, cozy up, and join me. Together, we’ll weave a little magic into everyday life - one stitch, one story, and one email at a time. P.S. I’m so glad you’re here. Let’s make something beautiful together! (Note: If you're using an ad blocker, you may encounter issues subscribing to the newsletter. To subscribe, please consider disabling your ad blocker.)
|
