

Zipper Sweater (Pattern by Petite Knit)
December 21, 2024
How to Knit Lifted Increases (RLI & LLI)
December 29, 2024Add a Single Crochet Border to Your Knitting Project
Originally published on December 23, 2024
A single crochet border is a very simple but effective way to give your knitting projects a finished look. Even if you're new to crocheting, this technique is easy to learn and can elevate your project in no time. Plus, a single crochet border can serve as a foundation for more beautiful decorative borders, making it a versatile skill to have in your crafting toolbox.
If your knitting edges are curling, a single crochet border can also help flatten them out. For this, you may need to add multiple rows of single crochet to create a sturdier edge.
In this post, I’ll walk you through the steps to add a single crochet border to your knitting project, at the end of this post you can find a video. 
You need:
-
A crochet hook in in a size that works well with your yarn weight.
-
Yarn; Ideally, use the same yarn weight as your knitting project. However, if you’re adding a decorative border, you can experiment with thinner or specialty yarns, like a metallic thread for a festive touch. For example, I used a gold thread to add a border to the Christmas caramels project, and it turned out beautifully!
Step-by-Step Instructions:
Prepare Your Knitting
-
Make sure your knitting is complete, and all loose ends are woven in.
-
If needed, block your knitting to ensure it lies flat and is ready for the border.
-
Start at one corner of your knitting and bring your crochet hook under the V stitch on the edge of the knit piece. (pic 1)
-
Grab the yarn while leaving a tail long enough to weave your end in later on. Pull your crochet hook and yarn back through the piece.
-
With your crochet hook, grab the working end of the yarn and pull the yarn through the loop on the crochet hook to secure the first stitch.
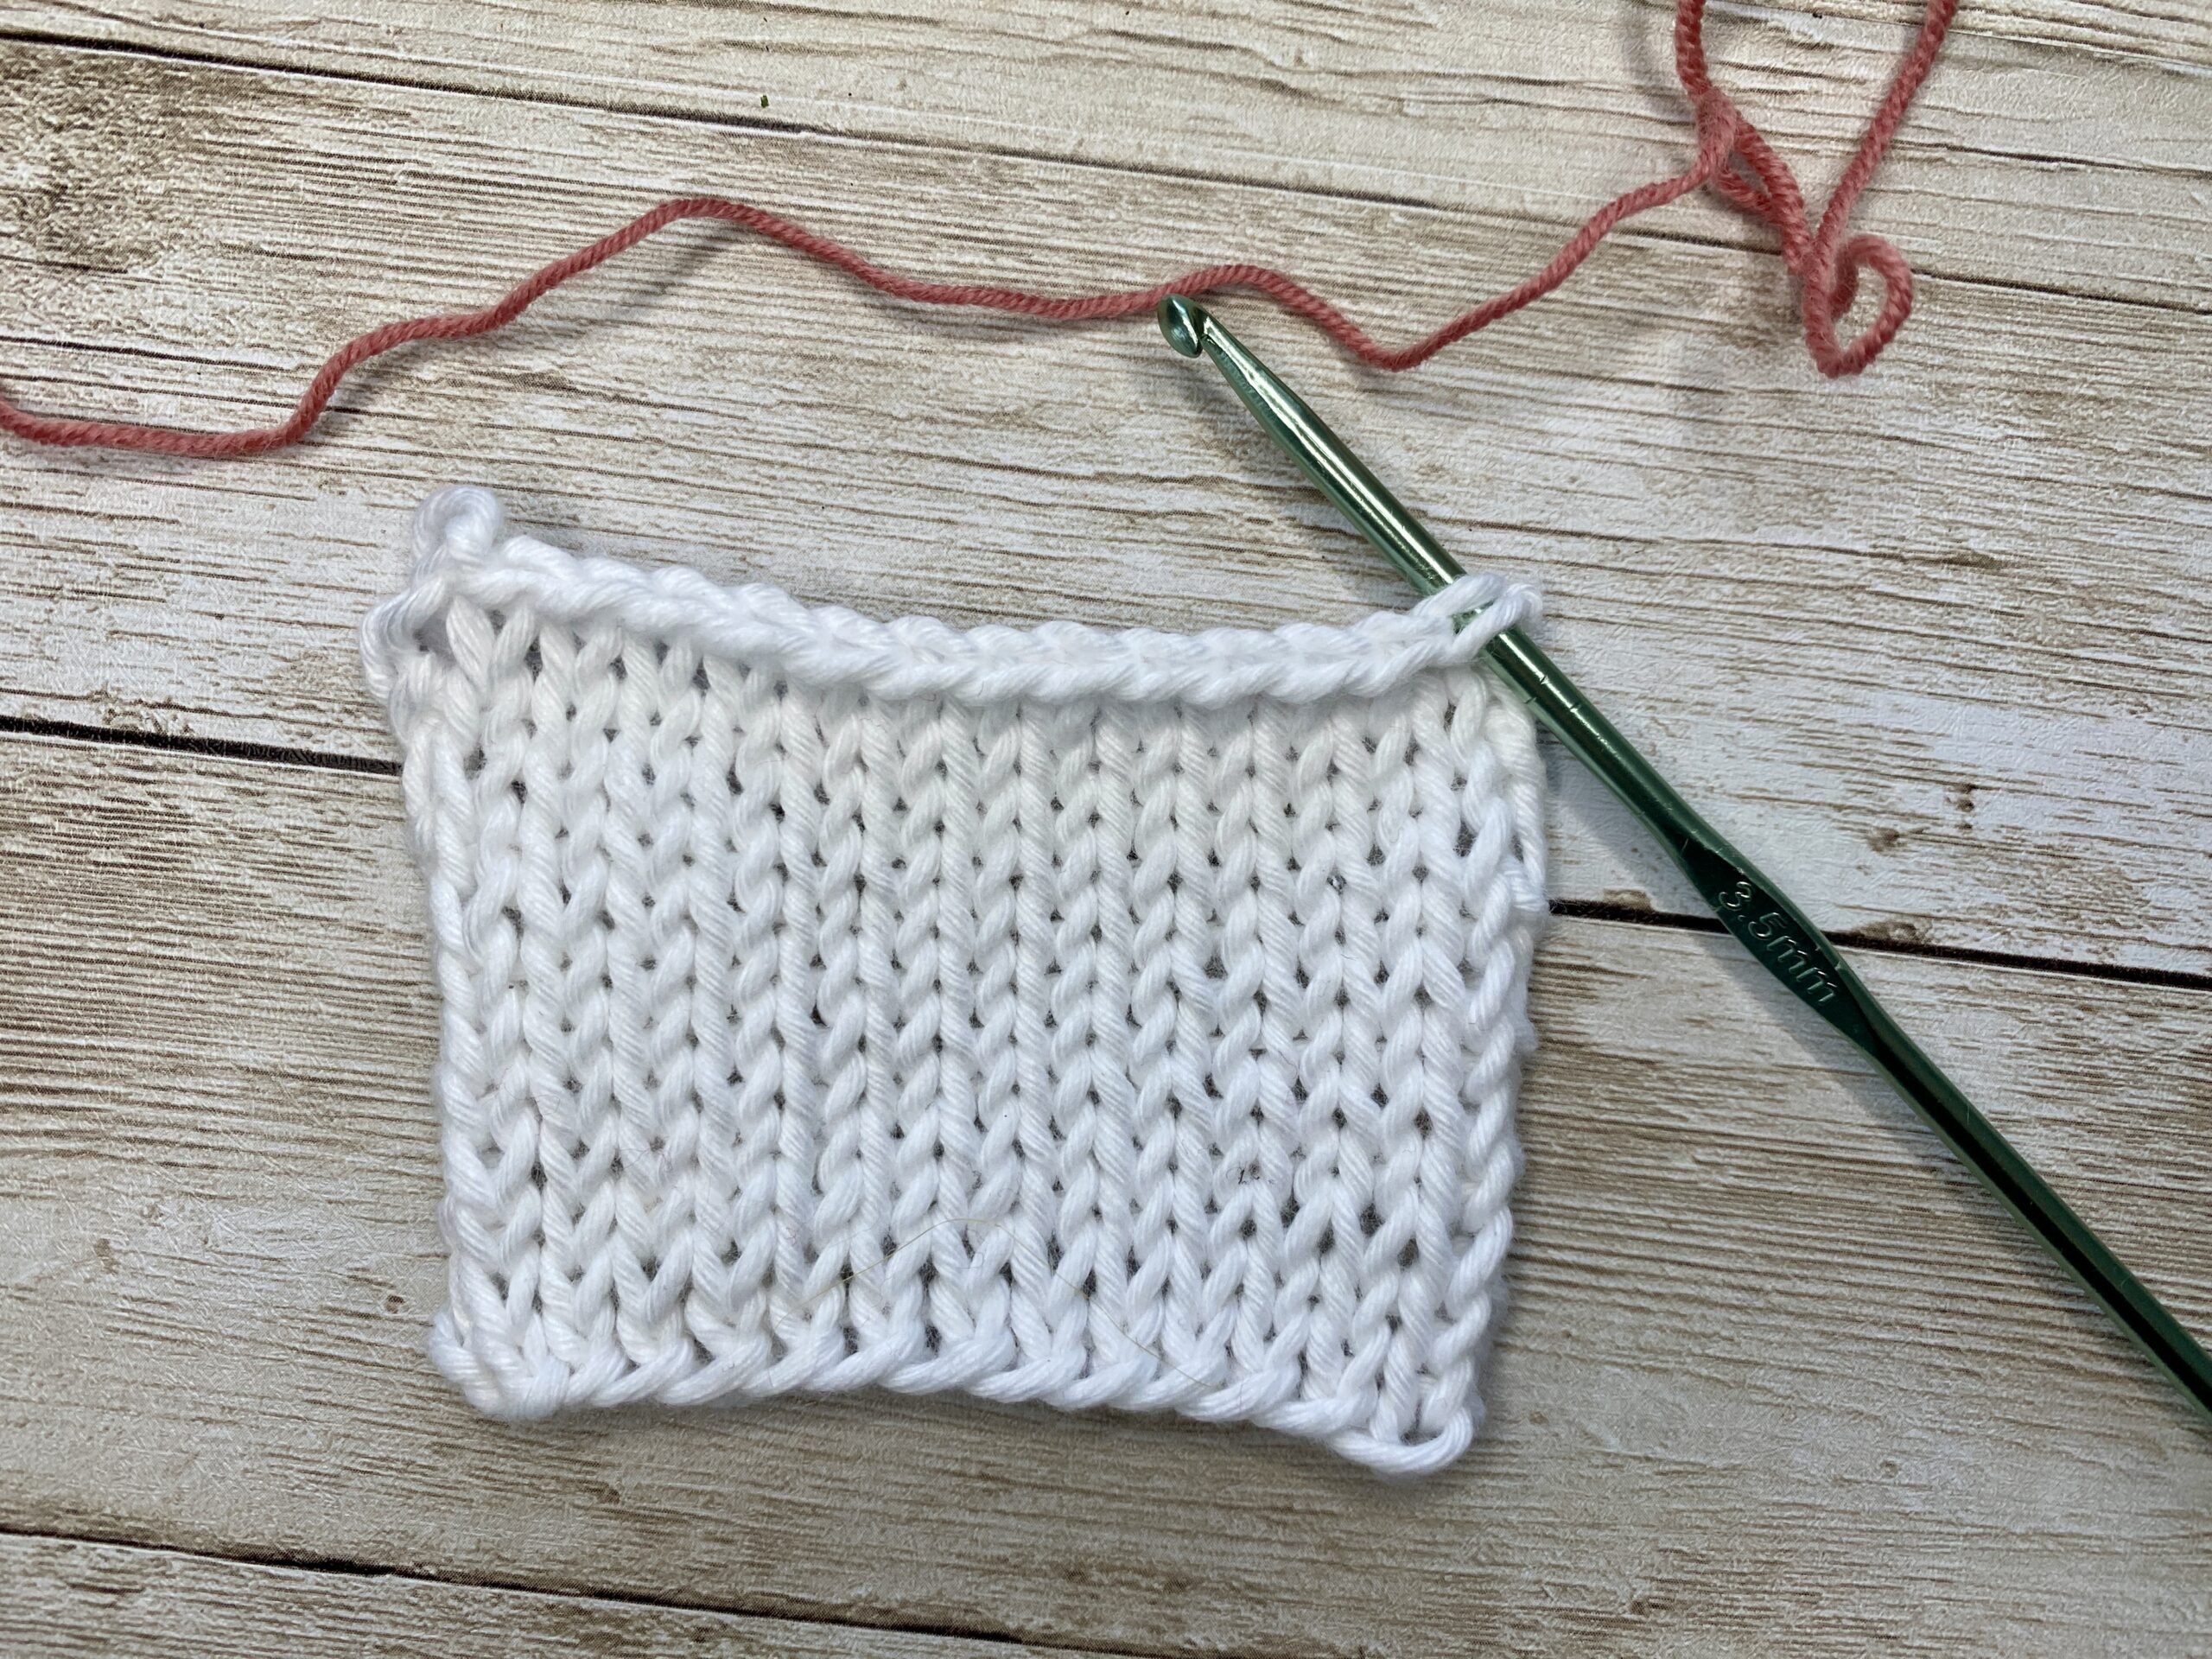 | 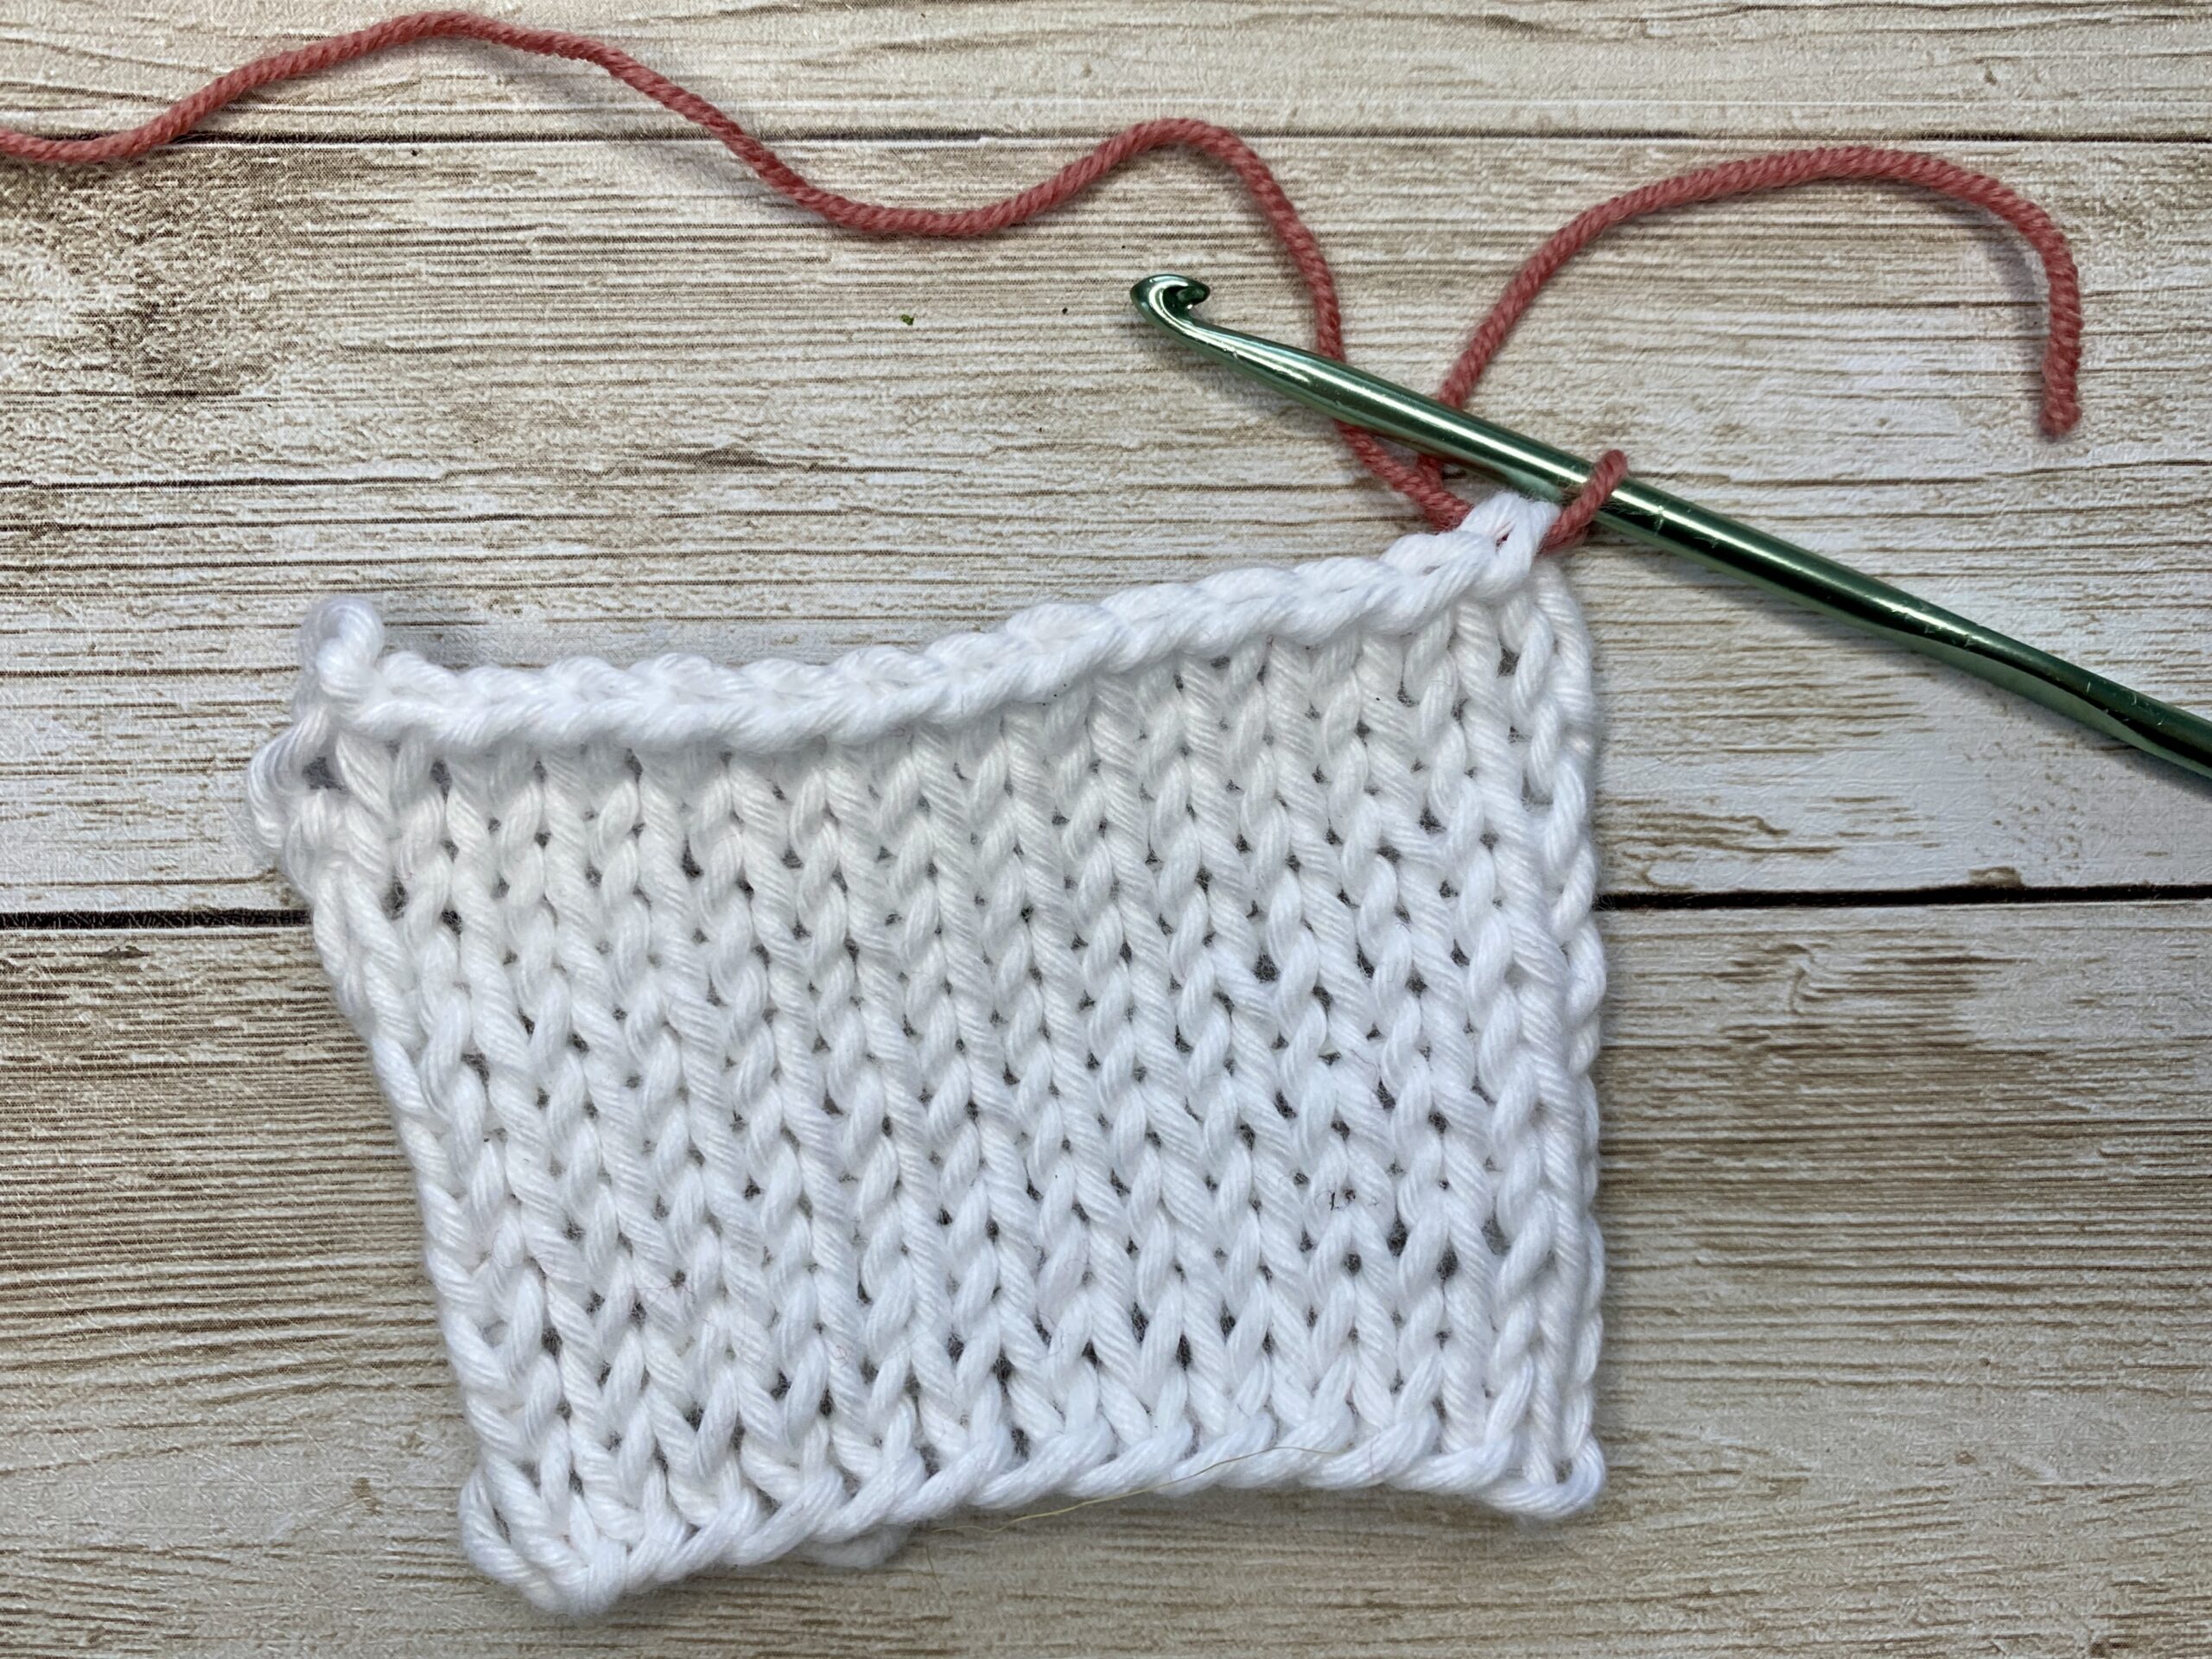 | Start at one corner of your knitting | Pull your yarn through the first stitch. |


Work Single Crochet Stitches
-
Insert your crochet hook into the next stitch of your knitting and pull up a loop.
-
Yarn over and pull through both loops on the hook to complete a single crochet stitch.
-
Continue working single crochet stitches evenly along the edge of your knitting. If the edge feels too tight or too loose, adjust the spacing of your stitches to keep the border smooth.
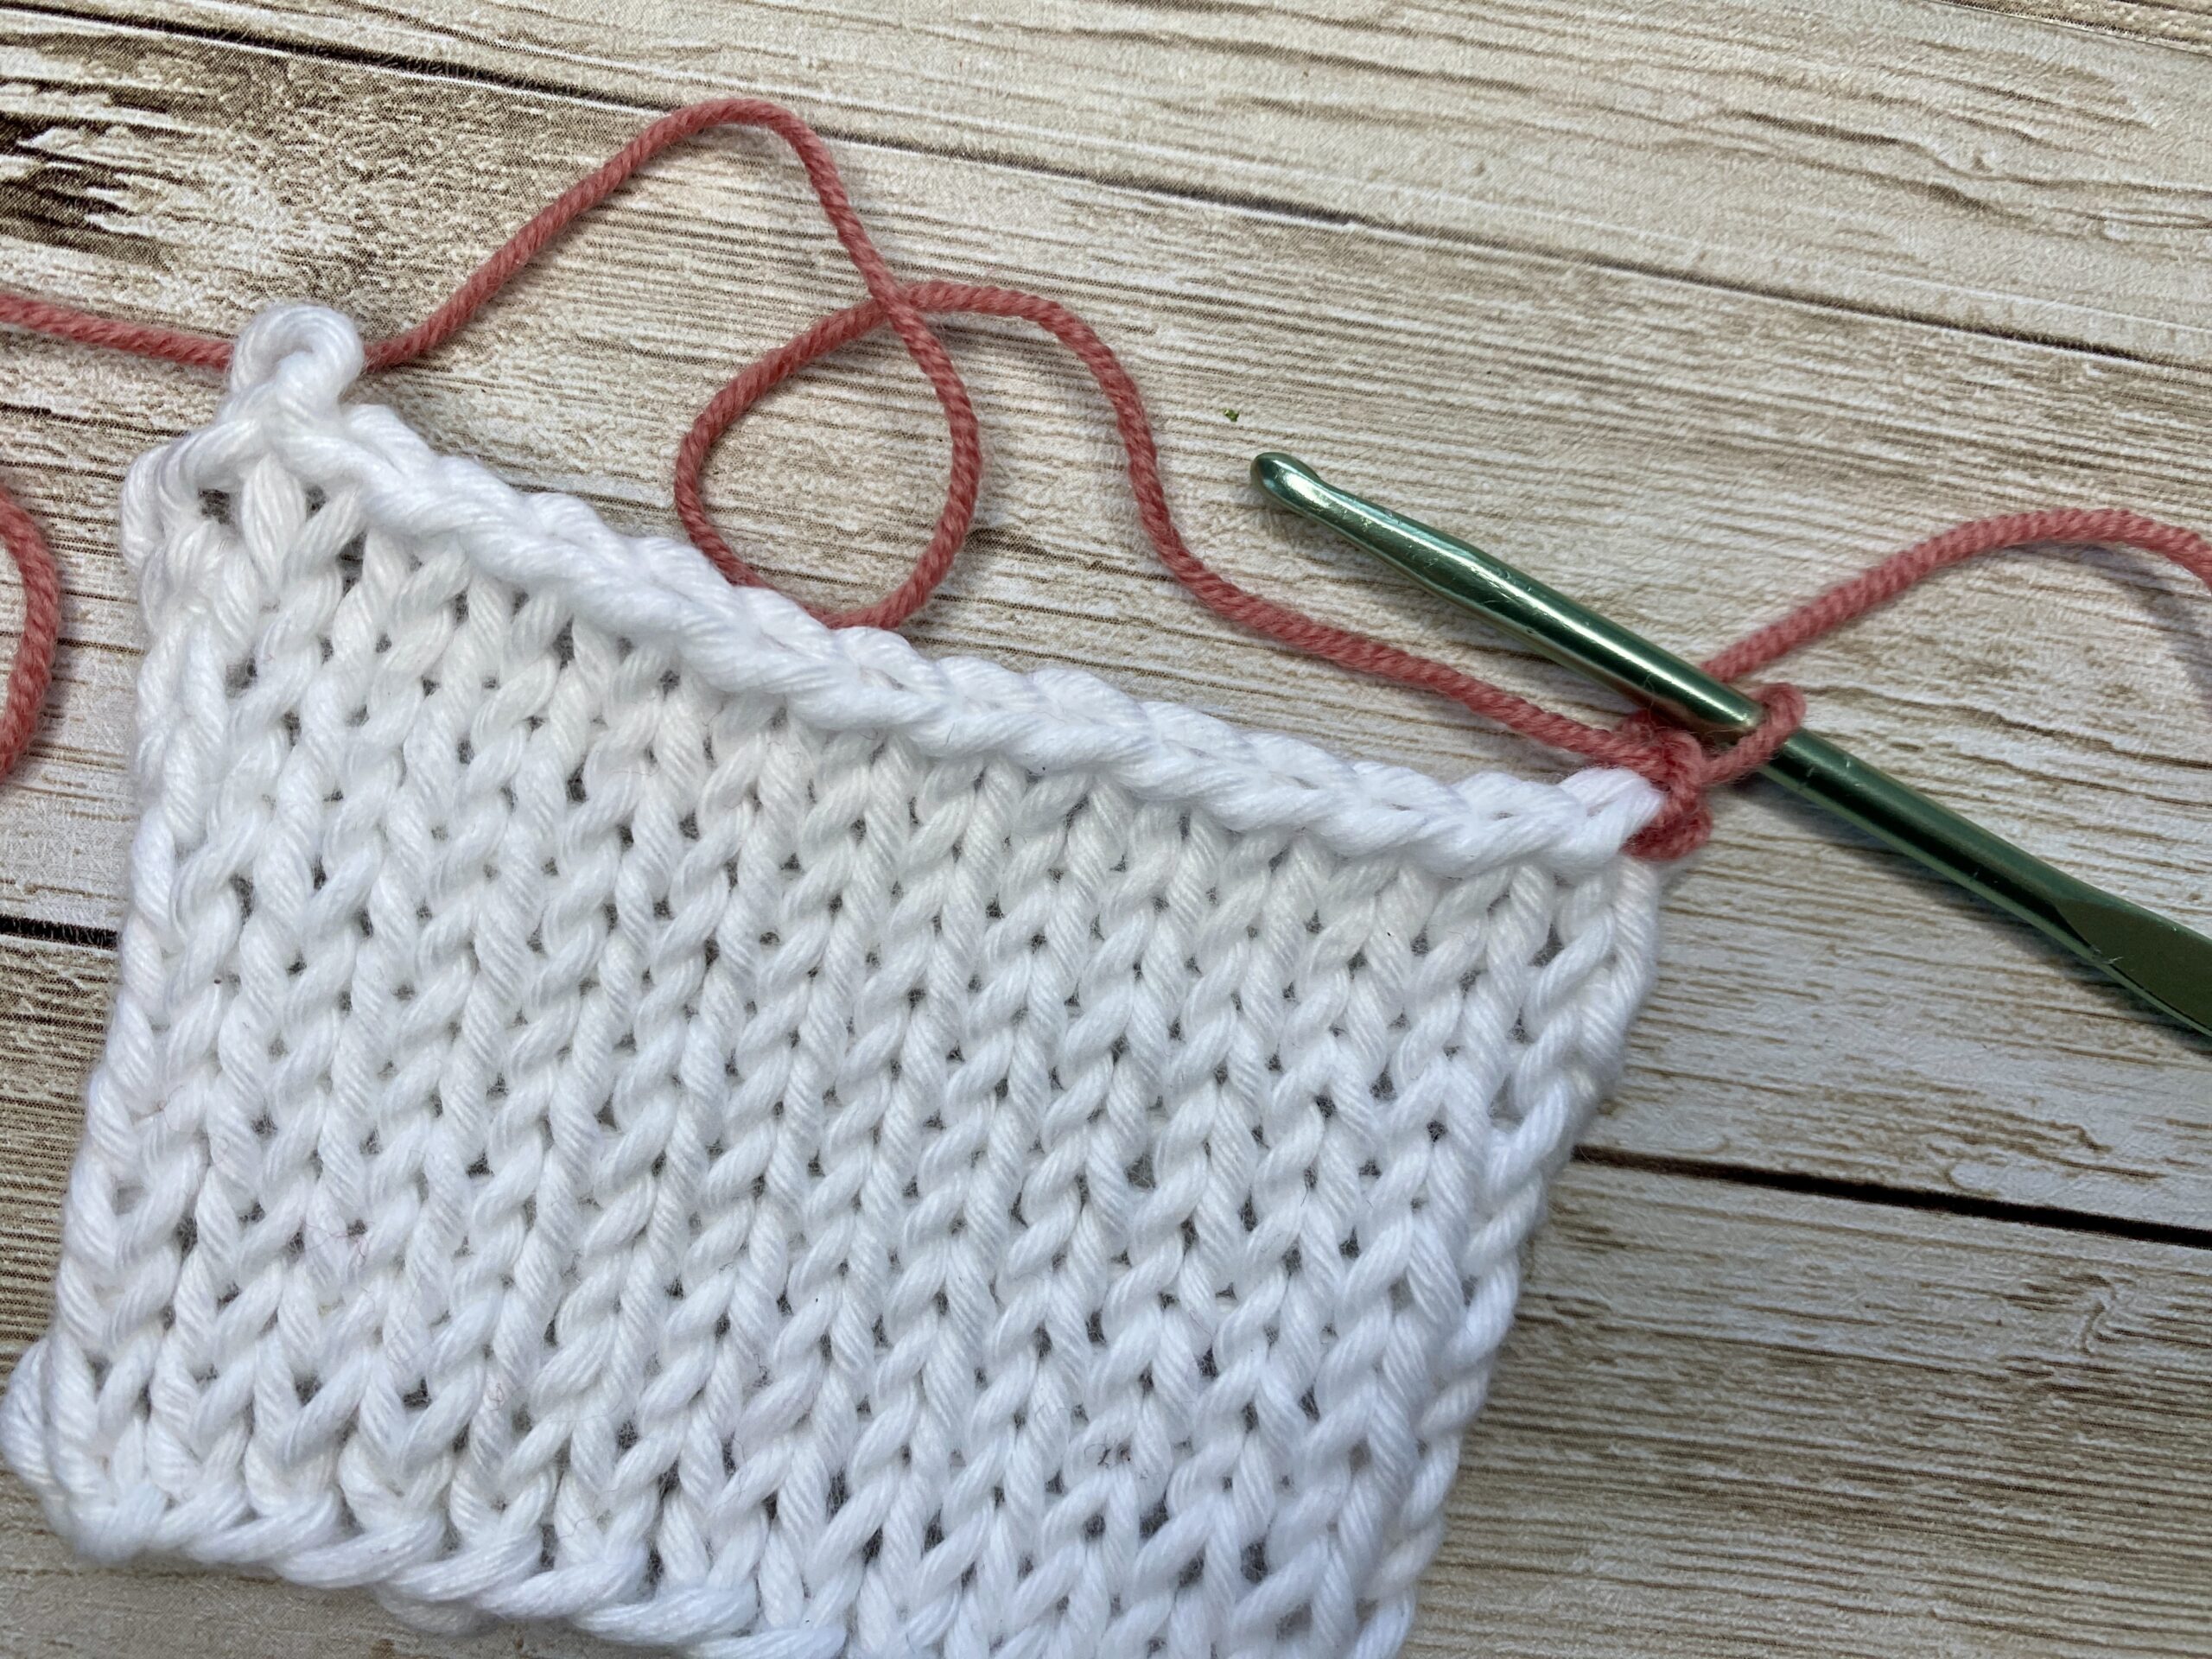 | 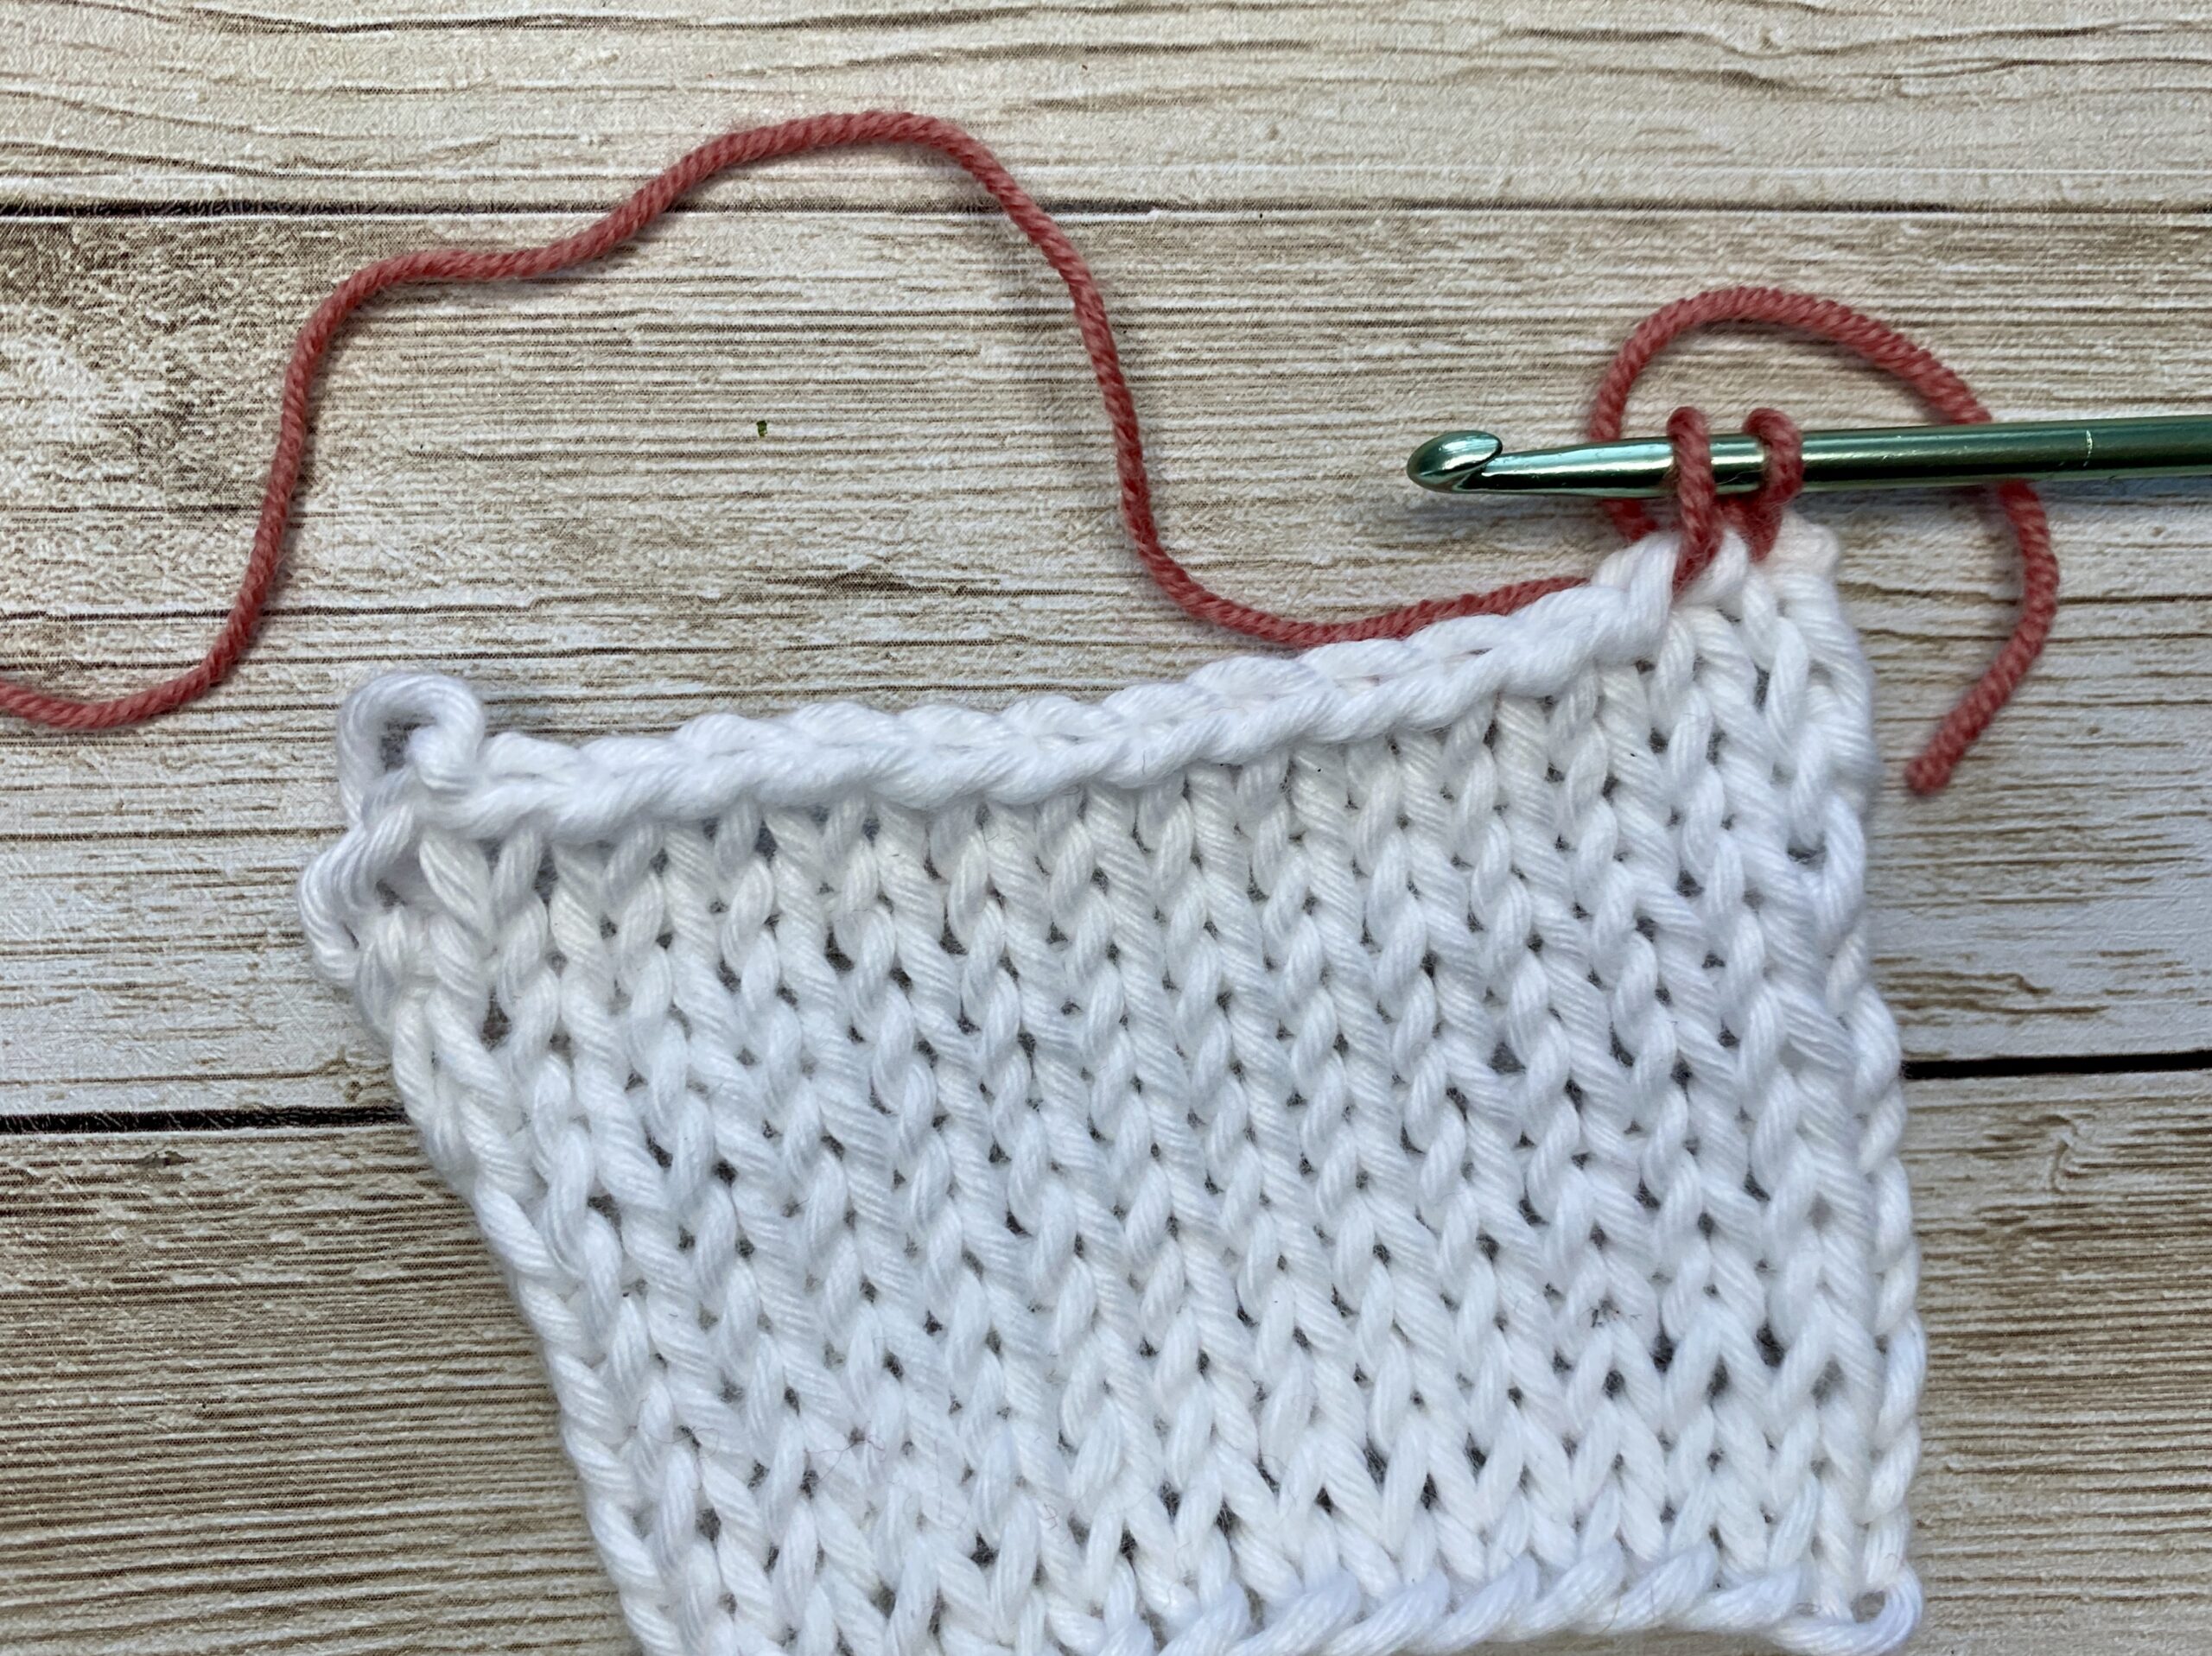 | Pull your working yarn though the the loop on your needle to secure your stitch | Insert your crochet hook into the edge of your knitting and pull up a loops |


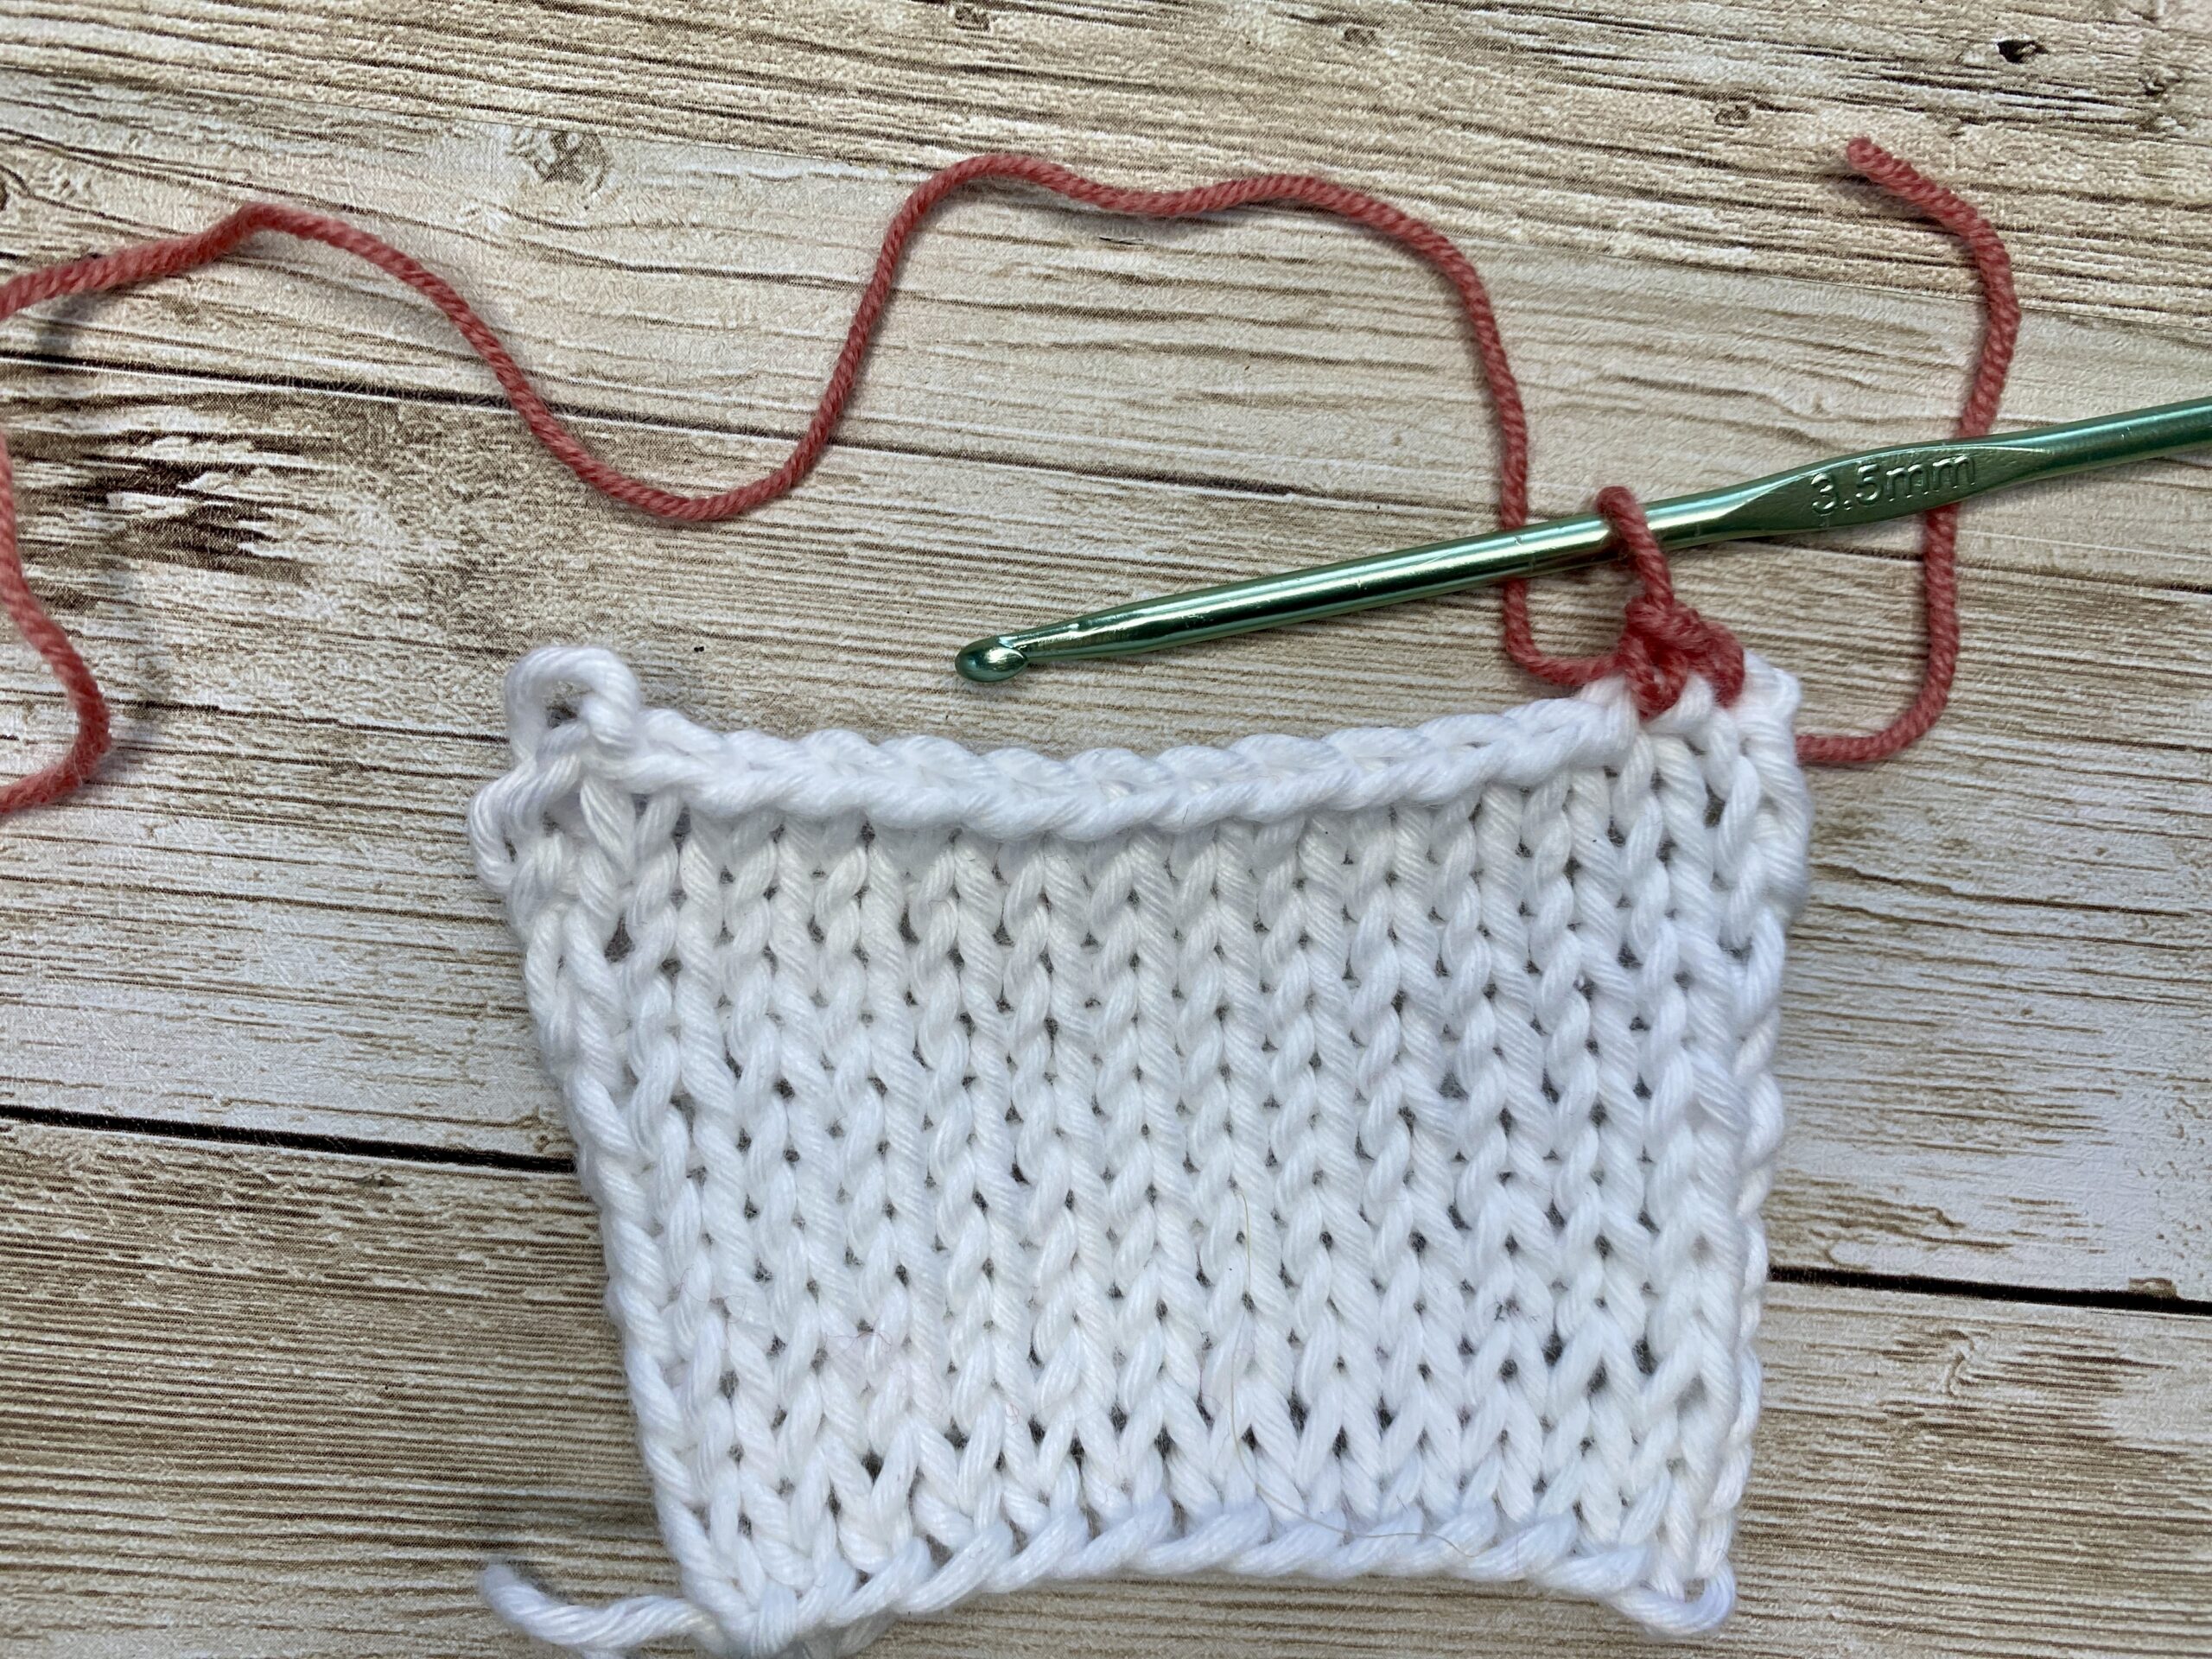 | 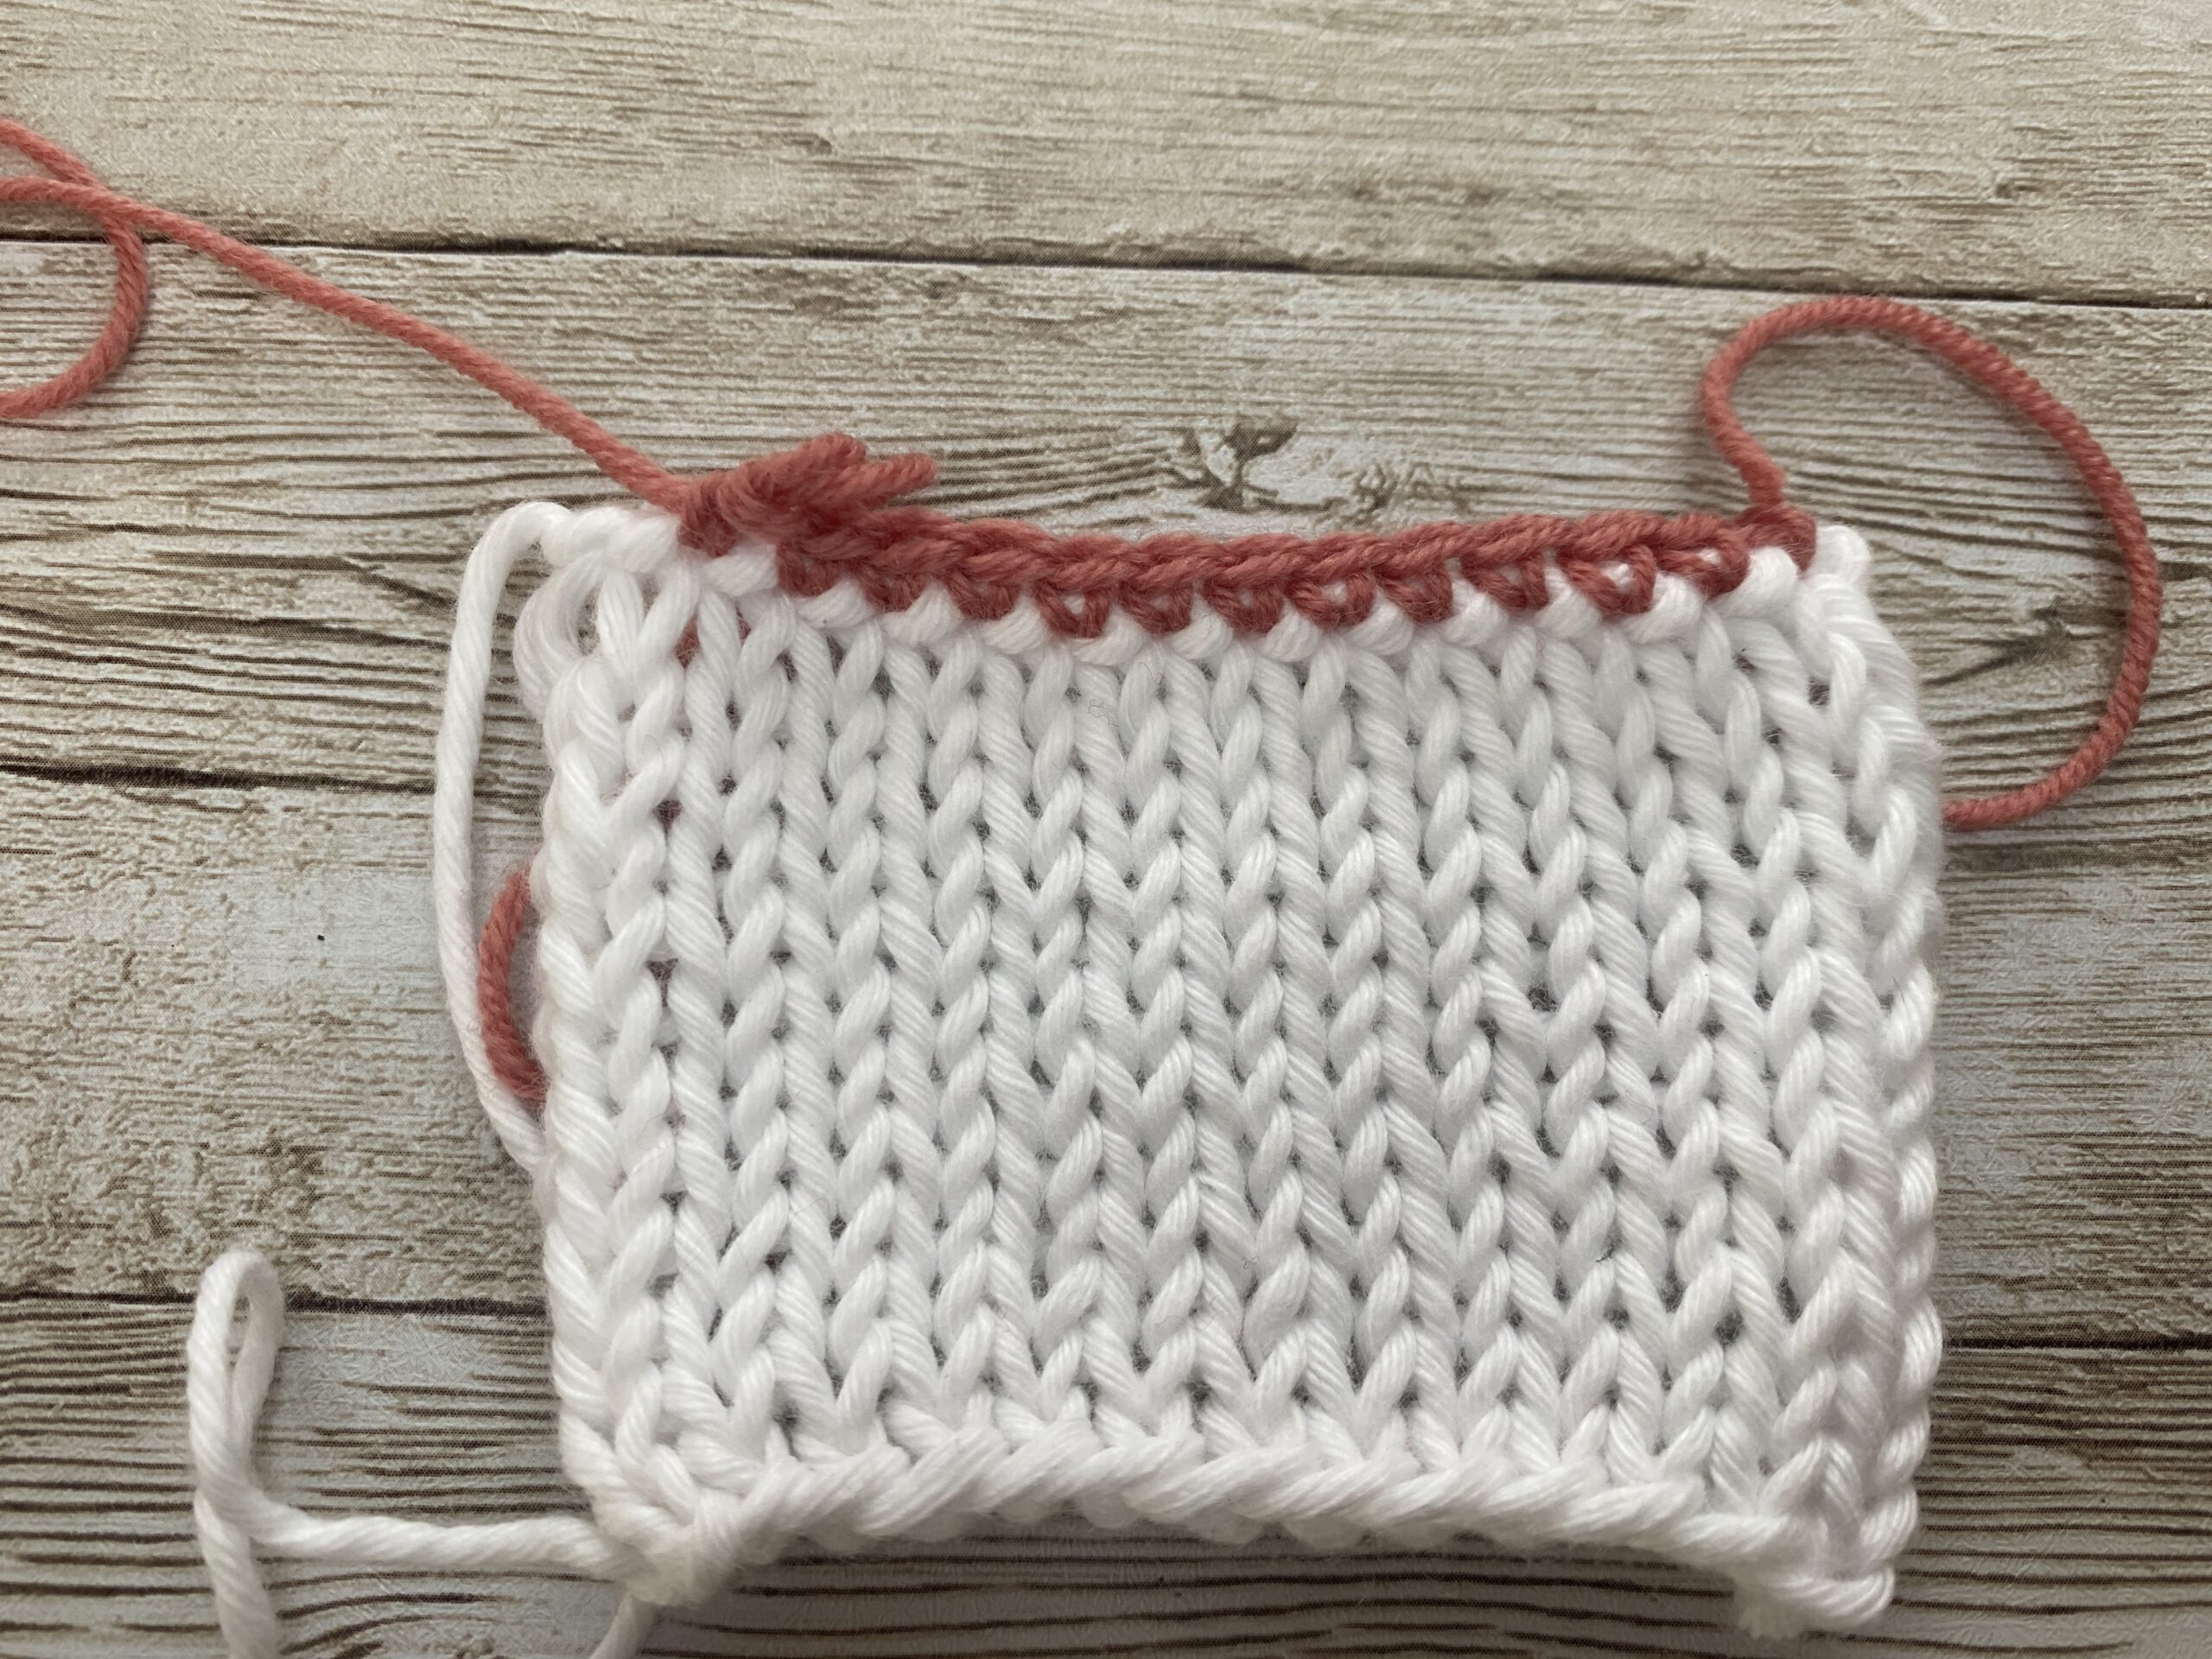 | Yarn over and pull through both loops on the hook to complete a single crochet stitch | Continue working single crochet stitches evenly along the edge of your knitting |


Handle the Corners
-
When you reach a corner, work 3 single crochet stitches into the same stitch. This will create a rounded corner and prevent the border from pulling too tightly. (video)
-
If you want to uncurl the edges of your knitting, you may need to add additional rows of single crochets. This will create a thicker, sturdier border that helps keeping the edges flat.
Finish the Border
-
Once you’ve worked all the way around your knitting, join the last stitch and the first with a slip stitch.
-
Cut the yarn while leaving a small tail, and weave in the ends with a yarn needle.
A few tips:
-
Make sure the front side is facing you; this makes it easier to see the V stitches.
-
I like to start at the corner, but you can also start in the middle of the row.
-
Keep a looser tension to prevent your knitting from pulling together.
-
On the vertical 'row' edges, you typically will pick up 2 stitches out of 3 rows.
-
You can always lay your piece in front of you to ensure nothing flares out or pulls together.
-
Make sure you always pick up both stitches from your V stitch.
If you’re adding a border purely for decoration, you can stop after one row of single crochet or build on it with more intricate crochet stitches. For example:
-
Picot Edging: Add small loops for a delicate, lacy look.
-
Scalloped Edging: Create a wavy, decorative finish.
-
Contrasting Colors: Use a different yarn color or texture to make the border stand out.
For festive projects, like holiday decorations, using a thinner yarn or metallic thread can add a touch of elegance. Just keep in mind that thinner yarns may require more careful spacing to ensure the border looks even.
Why Add a Crochet Border?
A crochet border isn’t just about aesthetics, it’s also functional. It can:
-
Help prevent curling edges in stockinette stitch knitting.
-
Add durability to your project, especially for items like blankets or scarves.
-
Provide a foundation for more elaborate crochet
I hope this post and Video was helpful for you and you were able to create your first chrochet border!
Until then, happy knitting!
A Little Way to Say Thanks
You Might Also Like
 |
|
Join the Cozy Corner Newsletter
Hello, creative soul. Welcome to the Yarn Enchantment Newsletter, a little space where we celebrate all things cozy, crafty, and full of heart. Think of this as your friendly crafting companion, a soft dose of inspiration delivered straight to your inbox, just for you. Each newsletter brings you: ✨ Notifications about new patterns and tutorials – easy knitting patterns and beginner crochet projects you won’t find anywhere else 🧶 Practical yarn tips for new crafters, plus advice on the best yarn for fall, blankets, and handmade gifts 💌 Small stories and adventures from my own workbench, because crafting is as much about the journey as the finished piece Whether you’re knitting by the fire, looking for your next creative spark, or simply wanting a quiet moment with your hooks and needles, this newsletter is here to cheer you on. Crafting isn’t just about the final project. It’s about the joy, the peace, and the stories we weave along the way. So grab a cup of tea or coffee, settle in, and join me. Together we’ll make a little magic, one stitch and one story at a time. I’m so glad you’re here. Let’s create something beautiful together. Sign up below to receive your first email, and feel free to leave a comment on the blog if there’s a topic you’d love to see covered. Your ideas might just become our next newsletter feature. (Note: If you're using an ad blocker, you may encounter issues subscribing to the newsletter. To subscribe, please consider disabling your ad blocker.)
|

2 Comments
Thank you so much for this great tutorial, you really saved my day!
Julia, thank you so much for your kind words!